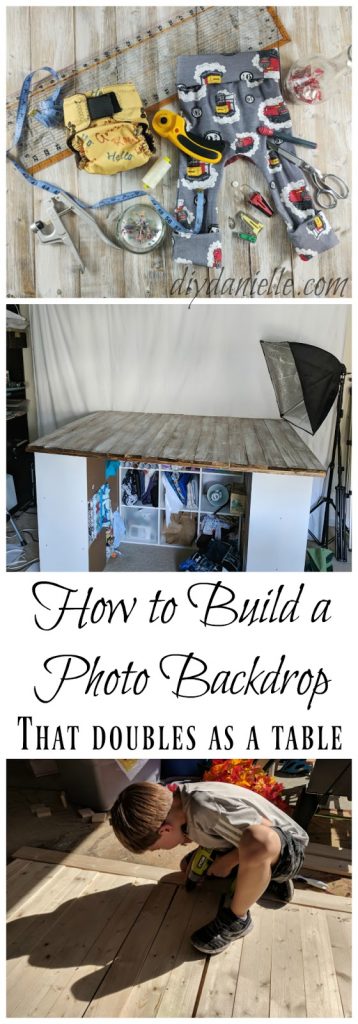
How to make a distressed wood photo backdrop that doubles as a cutting table for sewing.
This post may contain affiliate links. Using these links helps support my blog. Thank you!
I’ve been yearning for a pretty wood backdrop to photograph on, but I also needed a good cutting table for sewing. And I didn’t have much room. I was debating the best way to do all of this, but decided to turn my shelves into a base for a cutting table which cleaned up my sewing room floor quite a bit. The top of my cutting table could double as a photo backdrop if I made it with pine boards.
As I sometimes need to take full body photos in front of my white backdrop, I needed the wood backdrop and cutting table top to be easily removable so not too heavy. I also wanted to be able to flip it to a different color so I could get two looks from one backdrop. This smaller food photography backdrop by Sarah Hearts was my inspiration for this project. She did pine boards on both sides and used glue to attached them, but due to the size of this, I needed to use screws and only one layer. Two layers of wood would have been pretty expensive and time consuming and heavy at this size.
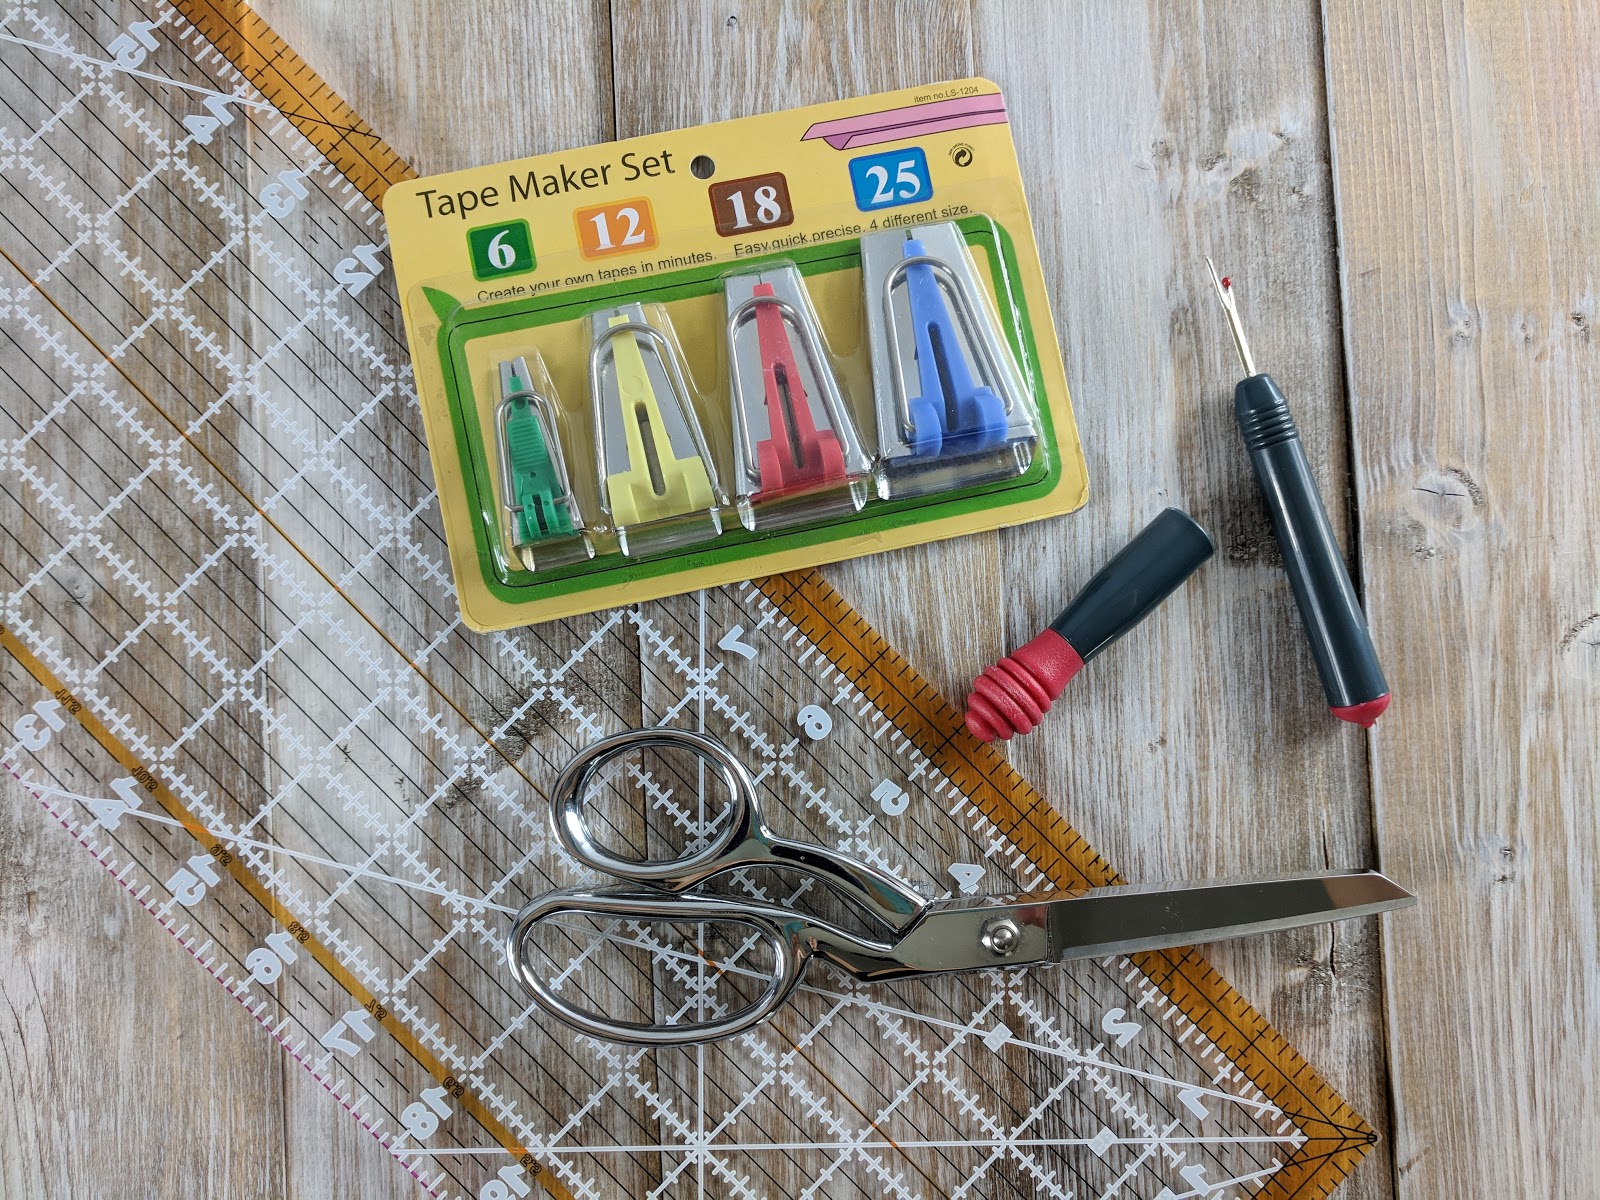
Supplies Supplies listed below may include affiliate links to the products.
- (17) 43″ pine boards (I used 9, 1x4x8 boards and cut them down so each board had 2-43″ cuts)
- (2) 60″ pine boards (1x4x8)
- 1.5″ screws
- Optional: Countersink bit (if you don’t use this, you’ll need longer screws. The link goes to the new ones I bought because my old one seemed to be a bit dull)
- Screwdriver
- Wood Stain: Minwax Provincial
- Paint
Video Tutorial: Backdrop and Cutting Table
How to Make a Distressed Photo Backdrop
Altogether I picked up (11) 1x4x8 boards. These were then cut down to the sizes mentioned above. I do a lot of my own cutting, but the full 8′ didn’t fit in the minivan without removing the kids’ car seats so I had the store cut down my boards for the first 43″.When I went back to make another backdrop for my friend Jody (she’s a fantastic photographer in Columbia, MD and we traded services- she photographed my Rum Chata recipes for me), the store actually did all of my cuts for me so I had to do zero cutting when I got home. It was great.
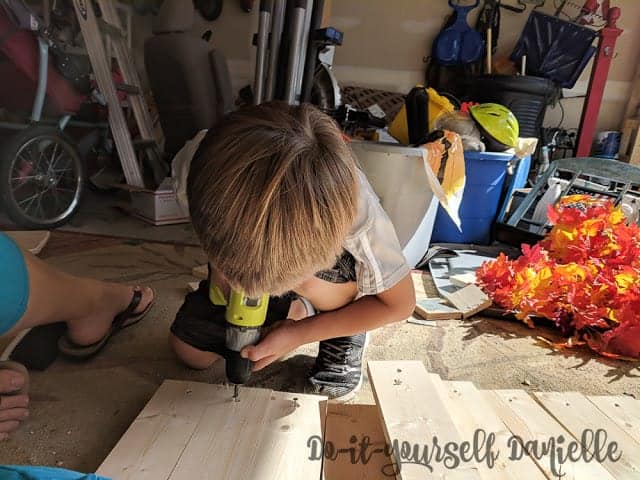
Once my wood was cut, I used my countersink to dig a little hole in the wood where my screw would go. This allows my screw head to sit below the surface of the wood. Because I’m using this for my cutting table for sewing, I want to be able to lay my cutting boards flat on top of this.With the size screws I used, I needed to use the countersink or they wouldn’t have gone through both boards.
 |
| This is what a countersink bit looks like (it’s on the drill) |
 |
| My 6 year old helped make the holes using the countersink bit on the end of each board. |
As you can see, we just did all of the countersink holes at once. This meant less switching back and forth between bits.
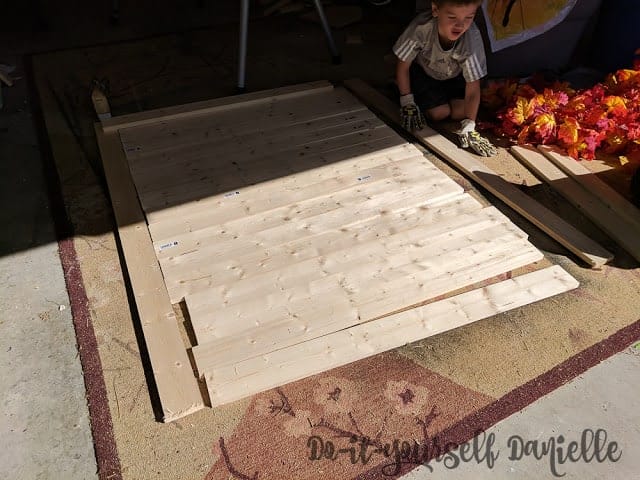
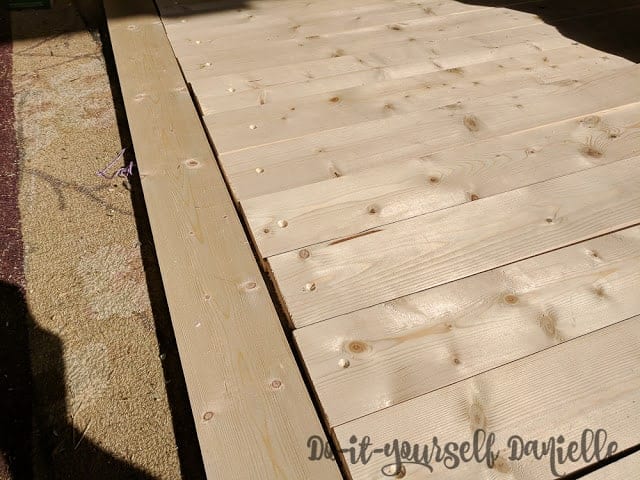
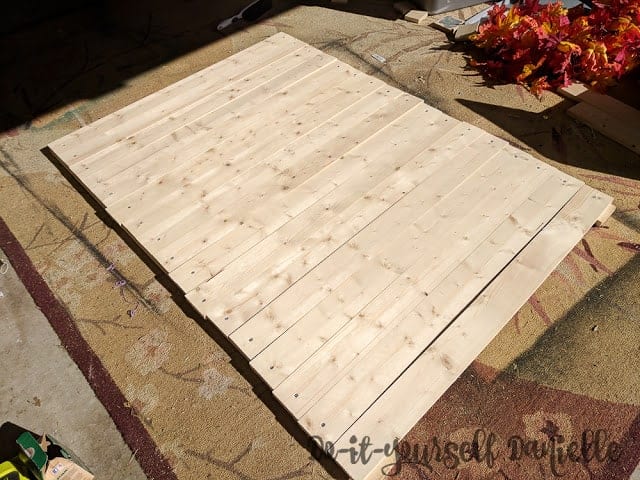
Once those countersink holes were made, we put the 60″ boards underneath the 43″ boards, one on either long side.
We used our screws to drill down through the 43″ boards into the 60″ boards. If you don’t use the countersink, the screws won’t be long enough to go through to both boards. I did one screw on each side of the 43″ board. But on the two end boards, you’ll need to do two screws on each side.
I started all of these screws for him and let him finish them. He really likes helping.
Pro tip: Be more careful than I was about making these even. Haha. I’m just going to call it “rustic.” It works.
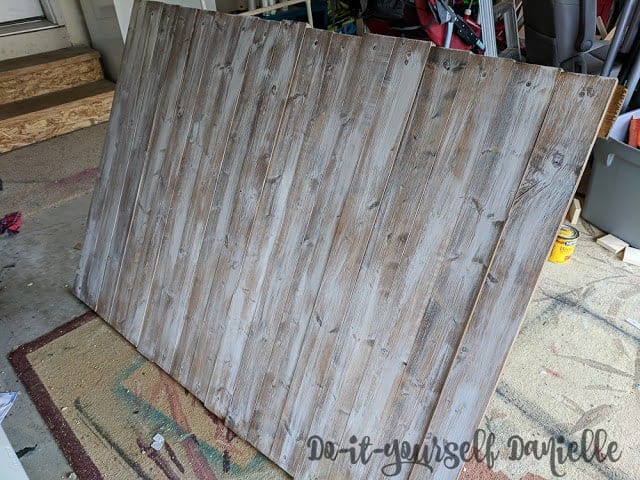
Once you’re finished building it, you need to dust it off. Then you can distress it. I usually distress a completely different way, but I’ve discovered dry brushing and it’s glorious and easy.
I started by getting my stain. I use old socks to apply stain, but use a glove over my hand to keep from getting stain on my skin. Old tshirts work well too. You just dip your fabric into the stain, making sure not to get too much, and wipe it on. You want a very, very thin coat. Wipe wipe wipe until it’s all used up.
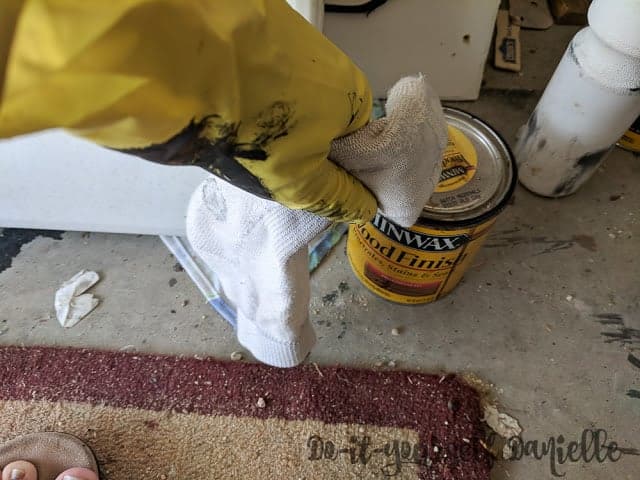
Tip: Remove stain from your skin with lemon essential oil. It comes right off like magic. You’ll smell like lemon oil after though which isn’t my favorite.
I did both sides by propping it up like this… it means a few spots weren’t perfect but I am short on time so I wanted to get it done ASAP.
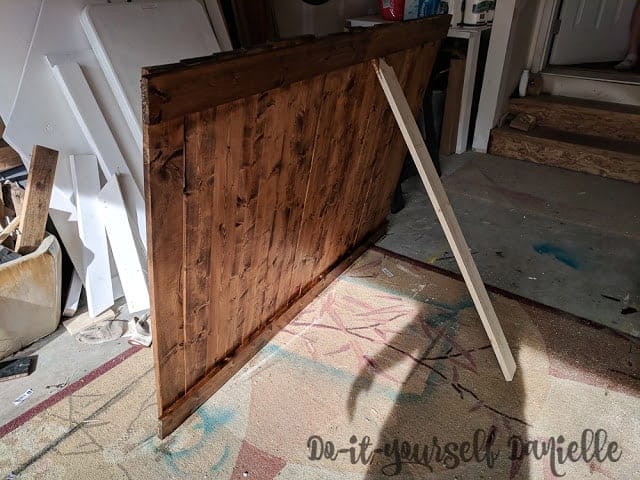
Once your stain is applied to both sides, let dry. I let it dry 24 hours.
Once it’s dry, you take a dry paint brush and dip it in your paint color of choice. One side was a white chalk paint, the other was a blue chalk paint.
Wipe as much of the paint off the paintbrush as you can, then lazily “paint” it on. Don’t apply too much pressure. You want a really light stroke, limp hand! You’re not really painting like you would a wall because you don’t want to cover everything. If you get too much paint on one area, you can wipe it with a wet rag.
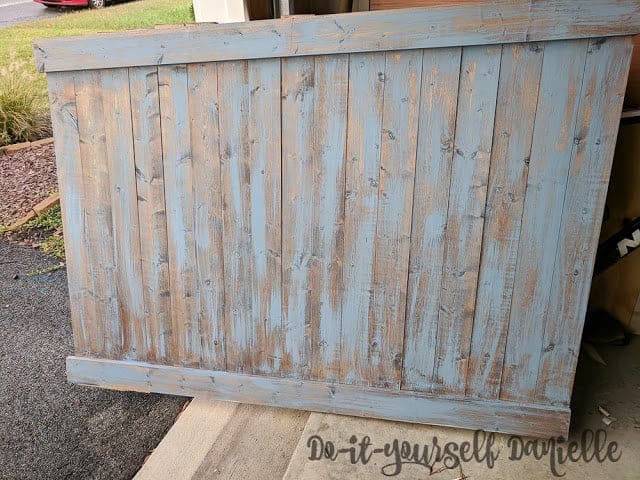
Let dry. Here’s my blue side… not loving it as much as the white, although it looks better in person.
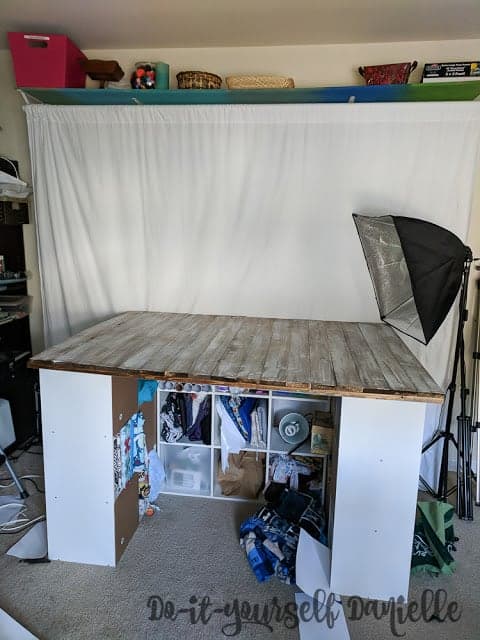
Then I just laid it over my three shelves in my sewing room.
Here’s a quick photo with the backdrop. Yay!
Love it? Pin it!
Thanks for taking the time to read this post! I really appreciate the time you’ve taken. Please share, like, and pin my post if you enjoyed it. Follow me on social media and subscribe to my email list to keep up to date on all of my latest projects!