
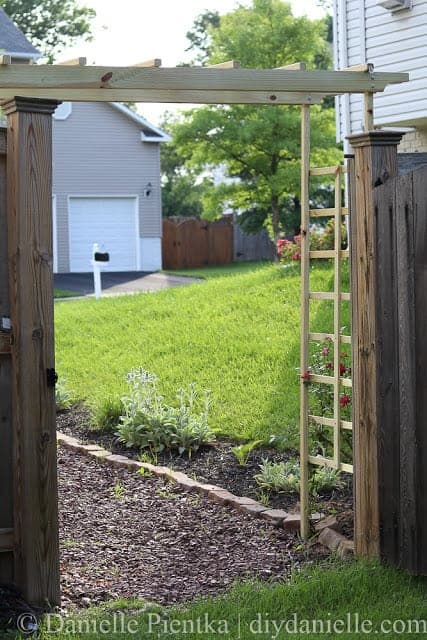
How to build a DIY garden arch trellis to help support roses around a privacy gate entrance. This easy build it perfect by the gate to a fence.
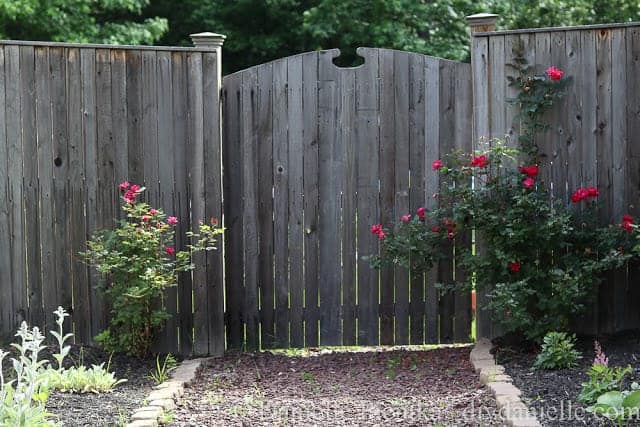
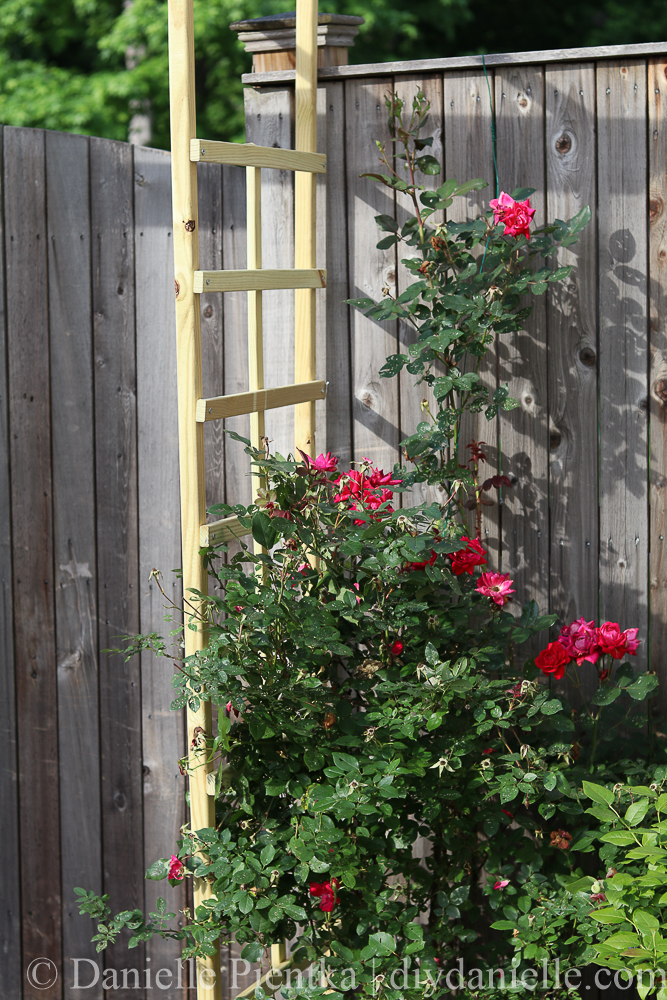
This garden arch has been high on the priority list since my knockout roses became an obstacle for getting in and out of our gate. I was told to cut them but I really wanted to encourage them to grow up an arch, rather than to just cut them back. They’re just so pretty!
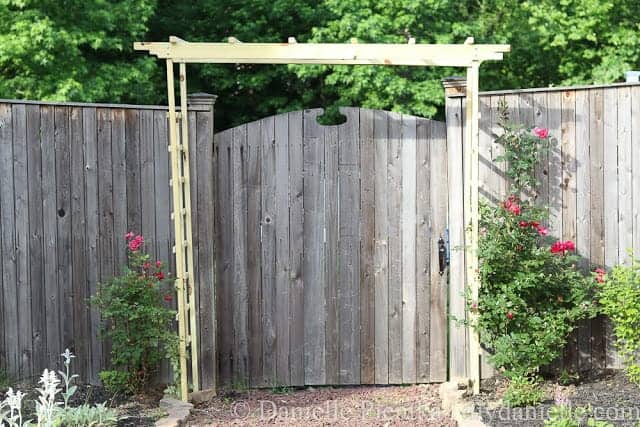
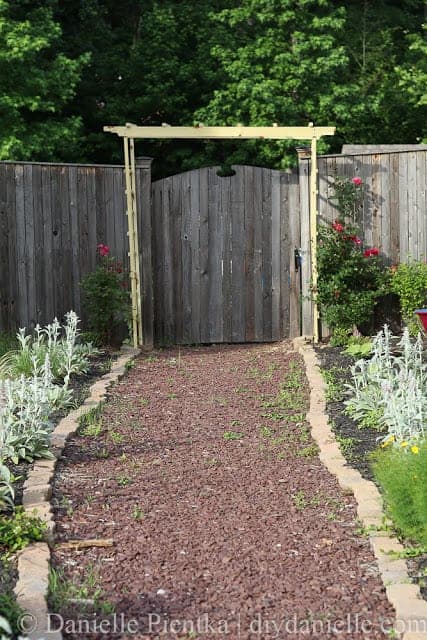
So my husband build me this garden arch trellis and it turned out beautiful! I can’t wait to see how it looks in a few years once it’s weathered and the roses have grown up it. I really love a good trellis, if you can’t tell from the projects we’ve done, like the trellis privacy planters.
This post may contain affiliate links which may earn me commissions should you click through them and take certain actions. As an affiliate for Amazon, Cricut, xTool, Home Depot, and other sites, I earn from qualifying purchases. Please DIY carefully. View my full legal disclosures here.
Please read the whole post so you don’t miss any important information!
Tools
Supplies
- (6) 2×2’s
- (6) 1×2’s
- (8) 3″ long, 5/16″ machine bolts
- (8) Washers, 5/16″
- (2) 1×3’s
My husband was pleasantly surprised that the supplies cost less than $50 which is a delightful change from some of the projects I’ve had him work on.
Here are some products in my store that you might be interested in! Keep scrolling for the tutorial!
Tutorial for a Garden Arch DIY
To begin, you want to take your measurements for the arch. The problem we had with the retail arches was that they weren’t wide enough and tall enough for our gate and fence. We measured and decided to make the arch 72″ wide and 7′ above ground height.
Board Cuts:
- (4) 1×2’s cut to 24″ strips for the side lattice (horizontals)
- (2) 1×2’s cut to 57″ strips for the side lattice (verticals)
- (4) 1×4’s cut to 88″ for the beams
- (4) 2×2’s for posts
- (2?) 2×2’s for top cross pieces
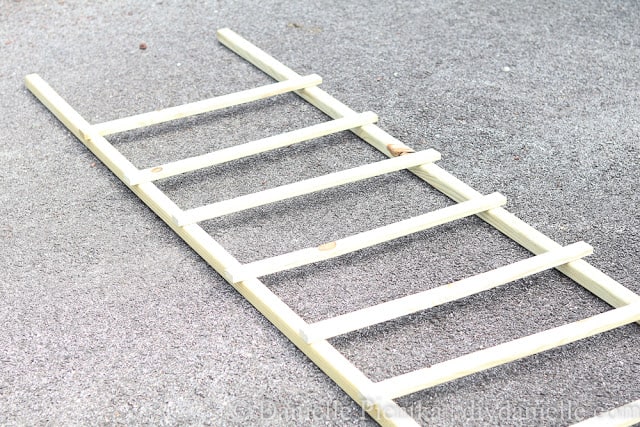
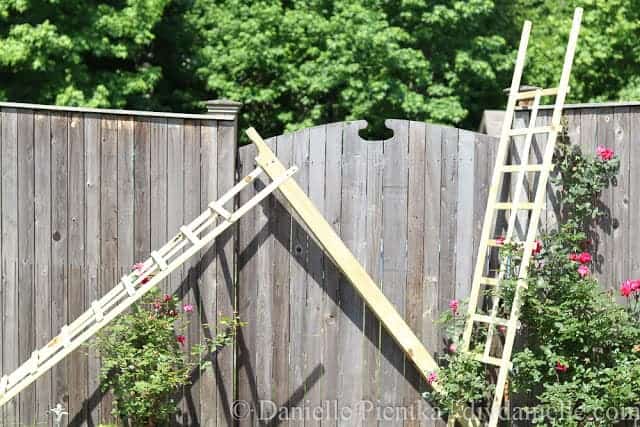
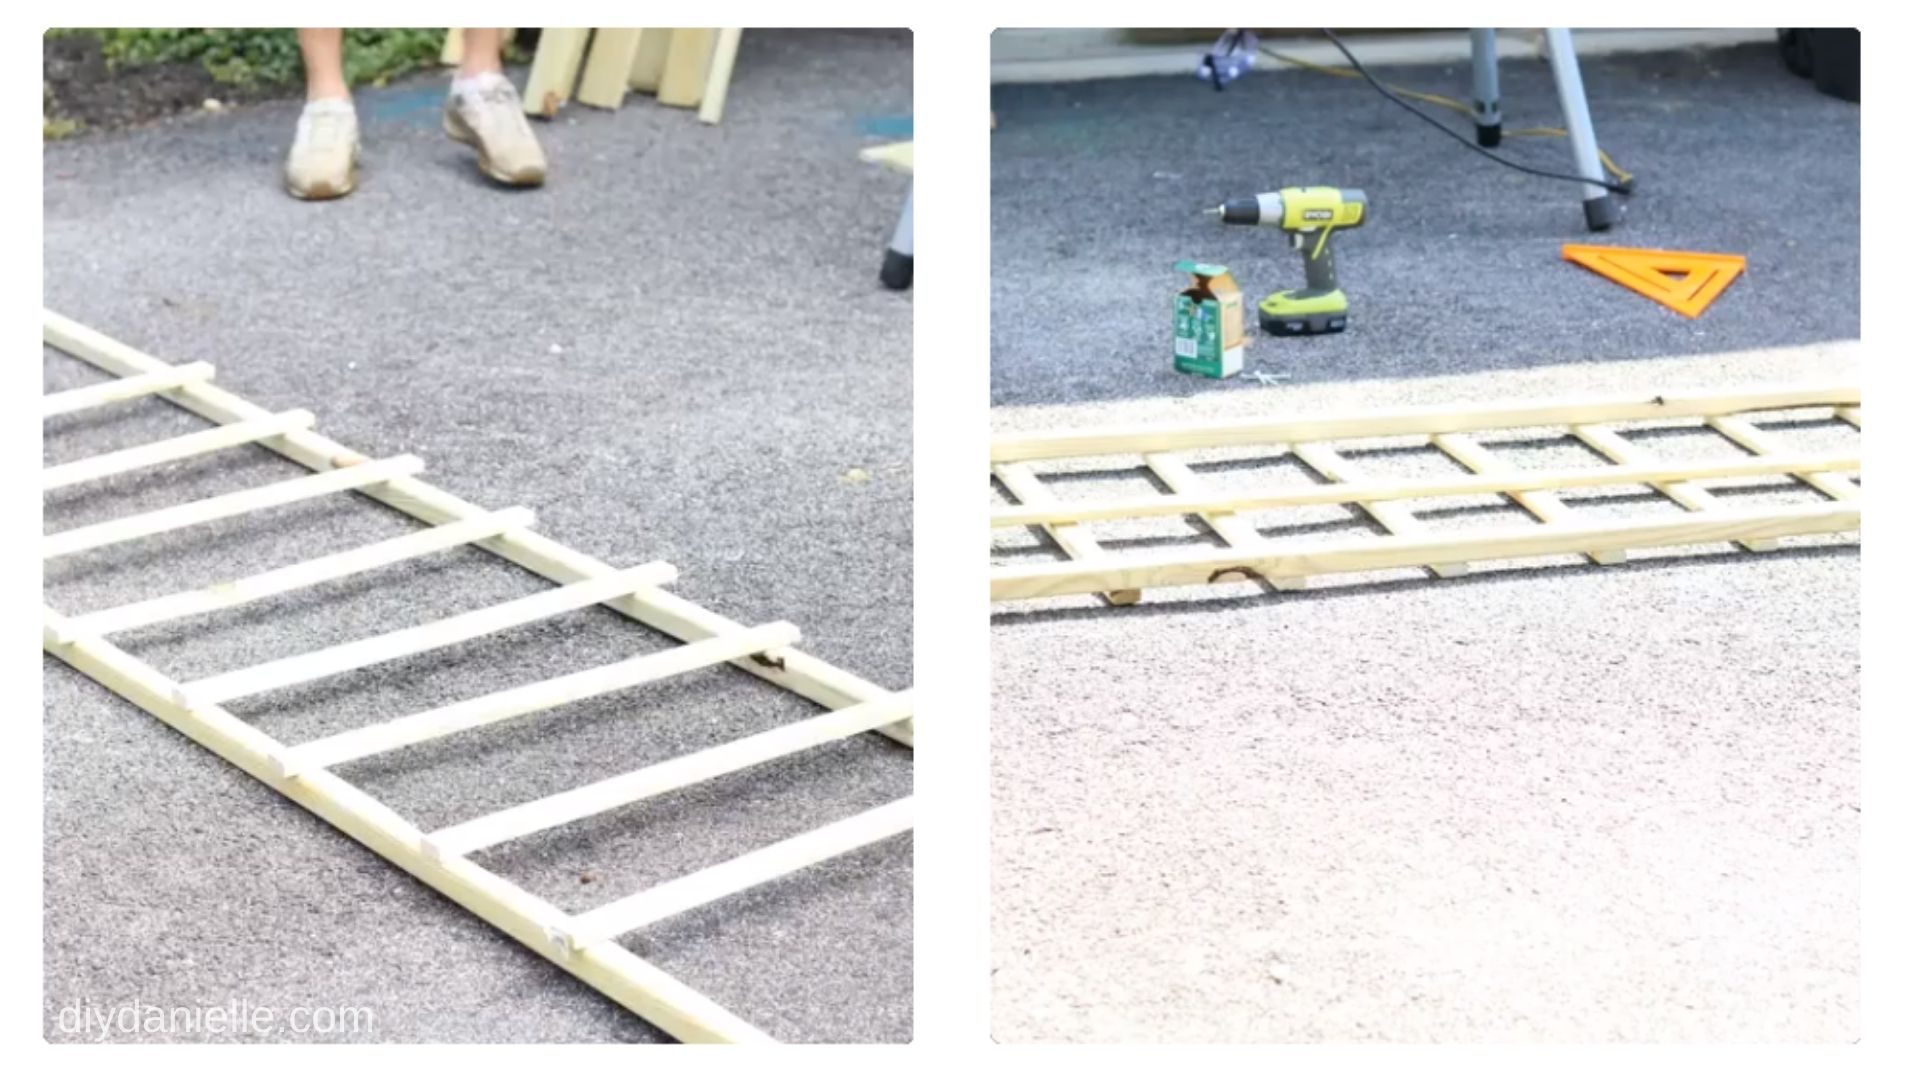
To start, place two 2×2’s on the ground parallel to each other. Place the 24″ strips across to create a ladder type look. For 8″ spacing place the strips at the following measurements from the bottom to the top: 24″, 32″, 40″, 48″, 56″, 64″ 72″ 80″.
Fasten lattice to posts with wood screws. Repeat for a second side lattice.
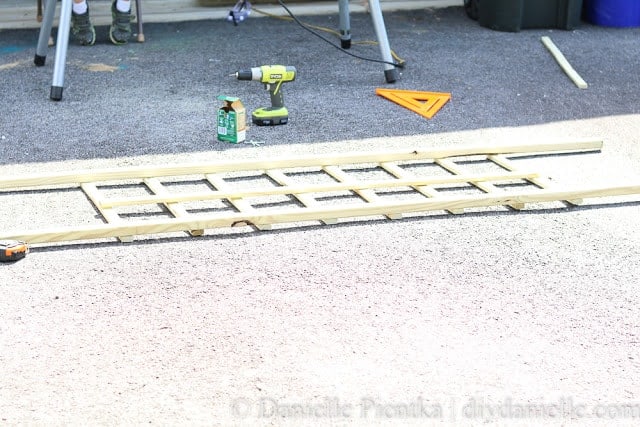
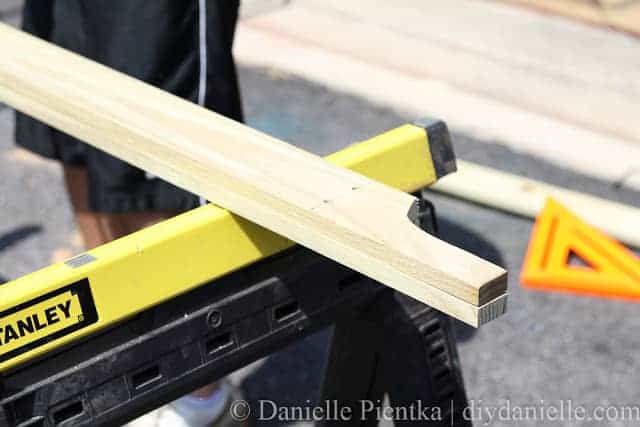
Once those pieces were attached, we flipped the lattice over and attached one more long piece down the middle.
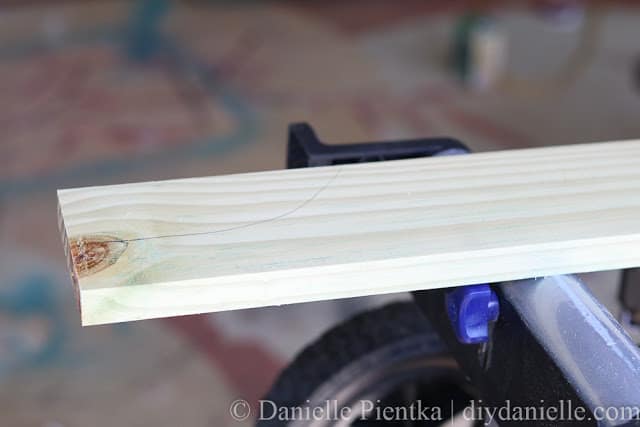
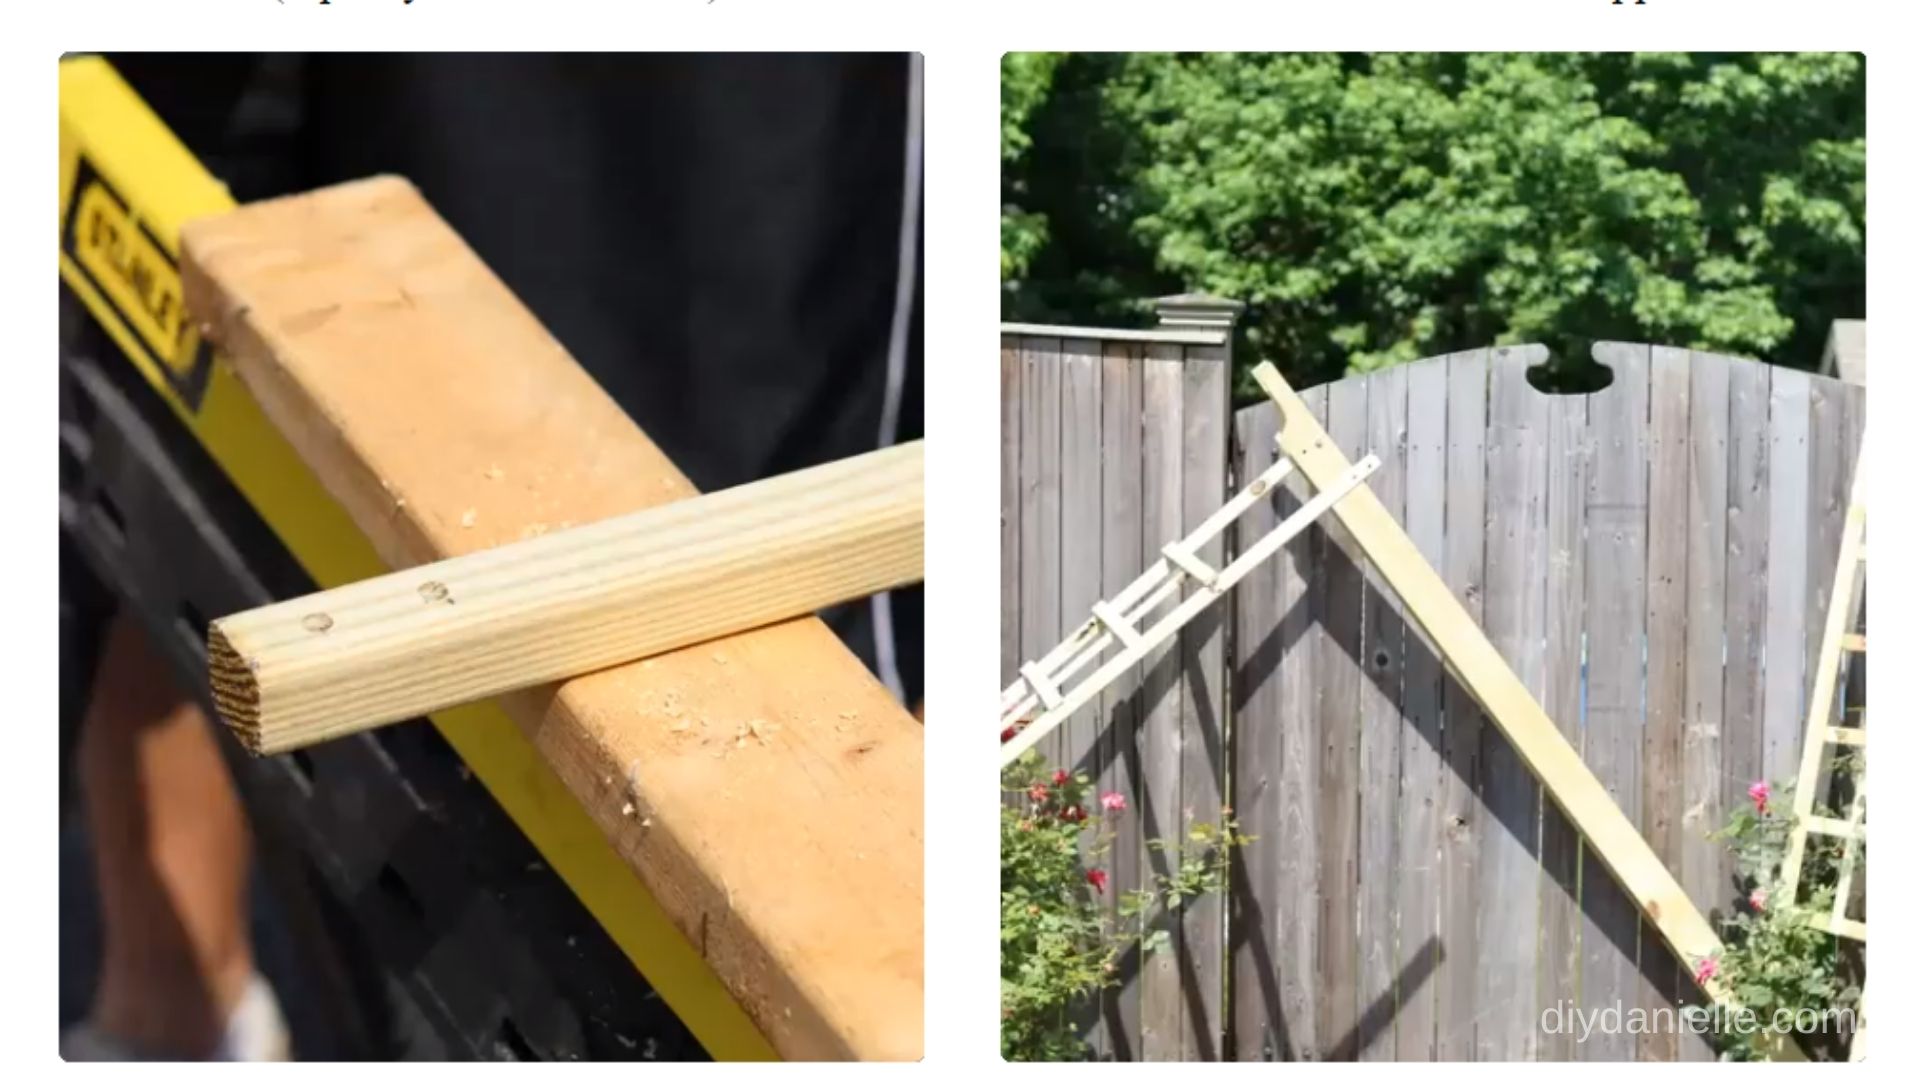
We traced an old item I had from my horseback riding days to get the curve right on the edges of the 1×4 beams. The first curve was traced from the item, but then we used the scrap piece of wood from the first cut as a template for the rest of the cuts. You want to cut one on each side of the 1×4’s. Keep the curve within 8″ of each end of the beam.
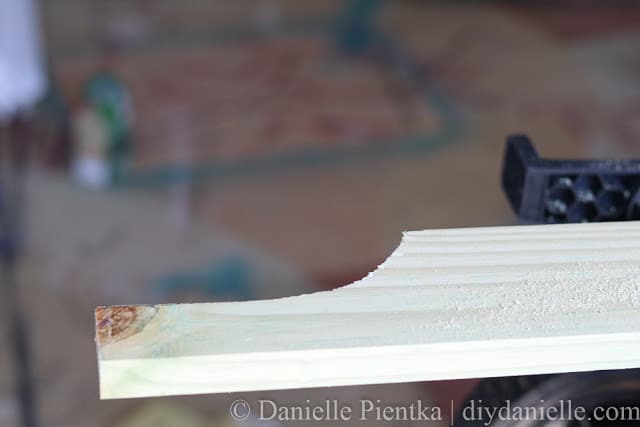
Here it is, cut with the jig saw.
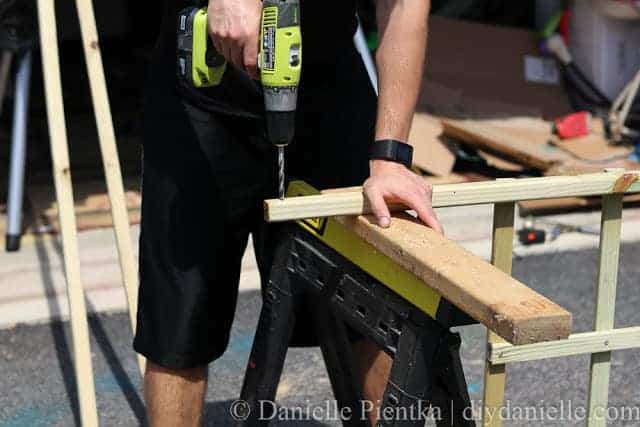
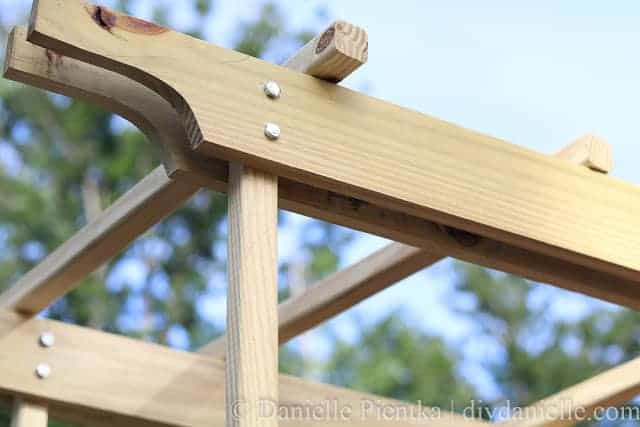
This arch design uses four beams (two beams sandwich the posts in front and back). Once the four beams have been prepared, it’s time to drill holes where they will attach to the posts. Some care should be given to getting the holes straight/perpendicular to the board (this will avoid difficulties in assembly). Clamp two boards together and drill holes 1″ from the top and bottom of the board.
As you can see, you’re drilling equivalently spaced holes in the top of each post. This is where the beams and and post will attach. Note, we attempted to drill through both boards and the post at the same time, but couldn’t get the lattice/boards positioned right. Perhaps if the holes were drilled before the side lattice was attached, this would have been possible.
Now you assemble your lattice and beams. Again, two beams sandwich each post. These were assembled with machine bolts and nuts. In hindsight, it may have been easier to assemble the arch on the ground and move in place afterwards, it was somewhat difficult to get everything together in place without breaking the wood.
At this point, you’re almost done, but you need to cut cross pieces for the trellis portion of this project. This is just the lattice going across the top. We cut ours and spaced them out evenly.
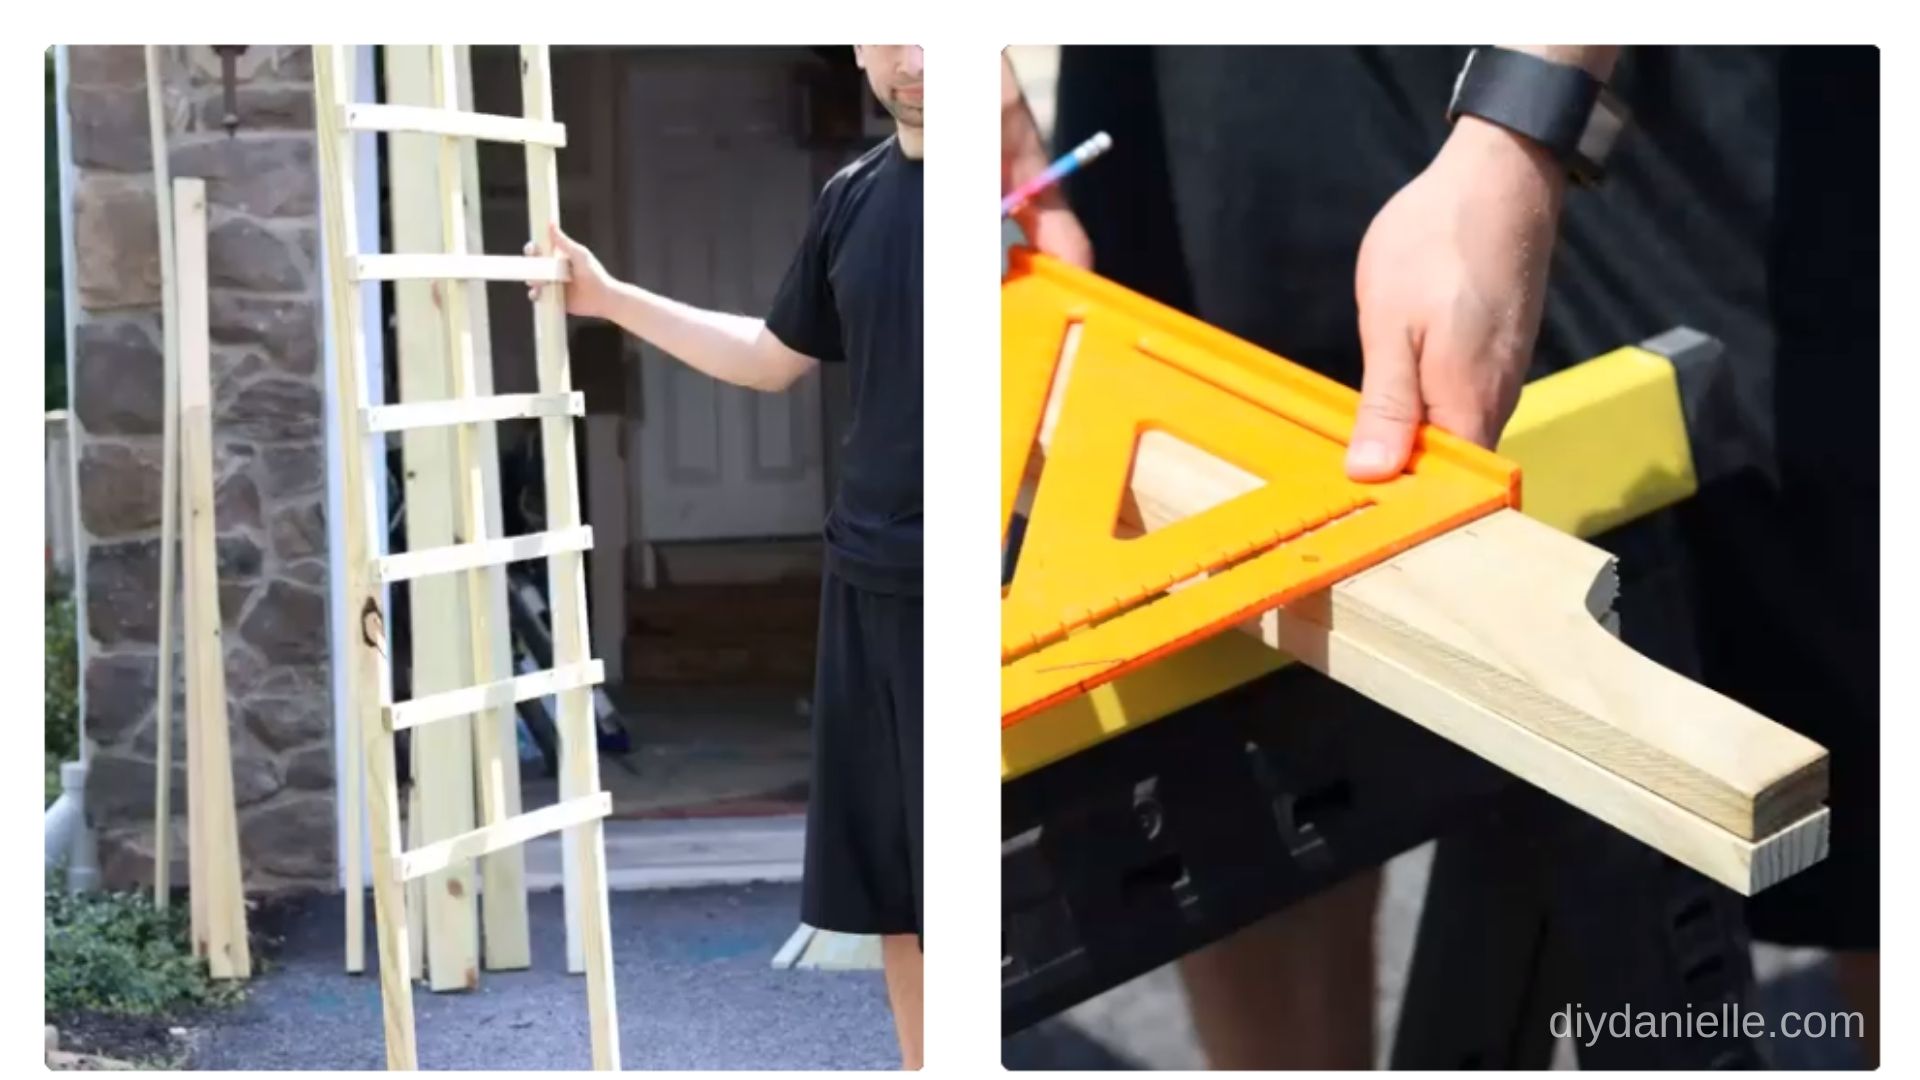
Then you screw in your cross pieces. We used a speed square to make sure there was an even 12″ between each board.

To finish, you just dig about 1′ holes for each leg of the arch to stabilize it.
Video Tutorial for the Garden Arch
If you want to see some of how this was built in action, check out the video. Hopefully it will help explain the steps if there’s any confusion from the photos!
Please share and pin this post! If you make this project, share it in our Stuff Mama Makes Facebook Group. We have regular giveaways for gift cards to craft stores. You can also tag me on Instagram @doityourselfdanielle; I love seeing everything you make!
DIY Garden Arch Tutorial
- Cut your wood.
We made our archway to be slightly wider than our gate. We cut all of our wood to the right length (see cut list).
- Assemble your two sides.
The two sides were assembled like a ladder. Once those were complete, we flipped the trellis over. One vertical 2×2 was attached down the middle of the rungs for support.

- Cut your decorative supports for the top of the arch.
You’ll have (4) decorative support pieces made from 1x4s, and you should use a jigsaw to cut them at an angle on both ends. You can get creative here and do whatever design you want.
- Use your drill bit to add holes for bolts to go through.
Add holes for bolts at the top of your 2x2s (top of your two “ladders”). The bolt holes allow you to connect the trellis ladders for either side of the archway to the horizontal supports. You’ll want to create matching holes for bolts on the four decorative cross supports. The photo on the right shows how they attach.
- Assemble your garden arch.
Make sure the side trellises and horizontal supports are square and level. Attach using bolts through the holes. Once that is done, attach your two by twos for the overhead trellis.

- Stain or paint if desired.
You should consider weatherproofing the wood in some way. Tie your roses to your trellis.
Bill
Sunday 18th of February 2024
Thanks for sharing this, but I would change the name. An arch is curved.. This is straight. So it's not an arch
Laurie Caldwell
Monday 25th of February 2019
Great and simple!!
Danielle
Tuesday 26th of February 2019
Thanks!