
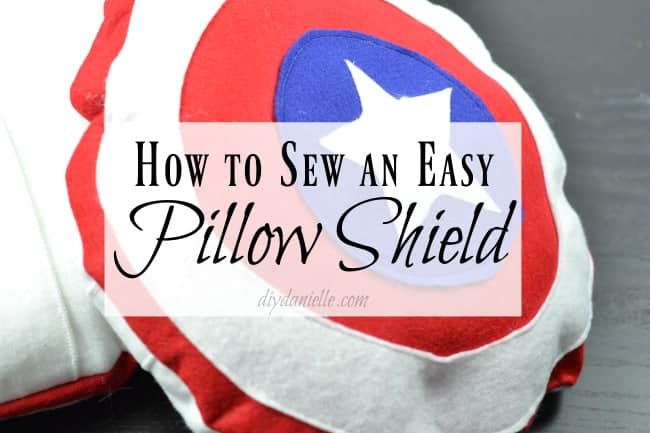
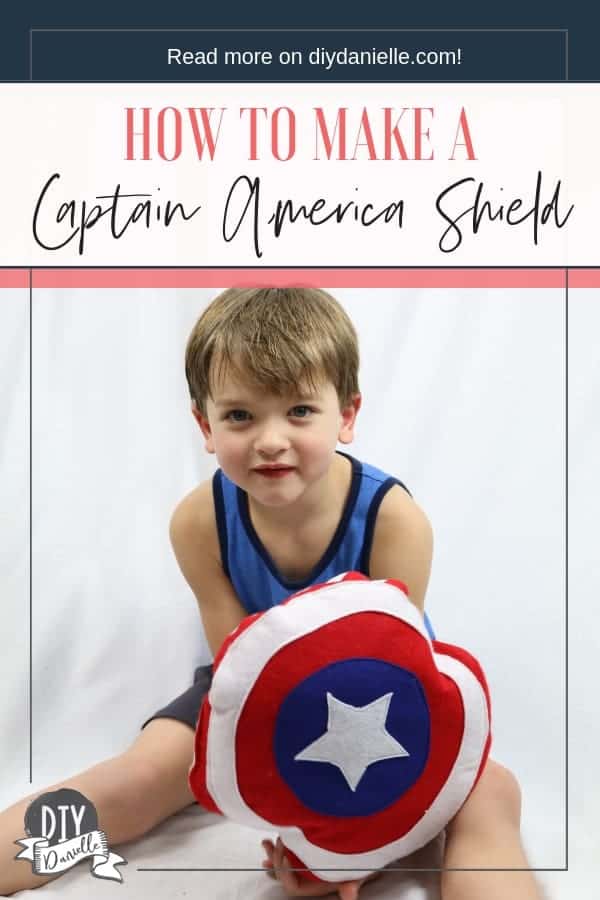
How to sew a quick and easy pillow shield. This Captain America Shield DIY is perfect for the kids you don’t trust with a solid shield.
This post may contain affiliate links which may earn me commissions should you click through them and take certain actions. As an affiliate for Amazon, Cricut, xTool, Home Depot, and other sites, I earn from qualifying purchases. Please DIY carefully. View my full legal disclosures here.
Please read the whole post so you don’t miss any important information!
We went to a friend’s home recently for a birthday party and their kids had these awesome Captain America shields. My sons went nuts for them of course and I spent the party trying to make sure they didn’t knock over any precious heirlooms.
Honestly… I have two boys. They play fight. I don’t know why or where they get it from, but it just happens. So I figure I should probably give them an acceptable outlet so they won’t drive me crazy. I made my oldest a knight’s shield to go with a costume way back in the day, but we only had one. I decided to make two pillow shields that replicated the Captain America shields they played with at the party. Once I did a little research I realized Captain America is a good option because he doesn’t carry a weapon! Not that this will stop the kids, but hey.
I am not affiliated with Marvel or any of its subsidiaries. This tutorial is for personal use only.
Supplies
- Felt or fleece in White, Red, and Blue
- Star shape cutout (or freehand it)
- Sewing equipment, thread in matching colors to the fabric. I only needed white and blue because of how I sewed it together.
- Fuzz filling
Captain America Shield DIY
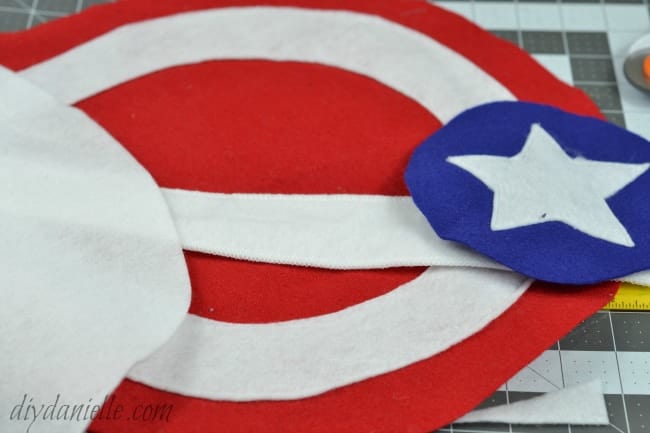
You can freehand the circles or you can find circular items around your home. I used a 5 gallon bucket. I cut my red fabric circle by adding another inch to the size of the bucket. Then I cut my white circle the size of the bucket. I cut out the inside circle of the white. Then I used a big ribbon container to draw the blue circle.
I used the white piece from the inside of the first ring to make the star so I wasted less fabric. For the star, I printed one out on paper, then using it to cut out a fabric star.
The strap and back circle were both white felt.
Once you have it all cut out, pin your white ring to the red circle. Pin your white star to the blue circle. Sew them on, using a straight stitch (white thread for both).
Now you’ll need to sew the blue circle to the middle of the red circle with blue thread.
Sew your strap.
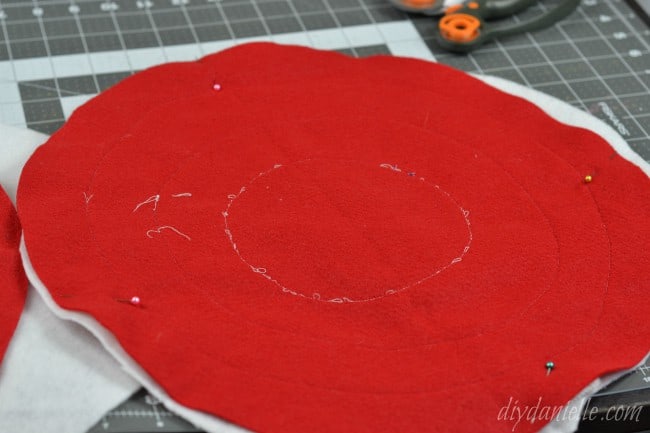
Place your shield front right sides up. Place the strap in the middle (it should go all the way across). Place your back fabric circle right sides down.
Sew around, leaving an area to turn.
Turn right sides out. Fill with fiber fill. Hand sew the opening closed.
Video Tutorial
If you want a wood shield, check out our tutorial for making a wood shield from scrap plywood!
Please share and pin this post!
Google Web Stories: How to Sew a Fabric Toy Shield