
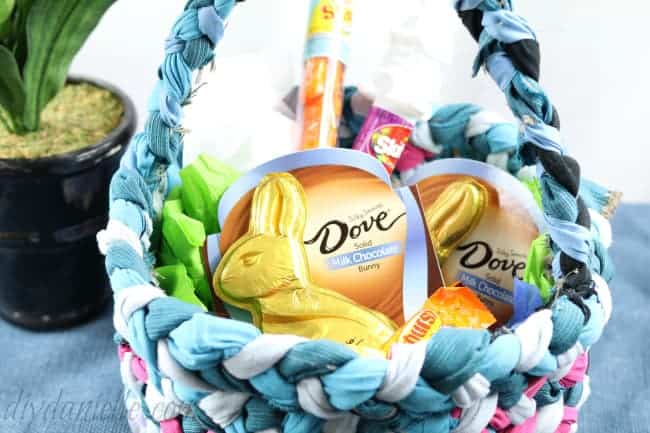
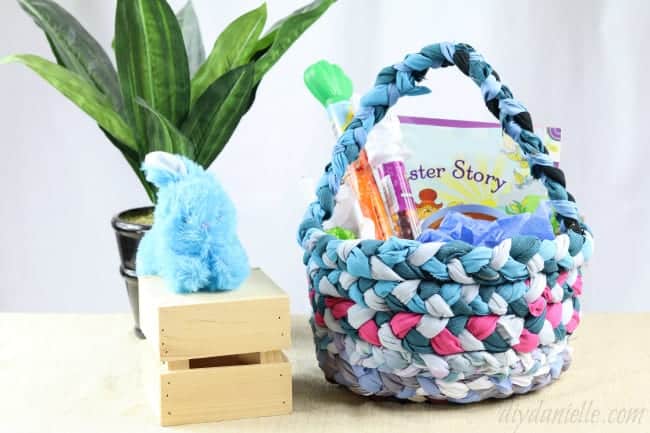
How to make an easy Easter basket. This Easter basket is made with upcycled fabric, a sewing needle, and a spool of coordinating thread.
I love making handmade baskets from scrap fabric. It’s become an obsession of mine and it’s a great way to upcycle old bed sheets, clothing, and other fabric that would otherwise end up in a landfill. Even fabrics with holes or stains work because the flaws aren’t obvious once you braid the fabric together. If you want more tips on how to get rid of old clothes, check out my tips on upcycling clothing.
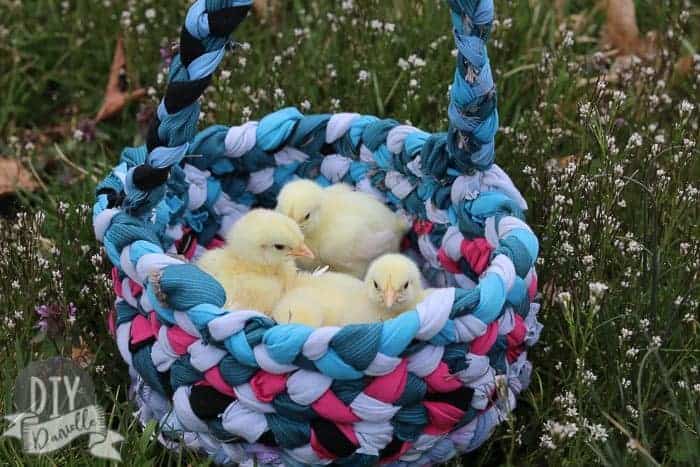
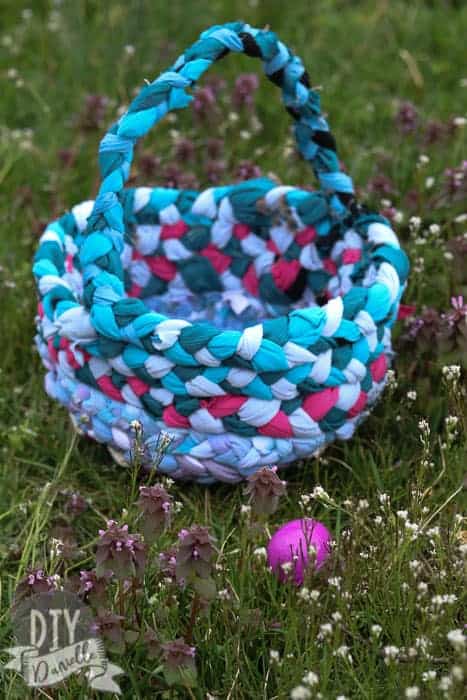
These baskets are perfect as storage containers, decoration, or even Easter baskets this holiday. They’re similar to the rag rugs of old and they’re the perfect craft to make while watching your favorite TV show.
The best part is that it’s free to make these baskets so you can save your money for candy and other items to fill the basket with. If you have an older child, you could teach them to sew their own Easter basket by hand, teaching them hand sewing skills and upcycling all in one go.
Let me show you how to make your own Easter basket!
Supplies
- Fabric: You can upcycle old clothing by cutting it into strips, use strips of fabric from old blankets, or use new fabric.
- Sewing needle
- Spool of coordinating thread
- Binder clips, elastic, or something else that will help hold the ends of the braid.
How to Make an Easter Basket
To begin, you need to figure out how you’d like to cut your fabric or upcycled clothing. I like to use old pants because they’re long and you can get a good long strip of fabric from the cuts if you cut down the length of the leg.
I use a variety of fabrics for my baskets and rugs… sometimes I have extra scrap fabric that wasn’t big enough to make into anything. I also used upcycled clothing cut into strips.
Longer strips mean less tying or sewing pieces together, but they’re also bulky to braid. Just something to keep in mind.You want your strips to be close to the same width… I don’t always do this which makes it look a lot more scrappy. But for a neater look, keep the strips similar widths. If you’re going for a scrappy look, whatever.
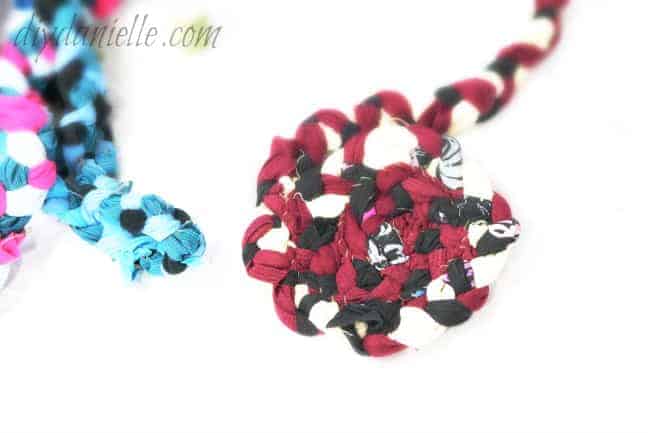
Also, you may think a particular fabric is really ugly or too damaged to use, but the fabric tends to look much better once braided. You just want coordinating colors, naturally.
Pick out the first three strips that you want to start with. I use a binder clip to hold the ends together while I braid. Braid, braid, braid.
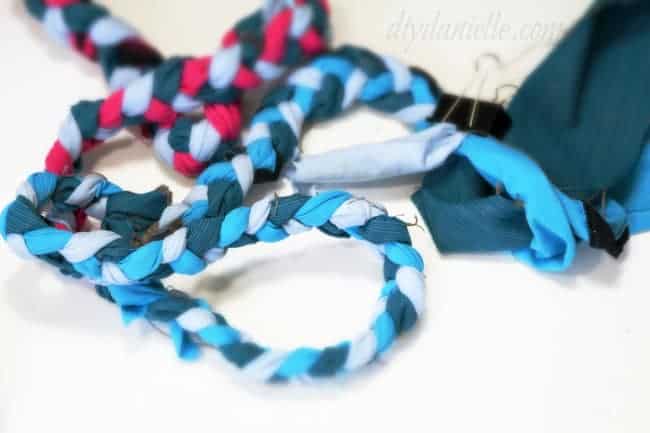
When you get to the end of one piece, you can tie them together (or sew them together if you want extra work). Sometimes I just braid the piece in which works too. Your method for combining pieces will affect how scrappy the final product turns out. I’m not a fan of huge knots because they’re hard to hand sew for the final step.
Knowing how much braided fabric you’ll need is a matter of testing it every now and then. You’ll want to figure out how big your base will be, then loop the braids to get an approximate idea how much longer you need to go. It’s not a perfect science, but sometimes I start hand sewing the braided fabric together, then add fabric to the braid if I need the basket to be bigger.
Once you’ve got enough length to really start braiding, you need to start by braiding your base. I put some stitches in the beginning of my braid to hold it together (in lieu of the binder clip), then sew a stitch for the inside of the basket as I loop the fabric in a circle. It’s time consuming but nice busy work for TV time or if you’re listening to an audiobook. Using a coordinating thread helps hide the appearance of the thread, but it’s tough when you’re using multiple colors of fabric.
You keep snaking your braid around to add extra outer rings to the base… sew as you go.
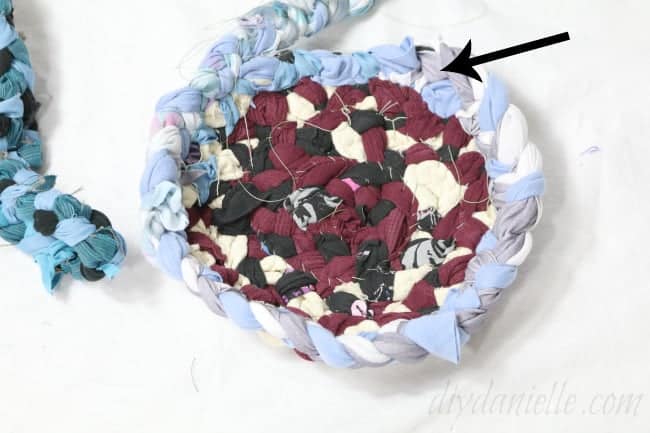
When you’ve made the base the size you want, you can start curving the fabric up a bit… I hope I explain this okay, but check the video if you need a better idea what I mean. I’m essentially shaping the fabric by sewing it at an angle for the wall of the basket.
I put an arrow where I started angling the braid up. After you get the bottom of the wall sewn to the base, you’re just continuing to sew your braid up and around to create the wall. Loop loop loop.
When you’ve gotten the wall to the height you want, you need to create a handle (unless you’d rather opt out. In that case, just cut your braid and sew the end onto the basket). I curved my braid up and sewed the bottom of the handle on. You want to do a lot of sewing for each side of the handle so it will be stable.
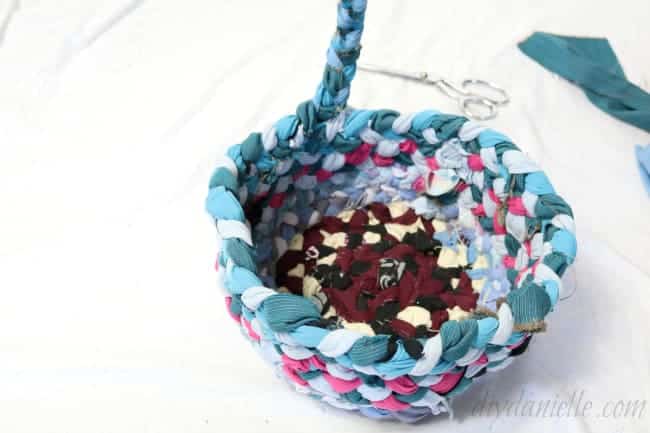
Once you get that side done, just sew the other side of the handle down on the opposite side of the basket and you’re finished!
Video of DIY Easter Basket
Here are some other Easter craft ideas!
Please pin and share this post!
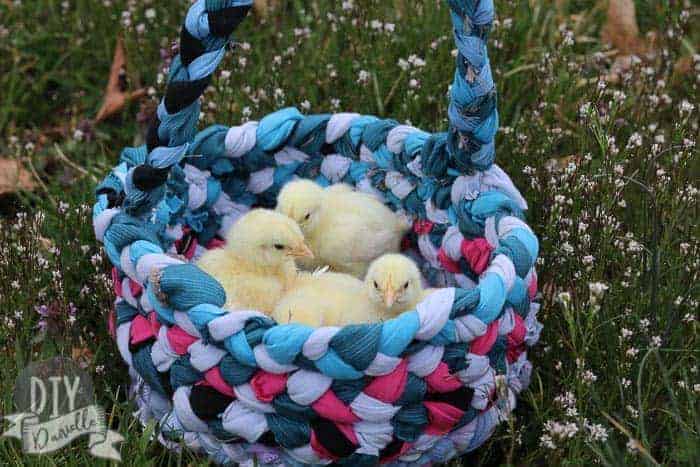
How to Sew an Easter Basket from Upcycled Fabric
Make an adorable Easter basket using upcycled fabric, a sewing needle, and a spool of coordinating thread.
Materials
- Upcycled Fabric
- Spool of coordinating thread
- Binder clips or elastic
Tools
- Sewing Needle
Instructions
- Cut long strips of fabric with a variety of upcycled fabric in similar width.
- Pick out the first three strips to start with.
- Use a binder clip to hold the ends together and start to braid.
- When you get to the end of one piece, tie them together.
- Loop the braids to determine the approximate size.
- Start by braiding your base with a few stitches at the start to hold it together.
- Sew a stitch for the inside of the basket and loop the fabric in a circle.
- Use a coordinating thread to hide it.
- Continue snaking your braid around to add extra outer rings to the base.
- Sew your braid up and around to create the wall.
- Begin looping.
- Cut your braid and sew the end onto the basket.
- Curve the braid up and sew the bottom of the handle on.
- Sew the other side of the handle on the opposite side.
Thanks for sharing your ideas on making the braided basket! Great for using unwearable clothes and/or fabric that is cluttering up the sewing room! I’ll be making a few of those with my granddaughters next week on spring break! What a fun day for us!!
Just curious as to how wide your fabric strips were for the basket shown above.
I wasn’t really that careful about measuring them. I think maybe 1/2″ ? I am really not sure. The big deal is that they are all approx the same width so you don’t have parts of your basket that are thicker than others.