
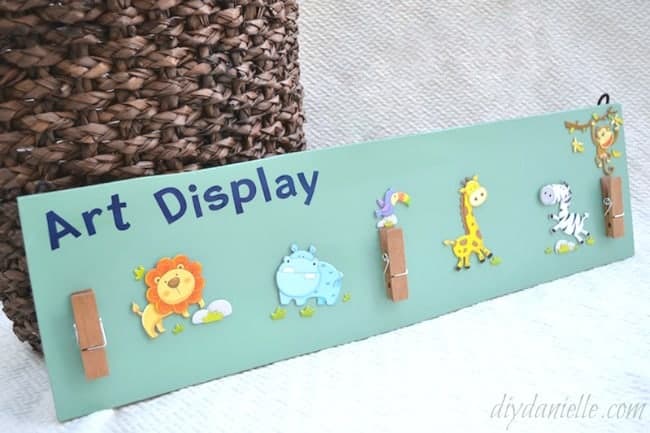
How to make an art display from extra flooring. This is a great way to repurpose leftover laminate flooring, even if the flooring was damaged.
I love making art and homework displays. This is my first time using laminate floor pieces, however. I love these so much. They were easy to make, lightweight, and the back was already finished so I didn’t need to paint both sides. If you want to use regular wood, I have two other tutorials for art displays. One shows you how to make custom art displays using wood from the hardware store and the other is a simpler art display with no embellishments.
How to Make a Children’s Art Display from Laminate Flooring
Supplies for Art Displays (with some affiliate links to Amazon. Thanks for supporting my blog!)
- Old laminate floor pieces. You can cut off any messed up ends.
- Spray paint
- Paracord
- Staples and staple gun
- Heavy duty glue
- Clothespins meant for crafts (I found 12 for $7.99 at Michaels and used a coupon)
- Scrapbooking stickers
- Something to add letters to your display- I used stickers from scrapbooking section, but you can wood burn the words, hand writing it with paint or such, etc. You could also skip the lettering altogether.
- A circular saw and sander
Instructions for Making Art Displays
2. Cut off the lip on each long side of the flooring.
3. Sand as needed. I lightly sanded the whole piece in hopes it would help the paint stick, but I think if you get good spray paint then it won’t be necessary.
4. Spray paint. Let dry.


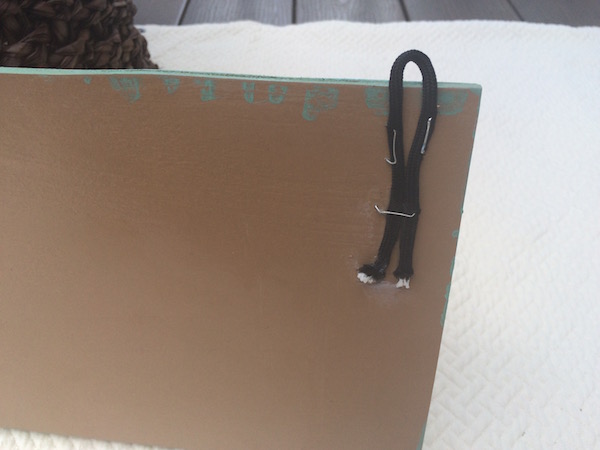
5. Cut a short piece of paracord and fold. Staple to the back of your display. Then apply some Gorilla glue as well. Let dry.
Normally I use a screw and a heavy duty single hole D ring for my art displays, but there was no way to screw something into the laminate boards without going through the board.


7. Add lettering. You can add your child’s name or a quote or just “art display.” I used stickers, but these came off pretty easily so I ended up using mod podge over the longer display.
8. Add other decoration as desired. I added scrapbooking stickers to this afterwards. These stuck really well fortunately so I didn’t need mod podge over them.
9. Hang your display!
Video tutorial:
 Disclosure of Material Connection: Some of the links in the post above are “affiliate links.” This means if you click on the link and purchase the item, I will receive an affiliate commission. Regardless, I only recommend products or services I use personally and believe will add value to my readers. I am disclosing this in accordance with the Federal Trade Commission’s 16 CFR, Part 255: “Guides Concerning the Use of Endorsements and Testimonials in Advertising.”