

If you saw my first post, Basement Renovations Part I, we’ve been working on finishing a room in our basement to use as part playroom and part office area.
We had a contractor do the framing, drywalling, electric, and painting so now we’ve moved on to our portion of the project which is to complete the flooring and add the office area. In today’s post, I’ll very briefly go over the experience of installing laminate flooring and some basic tips.
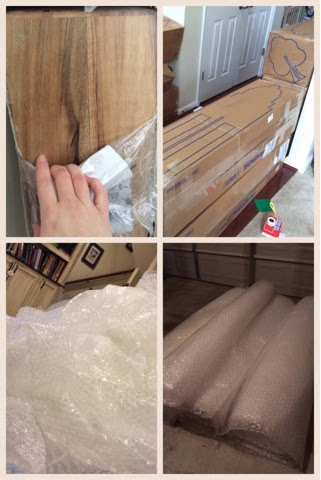 |
| The quantity of packaging horrified me. We rolled up all of the bubble wrap and Freecycled it so it wouldn’t be wasted. I used the extra boxes to lay on the floor post install to protect it while we installed cabinets and painted the countertop. Then we recycled that too. |
First, I ordered all of my flooring online and had it shipped to our house.
This was really convenient and the shipping was free, but I wouldn’t say it’s a good idea.
The flooring wasn’t all in great condition… the benefit to buying in store is that you can look at each box and make sure the top boards at least don’t have any chipping. We were able to put the whole floor down with the 12 boxes that we purchased, separating out the bad pieces and strategically using some bad pieces on the very ends.
But it wasn’t fun.
We also didn’t order everything we needed (math error) for other supplies so we’ve been running to the store a lot. I purchased a coupon on Ebay for a coupon code to the store I wanted to go to which was a great way to save some money… but of course, I had to buy a lot of coupons where I kept forgetting stuff. Whoops.
Second, to install laminate flooring there’s a few items that you need to pick up, beyond your tools. Make sure you measure out what you’ll need in advance so you get the right amount. For tools, we used a nail gun (we have an air compressor and added the attachment for the nail gun) and of course we needed something to cut the flooring with.
Supplies to match your flooring:
- Laminate Flooring
- Quarter Round: This is the thin strip that connects your floor to your baseboard. It adds a finished look and it’s easy to install with a nail gun.
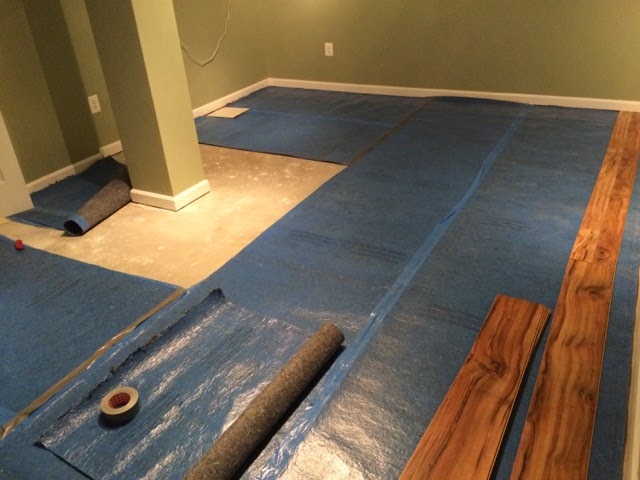
- Underlayment: You need this to go under the flooring, particularly in a basement when you’re going to be playing it on top of cement. I noticed some flooring includes padding, but that padding ISN’T enough according to the manufacturer to skip an underlayment in the case of a basement floor.
- Four in One Moulding Kit: This provides the bar that connects your floor in the finished room to the flooring in the next room (right where door is).
For a quick video, I’m below demonstrating how I installed the Blue Hawk Premium 3-in-1 Underlayment that I picked up. This was a pretty simple job, especially if your room is perfectly rectangular. It was a bit of a pain to go around the center beam in our room.
I found our knife wasn’t sharp enough to really tackle cutting this so I ended up using some scissors (wince)… so ladies, hide yo’ sewing scissors! My paper scissors are very dull now.
Here’s some pictures of when I was installing the underlayment:
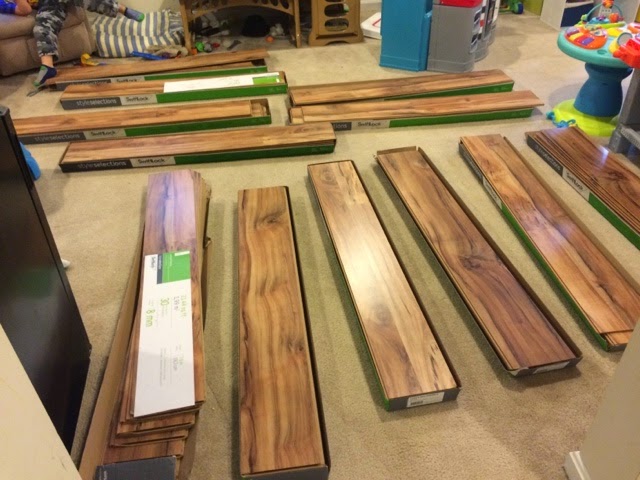
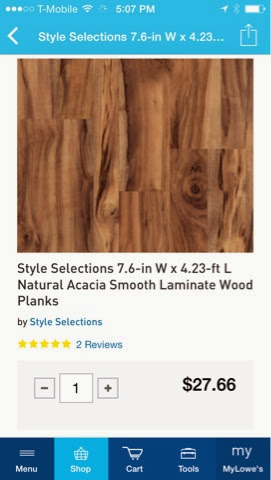
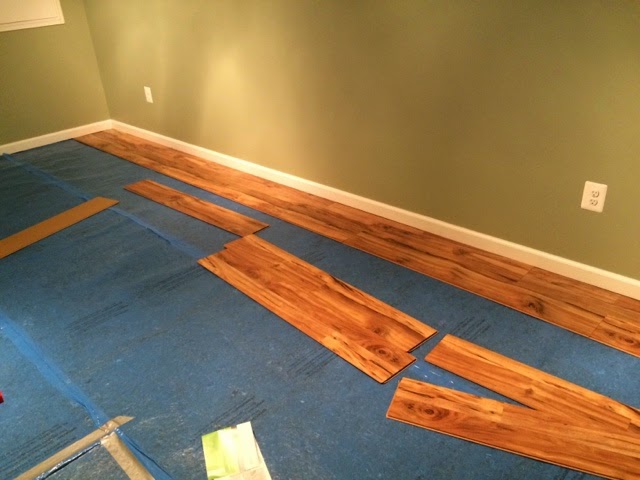
For flooring, I decided to use Style Selections Natural Acacia Smooth Laminate Wood Planks (pictured on the left, not a link to the product).
I LOVE how these look when put down, but I was pretty disappointed in how much damage there was to the planks when we received them in the mail. If you can find these in stock at a store, it might be better to go pick out your boxes instead.
When you bring your boxes home, make sure to place them in the room that you’ll be laying them down. Remove the packaging and let them sit for 24-48 hours.
This is important.
Don’t skip this step.
My understanding is that this preps the planks for install so they’re acclimated to the temperature and humidity of the room. I did put them down in the room next to the room we were installing them in (which was hopefully close enough).
I can’t attest to how well these went together because this is where my husband mostly took over, but for the rectangular part of our room it was a very basic project: cut the boards the appropriate length, snap them in place, repeat.
It got a lot more tricky when trying to go around the gaping hole in our floor (we’ll add an access plate there later) and the support beam. This wood snapped together okay, but I feel like some pieces just didn’t go in as well. I’m not sure if they were slightly damaged or what, but there was a significant difference between the ease of install in some of them.
The ones that worked well? You lay the first row across on top of your underlayment, then you tilt your first board of the second row at an angle into the notches and snap down. It’s very satisfying work when it’s working well. You need to make sure that they all snap down flush and aren’t popping up on one end. Then you just continue to lay each piece. You have to cut the pieces here and there so the seams are all staggered.


Once you’ve completed that portion, you’re installing quarter round around the room. Very easy with a nail gun. And beautiful polished look to it when it’s done.
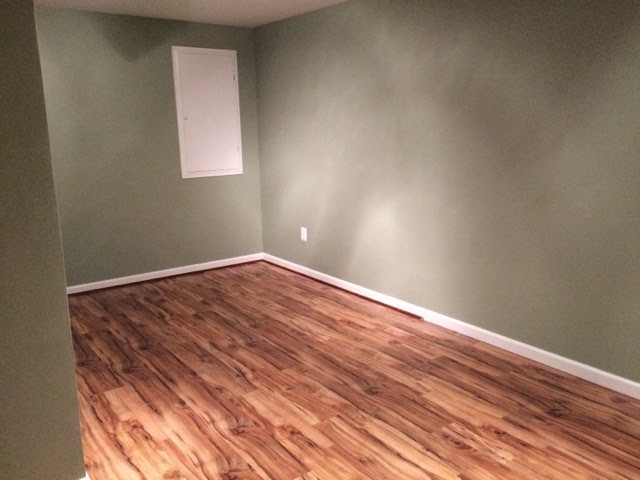
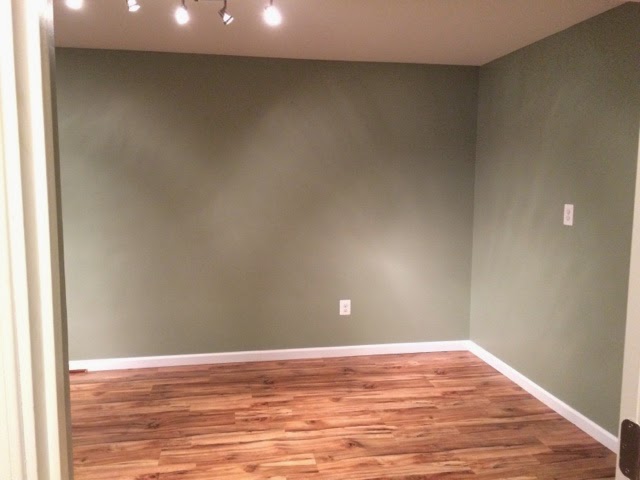
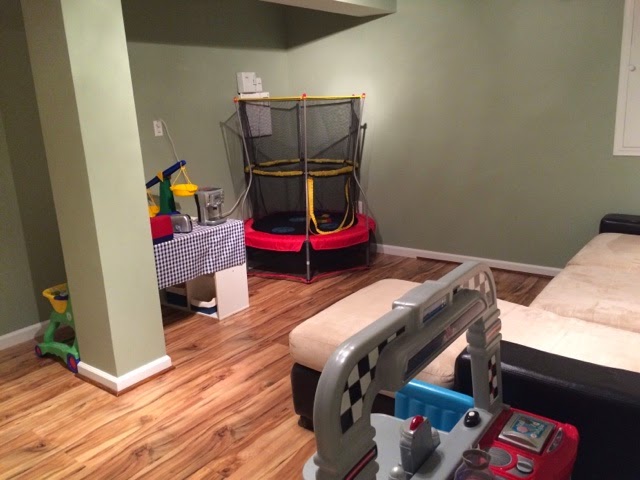
So here’s the room setup with the flooring, and the quarter round partially installed. We needed to order more so no final pictures yet. We did setup the playroom in here already because it made it easier for us to move onward to working on the office area next.

 |
| This is the future office area. |