|
| Fit the wood and sand in the back of the Prius like the PROS we are. G wasn’t happy (because Daddy ran into the store- he kept yelling “Daddddddyyyyy!” |
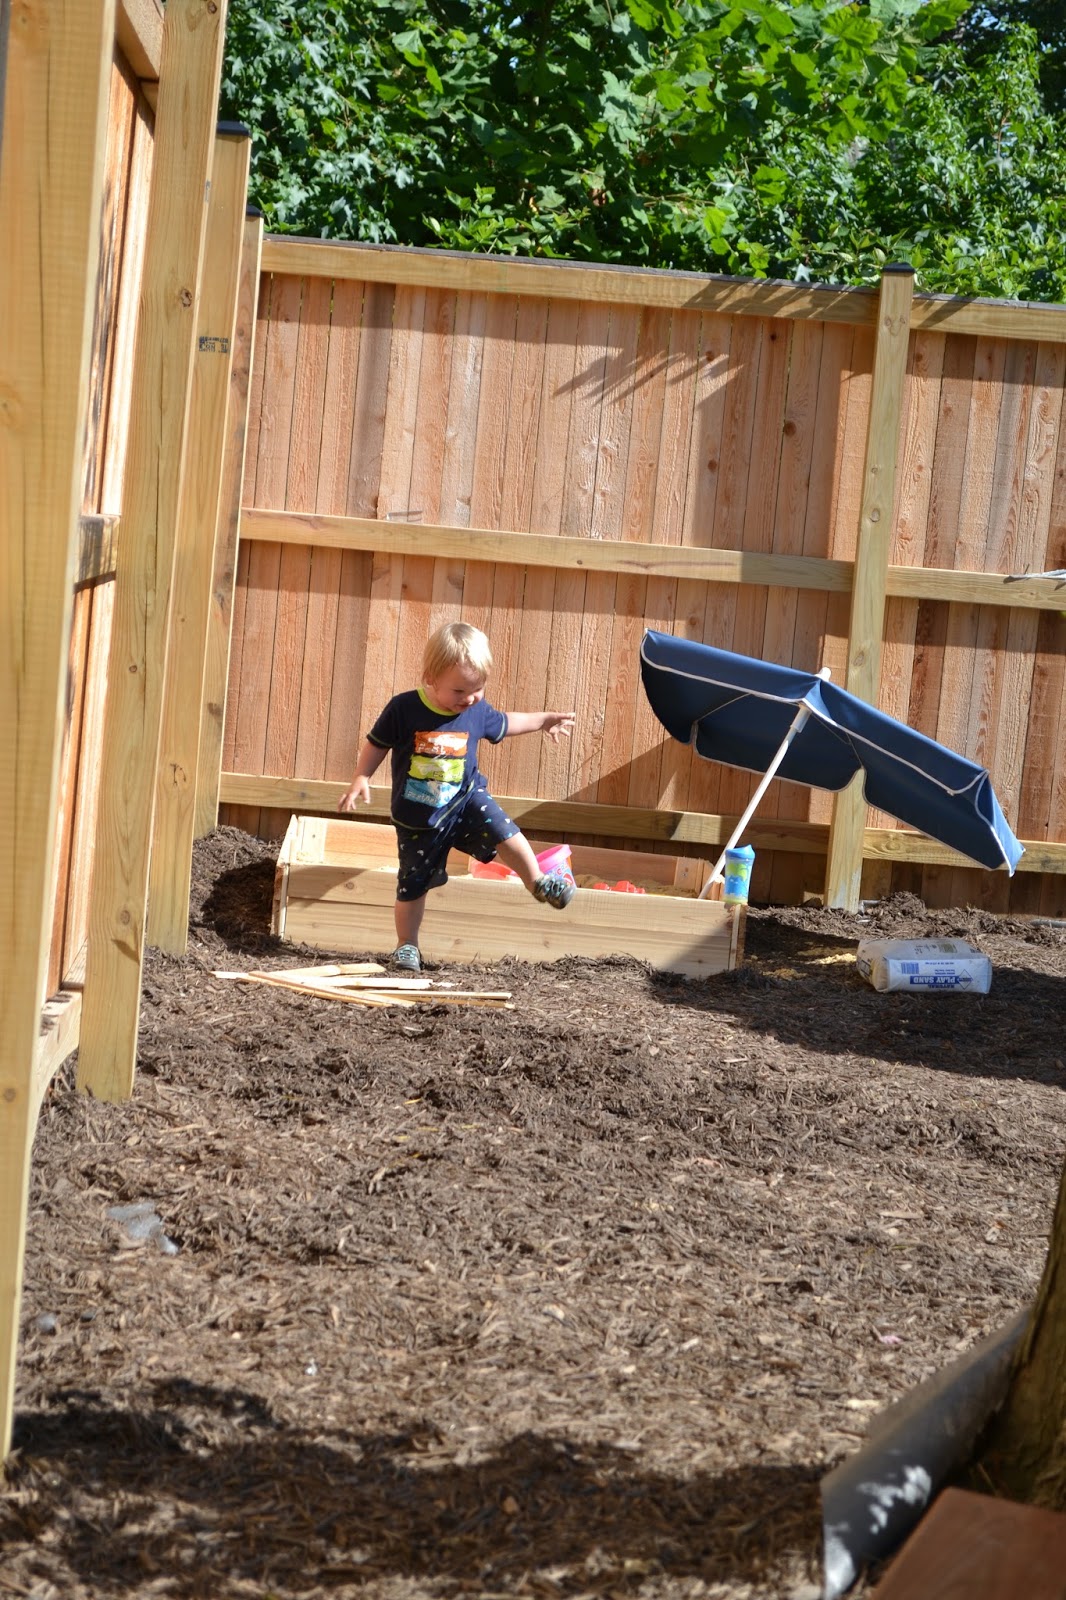
I was a little concerned about getting a sandbox because of the mess involved, but once we mulched the back area I felt much better about sand going into the mulch than into the grass (not sure why it matters, but my brain says it does). G loves sand and Daddy B promised to make a cover for the sandbox so we won’t have the dogs or random wild animals using it as a litter box. For this post, I’m just going to cover the sand box itself. I’ll post later once we build the cover and/or umbrella as well. It seems like we’ve got a million and a half DIY projects to complete right now and yet I have no energy for it all. Being pregnant is hard work!
- Cedar Wood
- Landscape fabric (which we already had down)
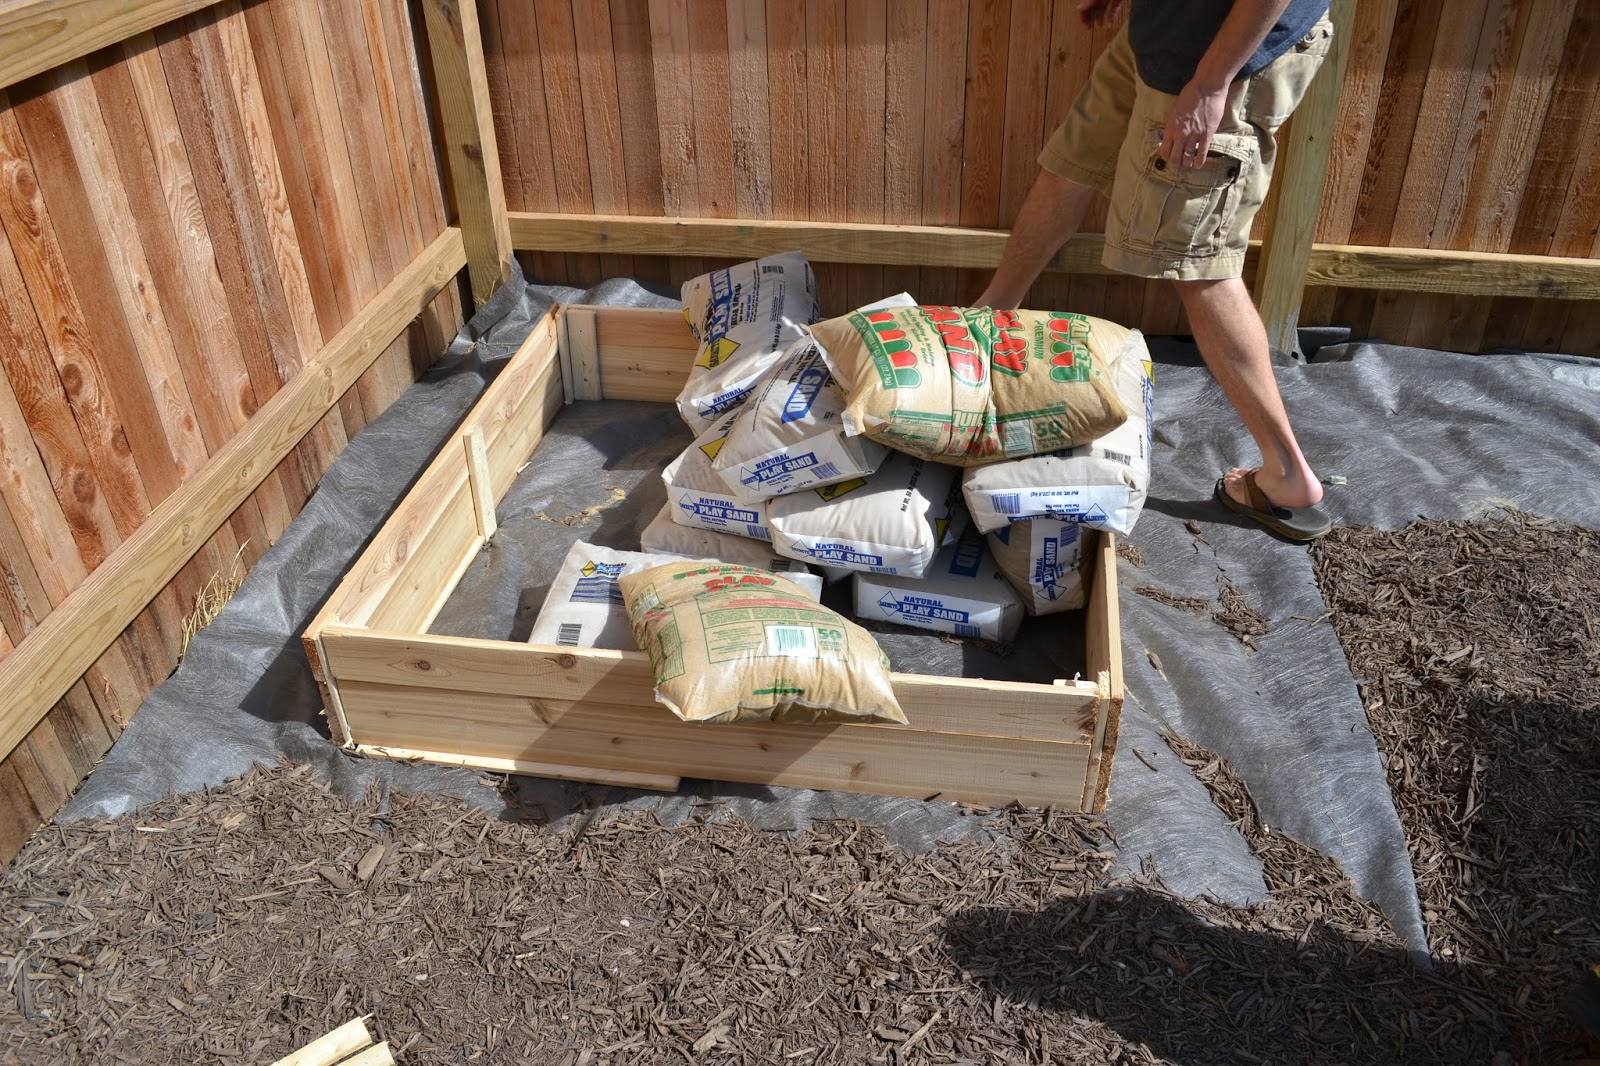
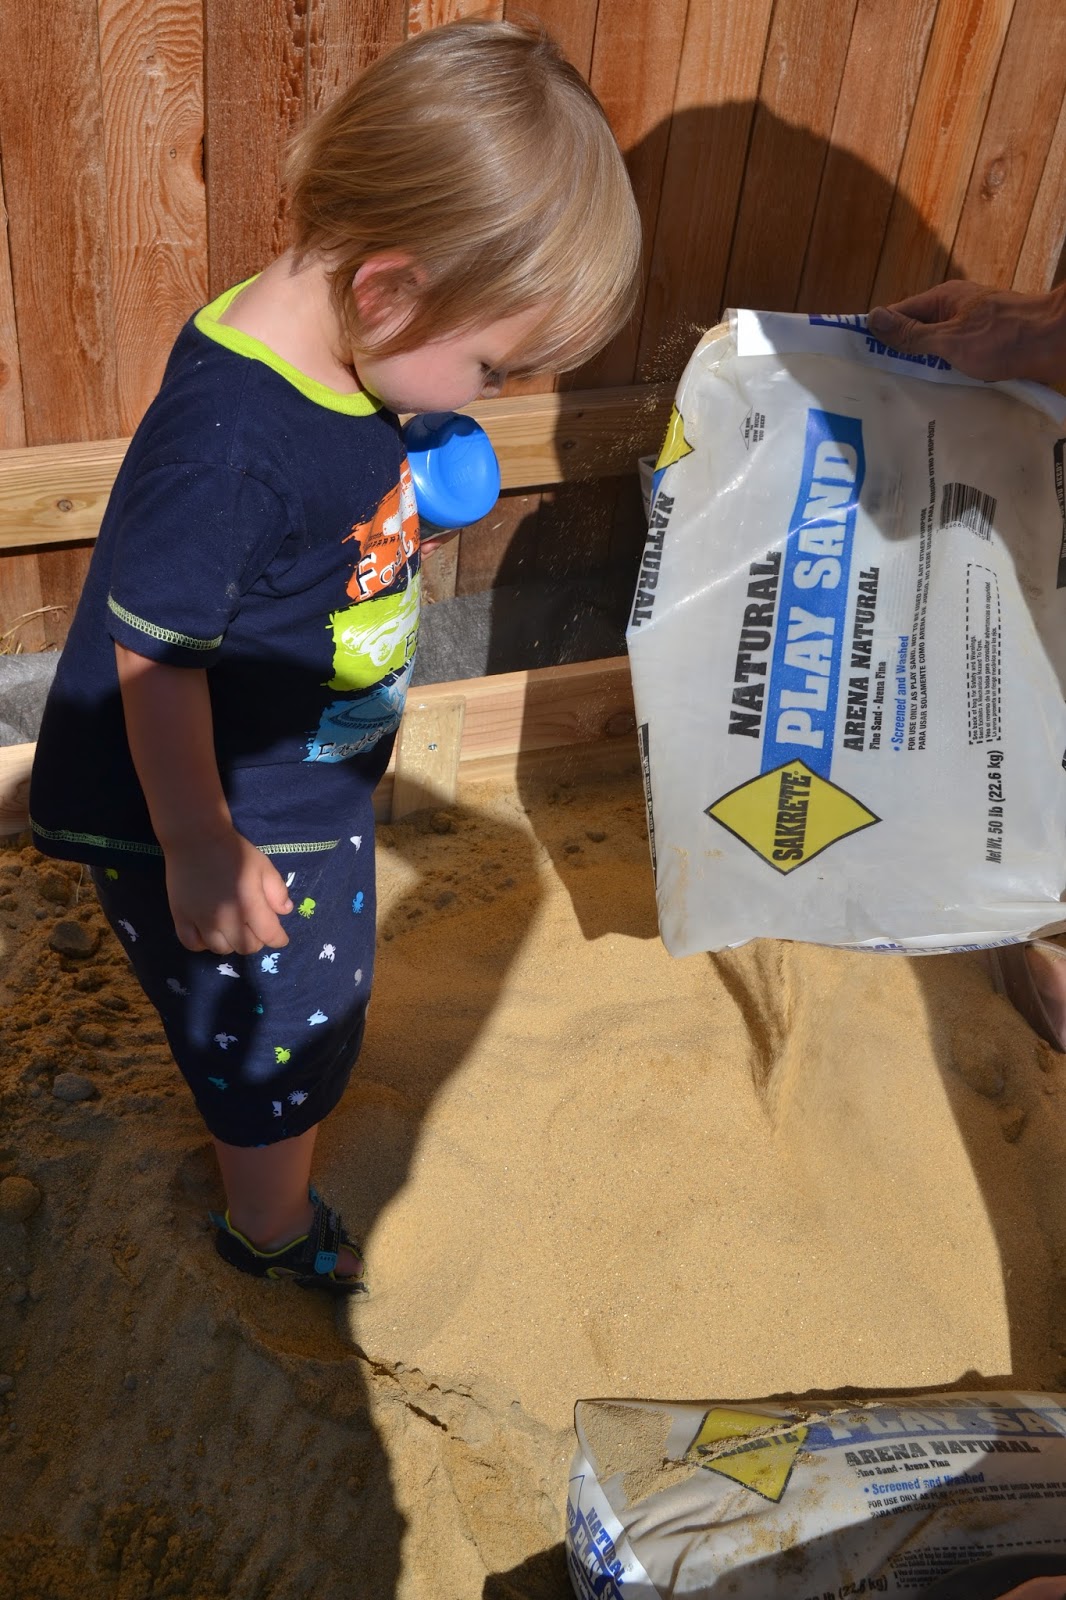
- Play Sand (Cost: $2.48 per 50 lb bag)… Calculate how much you need here.
- Screws
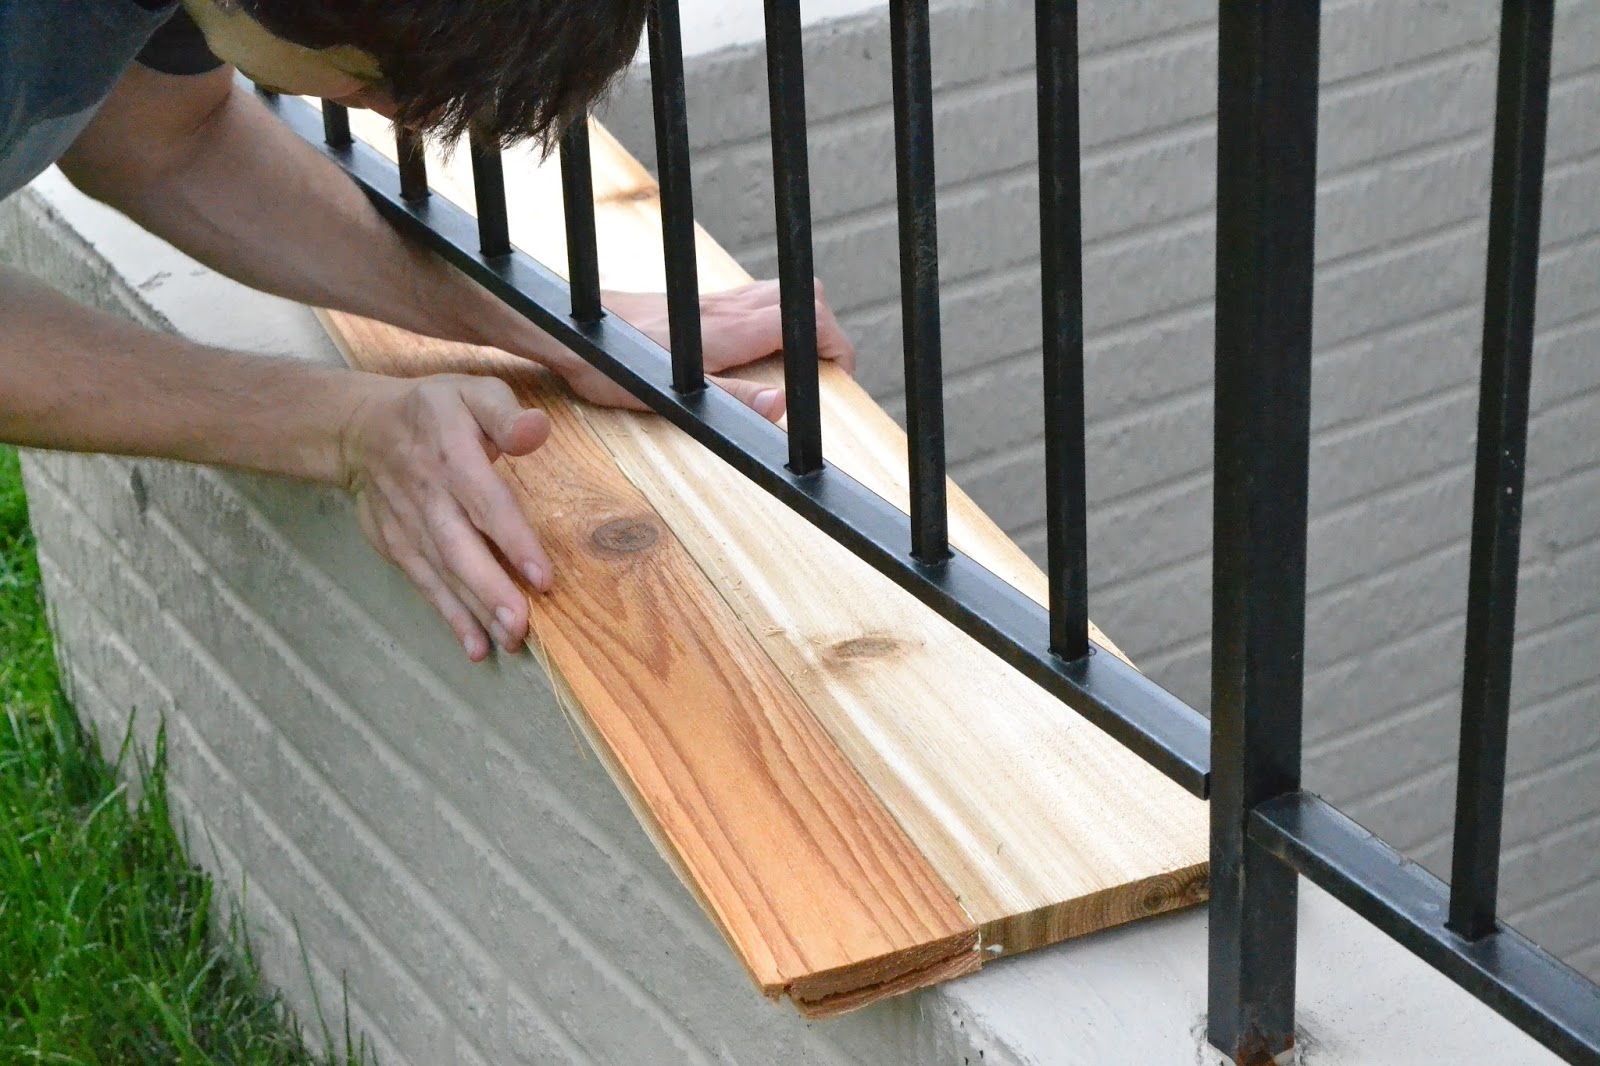
We had all the tools that we needed such as a screwdriver and circular saw. Daddy B used this tutorial from Lowes to make the sandbox, but we made ours 4×4′ instead of 8×8′ in the tutorial.
Pictures of Process
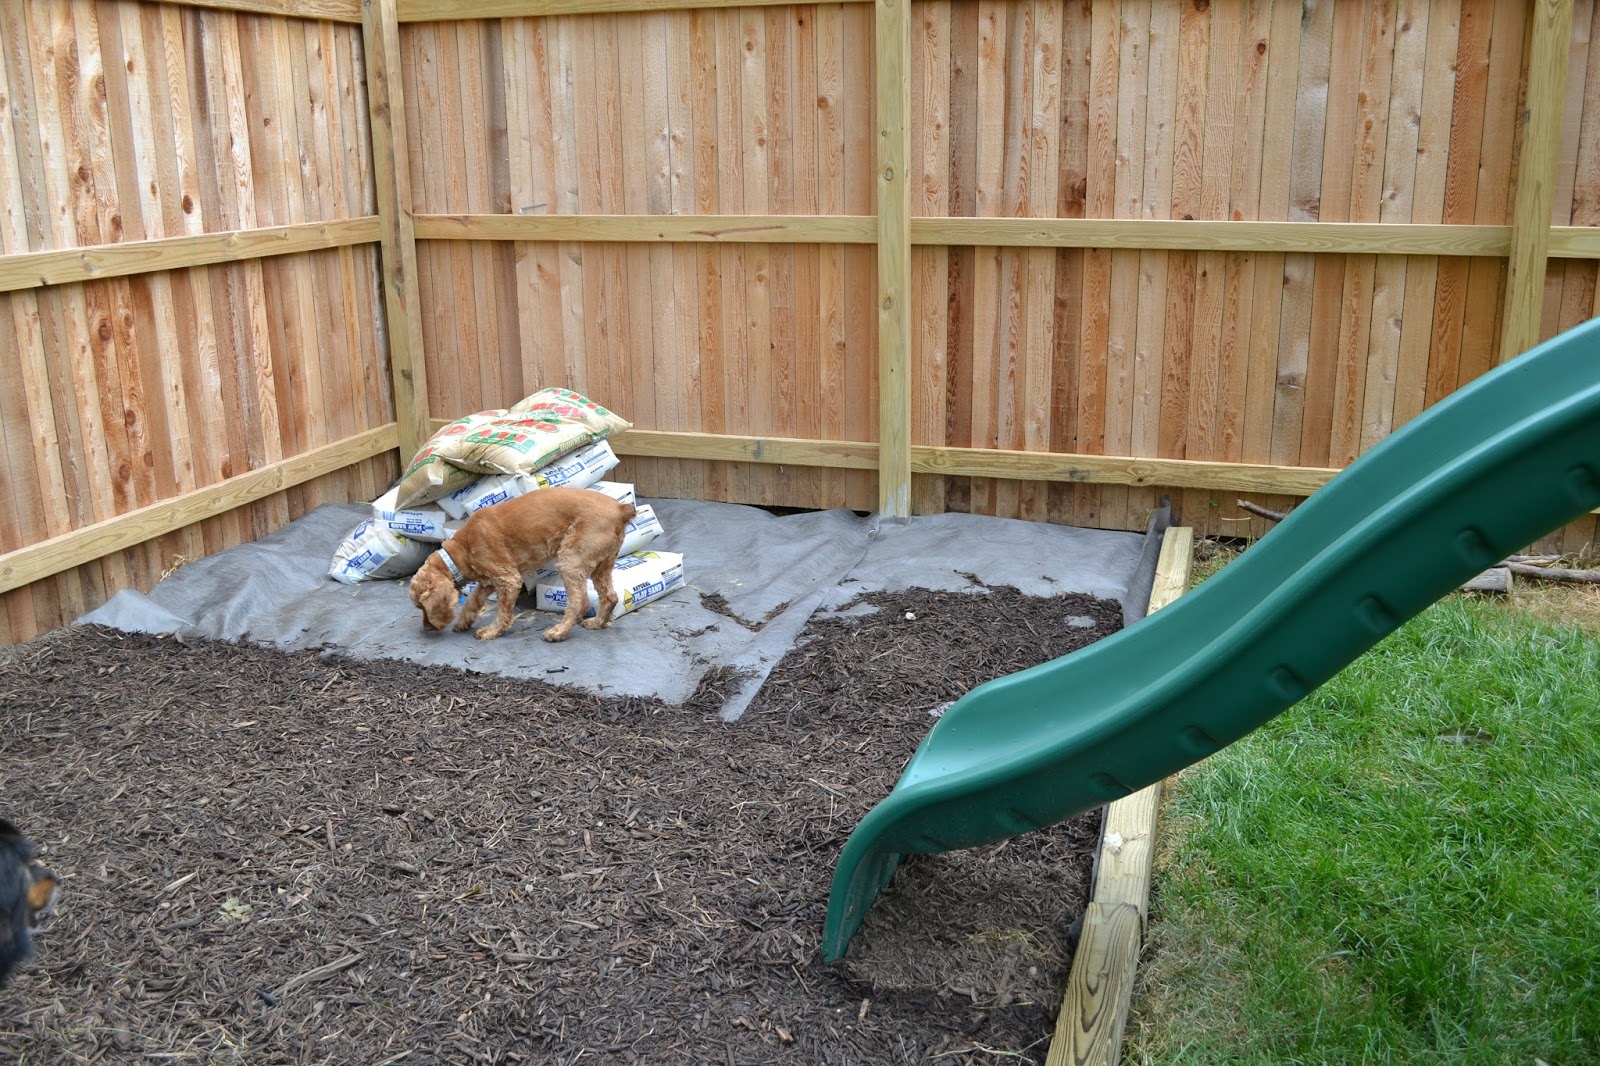
When we mulched our back area, we left a space open for the sandbox in the corner. It’s got landscaping fabric down to help keep weeds from growing up in the sandbox. Daddy B piled the sand in the middle while he worked on the box itself.
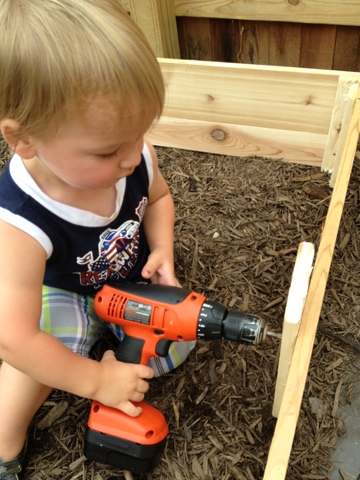
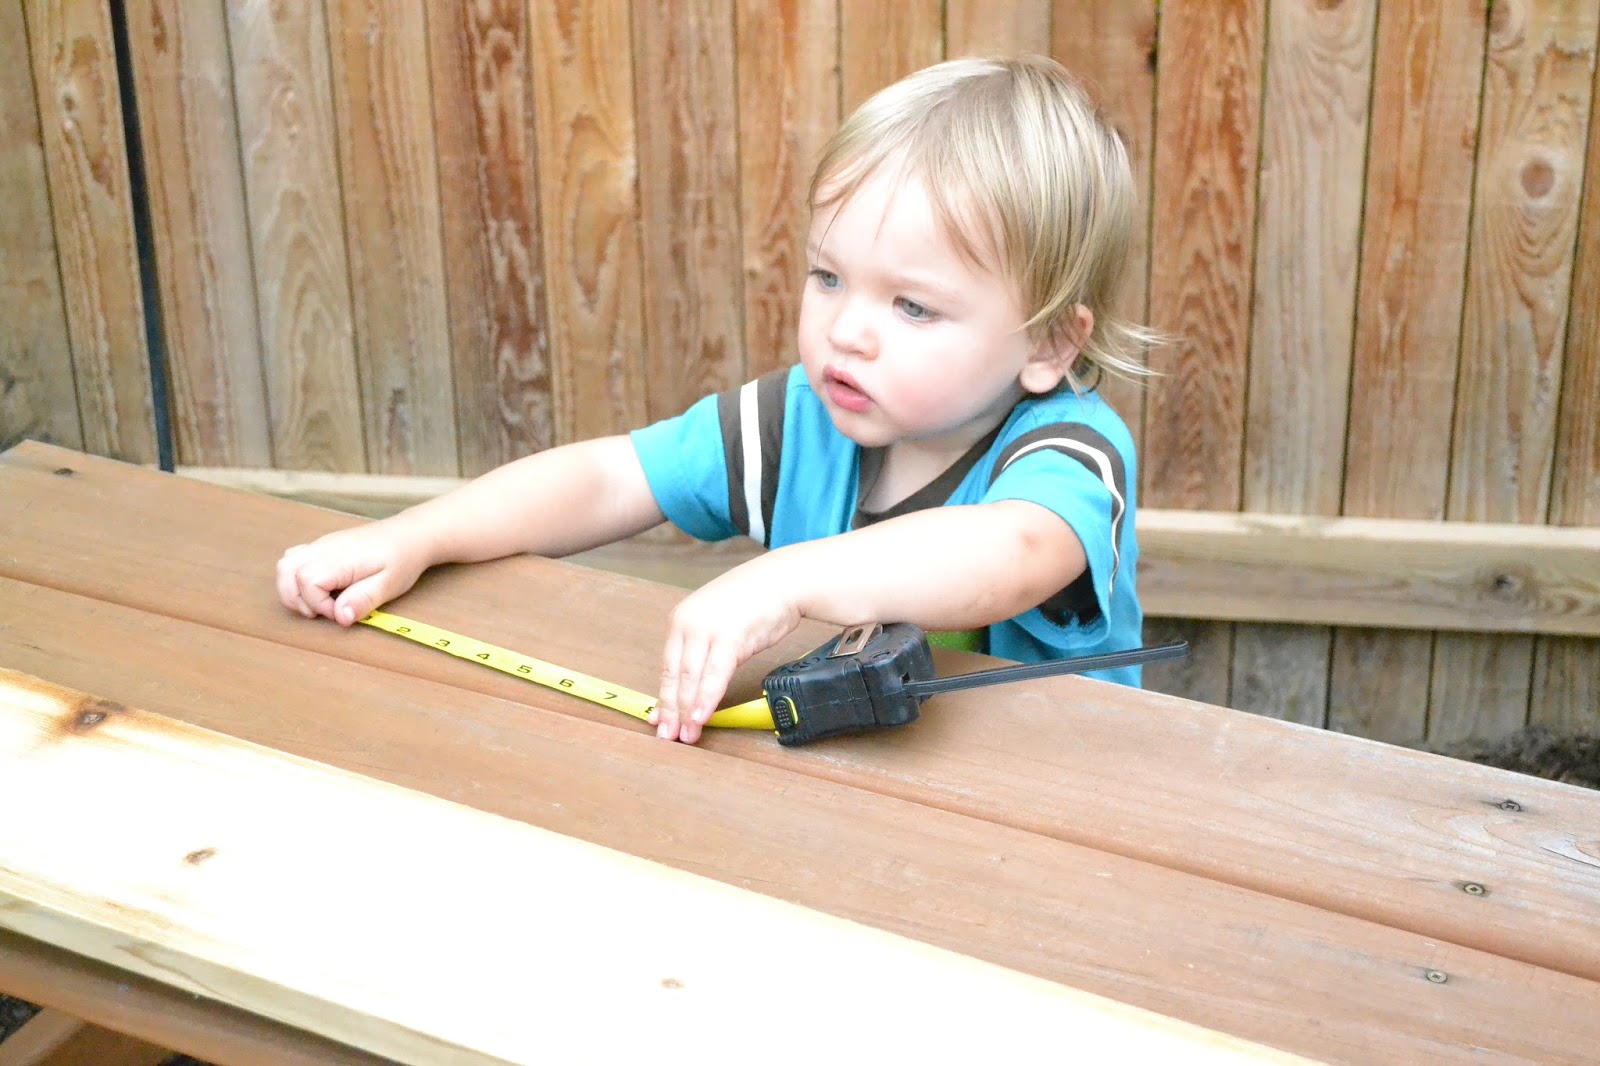
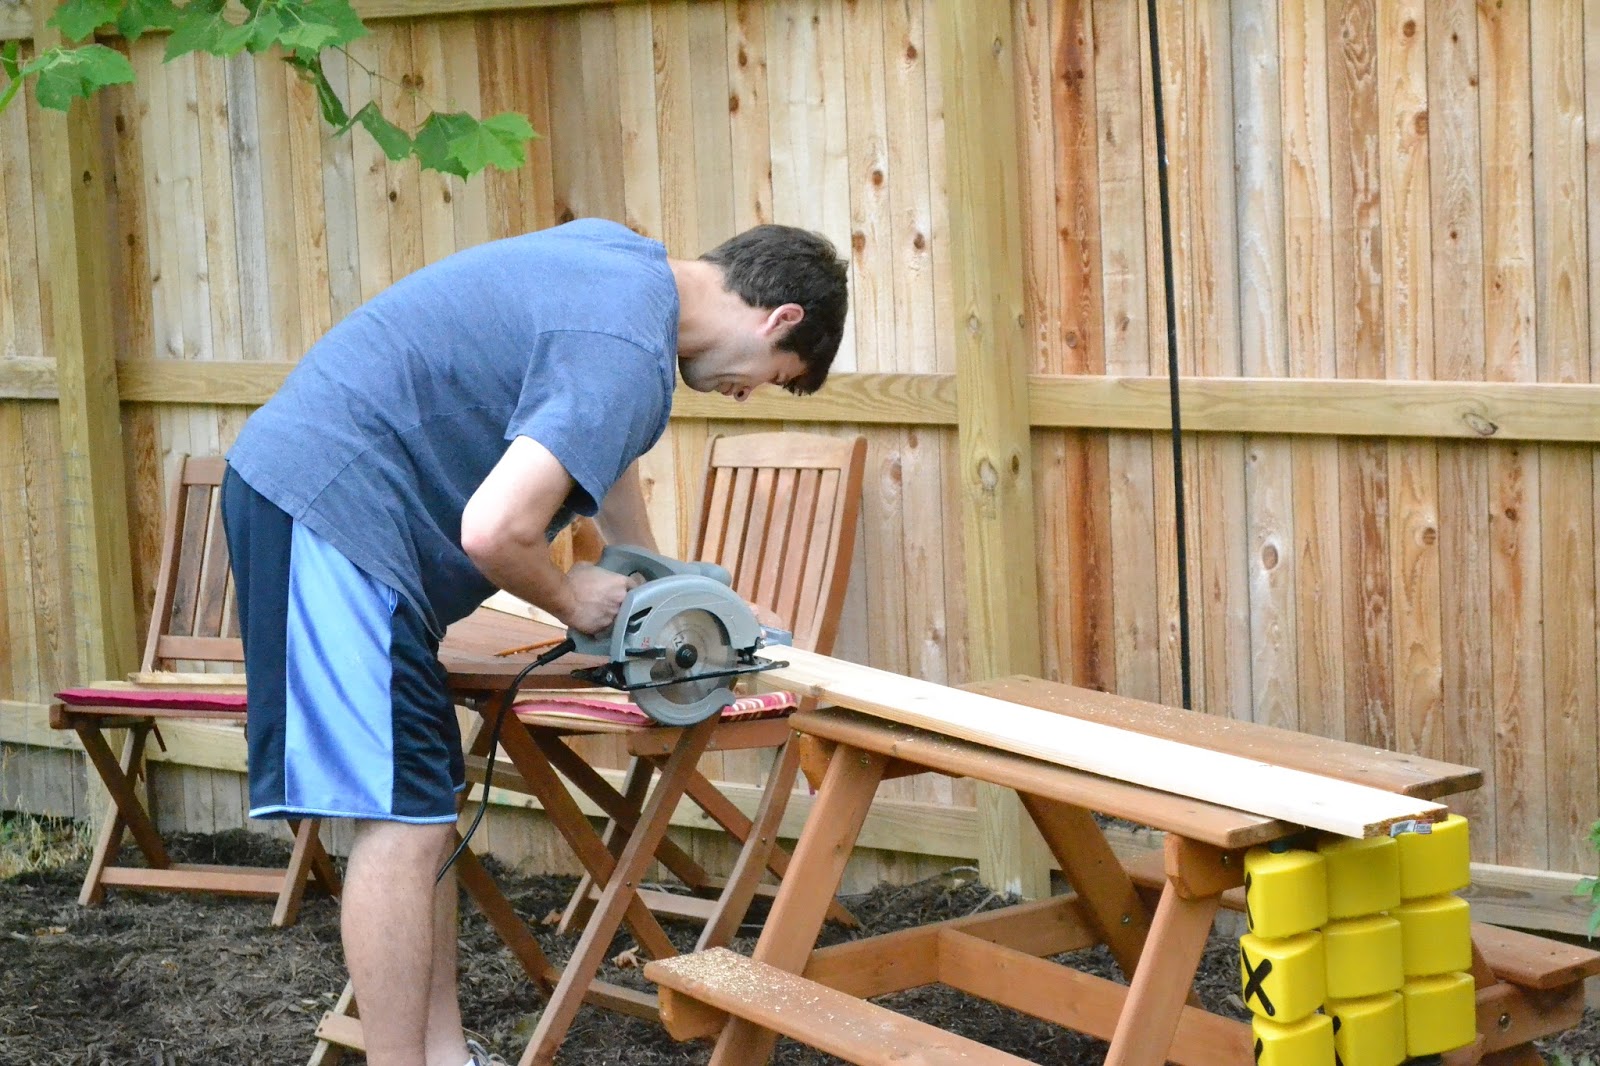
Here Daddy B is, measuring out the wood for a 4×4′ sandbox. G is helping.

Cutting the wood down to the correct size.
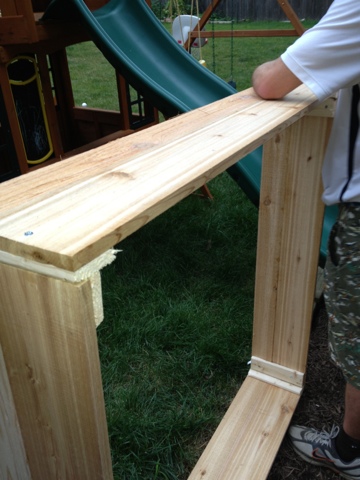
Daddy B used wood glue to put the wood together. This required a decent amount of time to let it dry.


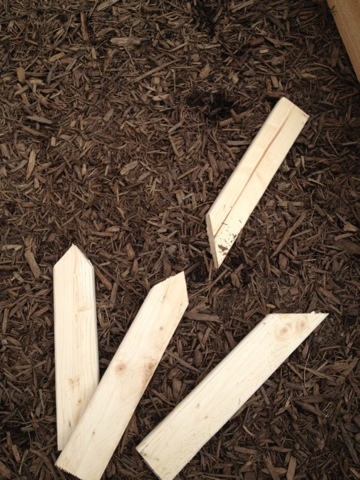
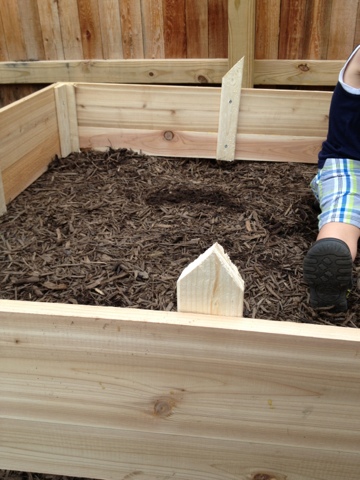
Daddy B made some stakes and screwed them into the bottom of the sandbox, then flipped the sandbox over to put it into the ground so it’d wouldn’t shift.