
How to make a cloth diaper. This is a simple tutorial that explains how a pocket cloth diaper with hook and loop is made with a sewing machine.
Post may contain affiliate links. Using these links helps support my blog. Thank you!
I love sewing cloth diapers and I’ve made quite a few for my sons. When we first started using cloth diapers, I bought a bunch to use. I realized pretty quickly though that I could find cuter fabric and customize my diapers if I made them myself so I decided to learn how to sew. I pulled out my dusty sewing machine that I’d bought years prior and never used- and started teaching myself how to use my machine. It’s been a super fun journey. I’ve made ruffle diapers, embroidered diapers, pockets, covers, and more. Eventually I even wrote a book about sewing reusable products like cloth diapers.
Today though, I wanted to show you my process for making a cloth diaper, seeing that I’m in the midst of sewing a bunch of XL diapers. My oldest son, Godric, had outgrown the one size diapers… this is pretty typical, in my opinion, if you have bigger kids. The one size diapers tend to fit into the 30 lbs range. If you have a child who potty trains early, you could probably use just the one size diapers, but if you have a bigger kid who potty trains late then you may need to upgrade to a bigger diaper.
Diapers are actually available in much larger sizes as well. You can find cloth diapers for adults, older children, and even pets. Yes, you can make your dog or chicken a diaper. Too funny huh? But if you’re looking at the animal needing a diaper their entire life, it certainly makes sense to use a reusable product instead of a disposable one.
If I was sewing a one size diaper then I’d add snaps along the front, below the hook and loop (“Velcro” is the common word for hook and loop, but it’s actually a brand name). These snaps allow you to adjust the size of the diaper for your child. You snap down the ‘rise’ to make the diaper smaller, then unsnap as your baby grows.
For these diapers, I used hook and loop to adjust the waist of the diaper. This allows you to adjust the waist as your child’s stomach grows. Some people use snaps instead. This is personal preference. I really prefer snaps to use, but prefer hook and loop to sew. It’s faster for me to make a hook and loop diaper. The benefit, however, of using snaps is that snaps don’t wear out fast like hook and loop does and they’re easier to wash. Snaps are also a lot harder for your child to unhook- which is particularly relevant for older kids using the XL diapers. My kids never had an interest in taking their own diapers off so hook and loop worked. But you know your child the best! I think it’s usually good to have a mix of options in case your kiddo gets creative.
Originally posted 8/8/13, Updated 8/11/18.
Supplies for Making a Cloth Diaper
- I’m using the Sized Square Tab Template- XL pattern from Prefolds to Fitted Website
- PUL (Polyurethane Laminate fabric)
- Alova Suede Cloth or Microfleece
- Hook and Loop
- Snaps (optional) if you are making a rise.
- Elastic
Need fabric? Try Online Fabric Store® Up to 70% off Fabric + Free Ship $60+. Great Selection, Low Prices or check out Fabric.com.
If you love sewing, don’t forget to check out the Sew Organized phone app!

If you’re planning to sew a lot of diapers, make sure to check out my post: How to Sew a Cloth Diaper Stash Fast.
How to Make a Cloth Diaper
I wrote a book on sewing cloth diapers and other reusable cloth products so if it’s something you think you’ll be making a lot of, it would be worth getting it on Amazon. It has a lot more information than you can get in a single blog post, plus it’s nice to have the physical book as a resource to keep by your sewing desk.

Click here to buy the book on Amazon: This tutorial and more are included in the book!
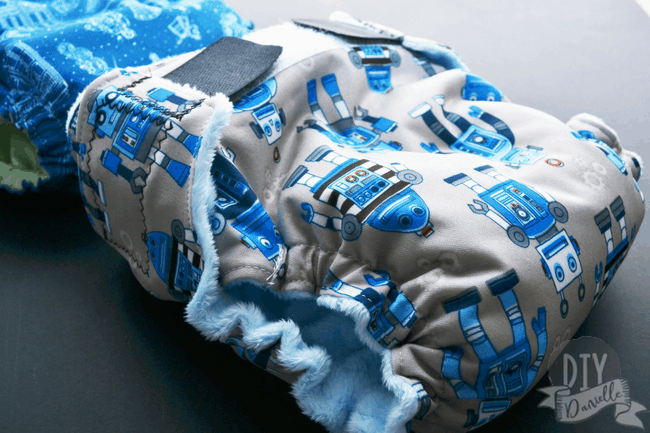
Cut fabric with the stretchiest part of the Pul goes across the waist (horizontal). For a pocket diaper you need a cut of the Pul outer and also a cut of your inner fabric (mine are alova suede cloth or microfleece).
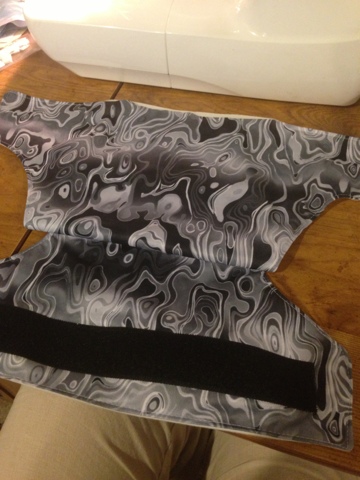
Sew on loop fabric for the waist and/or add snaps if you’re doing snaps or a snap down rise. Reinforce your snaps by using scrap fabric behind them. I just added loop because I’m doing hook and loop diapers without a snap down rise.
Pin inner and outer fabrics right sides together. Mark where your back elastic will be.
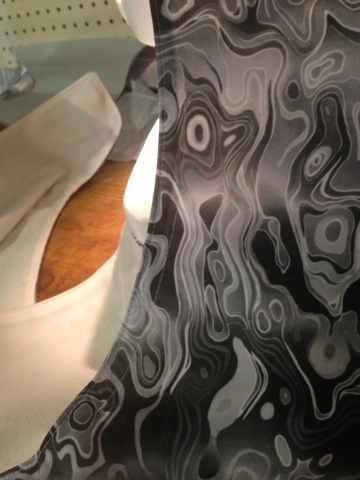
Sew inner and outer fabrics, right sides together, leaving it open where your pocket will be.
Turn right sides out.
Fold down the inner fabric where your pocket will be twice so the raw edge doesn’t show. I tucked a size label under and then sewed a straight stitch to finish the edge. It’s not perfect, but I wasn’t particular about it.
For the Pul where my pocket will be, I also folded the fabric down and sewed a straight stitch. That will also function as an elastic casing so I leave enough room to feed an elastic through.

Mark where leg elastic casings should be, then sew your casing.
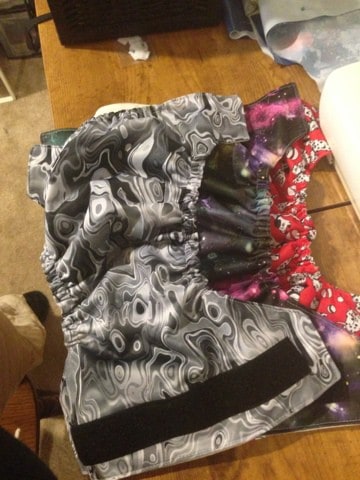
For the leg and back casings, cut your elastic the length you want it to be and feed it through the casing. Tack the first end down, then stretch it to the other end of casing and tack that end down (don’t catch the safety pin or bodkin, it’ll break your needle). I use a safety pin or a bodkin to feed it through. Leg elastic is tricky because you don’t want it too tight (makes diaper too small) or too loose (leakage). I actually measure how much elastic I use on my diapers and then see how they hold out against poop, then adjust the size to be smaller if needed. I record how long my elastic is for the diaper pattern I use (making sure to make the casing the SAME size each time). It’s easier to take in elastic than it is to replace elastic that is too short. Some people figure out how long to make their elastic by holding the elastic over the casing and pulling tight… I think I was pulling them too tight which resulted in marks on my child’s legs so that’s why I decided to try to measure it out and experiment instead. Measuring it all out also helps me make sure all my diapers have the same length elastic.
On my back elastic I used a thinner elastic because my casing was a bit small for the thicker elastic I like for the legs.

These elastics ended up being a bit too long so I’m going to need to take them in.
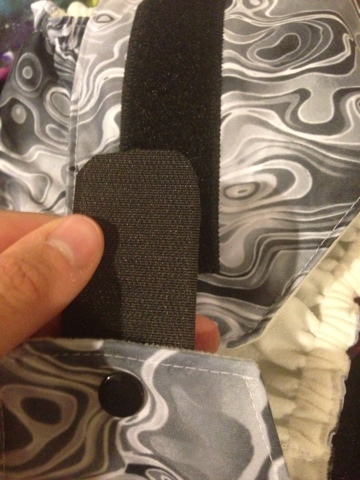
I added a snap to put on my removable tabs. Here’s a tutorial on how to apply snaps and use snap pliers if you need it. I have a bit of a love/hate relationship with the removable tabs. I ended up sewing most of my diaper tabs on because it’s just simpler. But I did a different snap configuration on some and it was a huge mistake because I was always struggling to find the correct ones. Whoops. So if you do this, make sure to do them all the same.
My other beef is that my husband doesn’t tend to take them off when they get laundered which defeats the whole purpose.
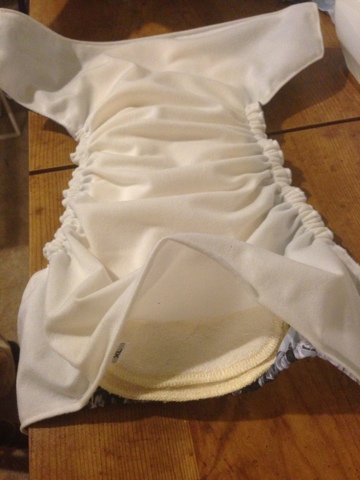
Stuff the diaper with your inserts:
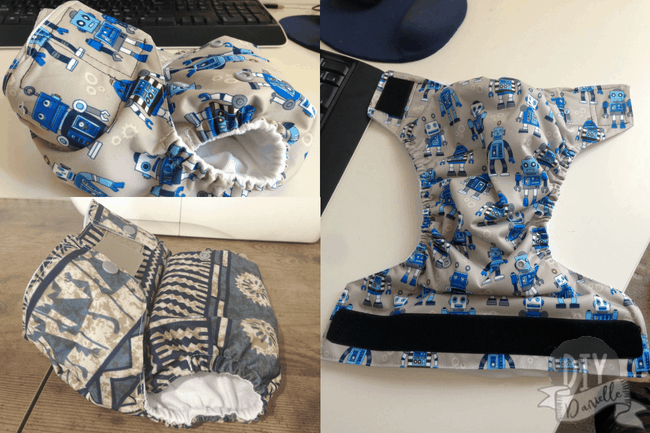
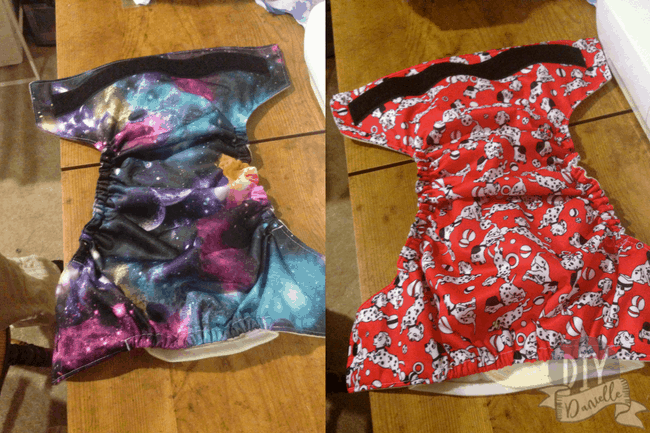
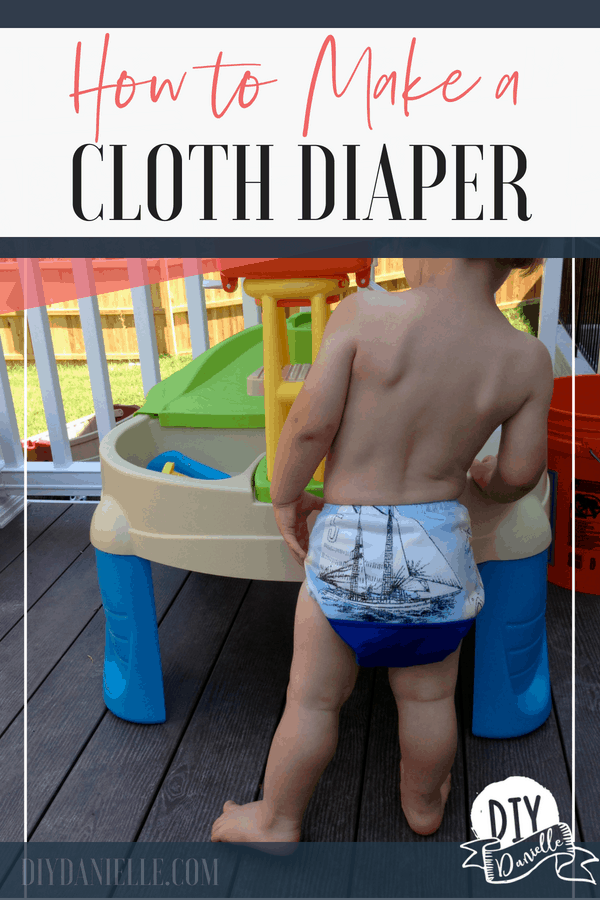
And here’s a few of our XL diapers from our stash!
Please pin this!
If you love this, you will want to check out the following posts:
How to Make Grow with Me Pants that Fit Over a Cloth Diaper | All About Cloth Wipes AKA Family Cloth | DIY Diaper Rash Spray
Click here to buy the book on Amazon: This tutorial and more are included in the book!