
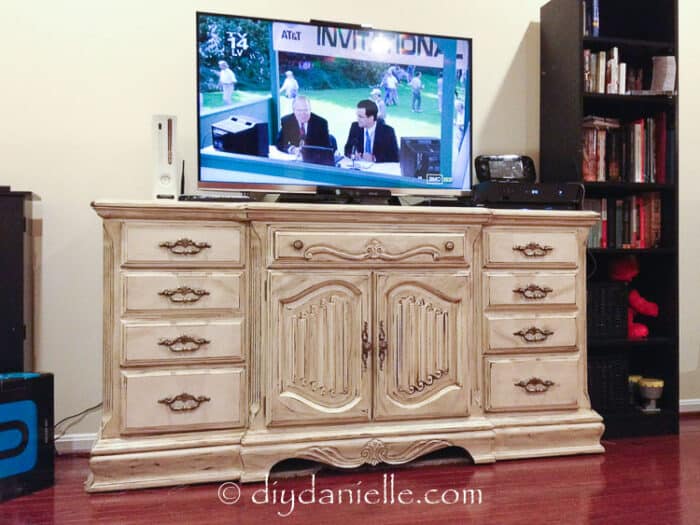
How to DIY a rustic TV stand using an old bureau and distressing it. This is such a nice piece to add to your living room furniture.
This post may contain affiliate links which may earn me commissions should you click through them and take certain actions. As an affiliate for Amazon, Cricut, xTool, Home Depot, and other sites, I earn from qualifying purchases. Please DIY carefully. View my full legal disclosures here.
Please read the whole post so you don’t miss any important information!
This post was originally published February 12, 2013 and updated 1/22/20.
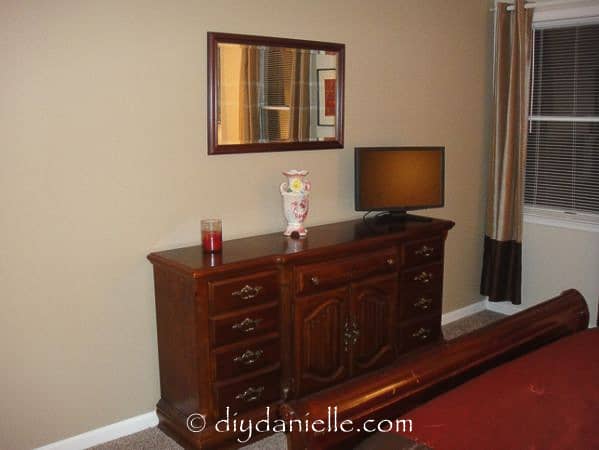
I found a wood bureau on Craigslist for $99 and I wanted to use it for our tv stand, seeing I’ve seen some cute ideas on Pinterest.
My mother-in-law, Pam, LOVES distressing furniture so it’s a shame she doesn’t live closer so I could get classes in Distressing 101. She normally distresses a different way (using paint) so it’s a little different process.
I used this tutorial and tips from Pam though to get through this project. I’m listing my costs for the stuff I needed to buy and how long each step took me. I already had some of the supplies.
How to Update & Distress a Piece of Furniture for a Rustic TV Stand
This is 100% worth it, but definitely plan on spending a lot of time to get this right!
Project Supplies for the TV Stand
- Old scrap cloth (I upcycled a tshirt)
- Paint Brush: $0
- Sponge Brush: $0
- Electric Sander: $0
- Drop Cloth: $0
- Plastic gloves: $0
- 1 Gallon of Behr Swiss Coffee Satin Paint: $27.96 (I think a pint might have been sufficient)
- Staining Pads: $3.98
- 120 Grit Sheets for the sander (a Mouse): $5.97
- 80 Grit Sheets for the sander: $4.97
- 1 Pint of Minwax Wipe on Polyurethane: $11.97
- 1 Pint of Minwax Wood Finish Dark Walnut: $7.77
Total Cost: $62.62 ($161.62 with the bureau cost)
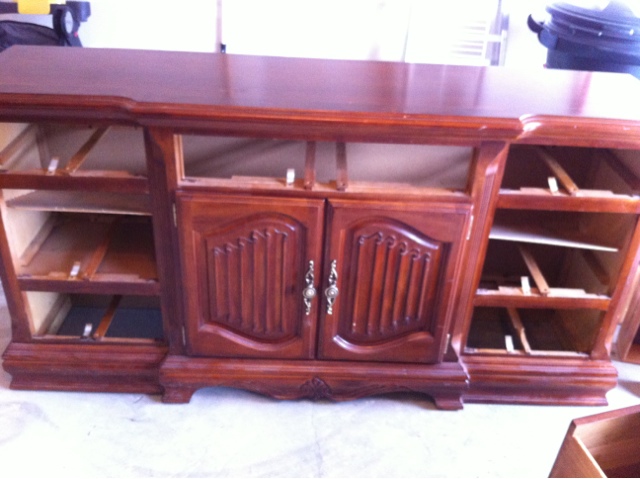
Step 1: Remove hardware
Time: 5 minutes
Use a screwdriver to remove all of your hardware, including hinges. Put them somewhere safe until you’re finished the project.

Step 2: Sand furniture down.
Time: 125 minutes
I sanded the furniture with 80 grit paper on my electric sander. Pam told me I didn’t want to sand it TOO well… Having a few areas that show the previous wood stain isn’t bad in my case because the furniture stain matches my current wood floors.
I researched this a little more and I don’t think people always sand before doing this. I think some people prefer to keep the paint color underneath, paint over, then sand to distress which leaves the original color peeking through. I might be lazy and try that next time!
After you’re down sanding, wipe it down with damp cloth, and resand anything that is still shiny (some shine in cracks is ok).
Step 3: Really clean up all the dust from sanding.
Time: 5-10 minutes
There will be a lot of dust. If you don’t clean it up, you may ruin your paint job if any gets on the paint while it’s drying. That would suck so don’t be lazy!
Step 4: Paint
Time: 195 minutes (plus 9 hrs total of “dry time”)
-1st Coat: 75 minutes
-2nd Coat: 90 minutes
-3rd Coat: 30 minutes (mostly touching up areas that weren’t covered well)
I did Behr Swiss Coffee because I liked the way the blog poster from {AKA Design} did hers… The colors worked for my living room.
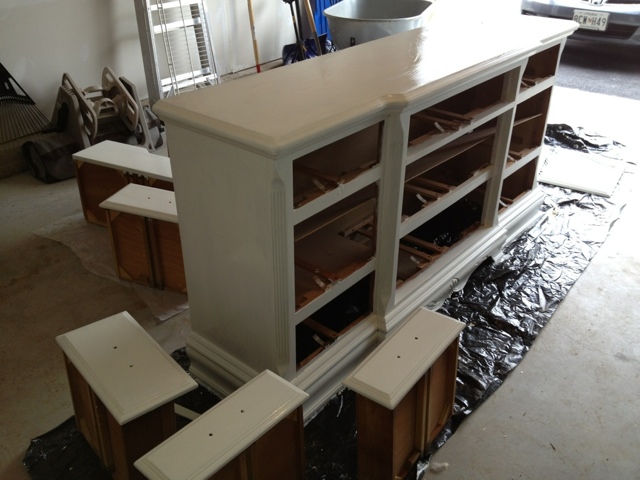
It took me three coats, although if I’d used a paint brush on the top and sides instead of a roller I might have gotten away with two coats.

I waited a few hours between coats to give it time to dry. This worked out for me because I’d paint during Baby G’s nap, then again once he was in bed.
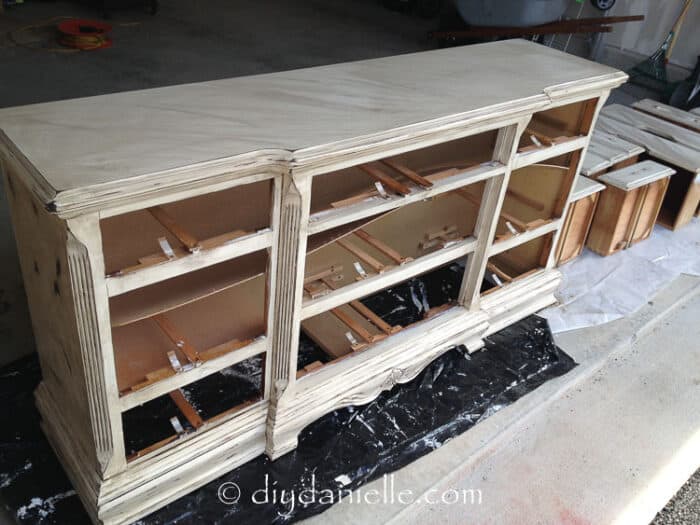
Step 5: Distress
Time: 120 minutes
I used an electric sander with 120 grit paper for most of this which made it go pretty quickly. Edges and corners are super easy… You just need to run the sander along them, making sure not to make it look too perfect.
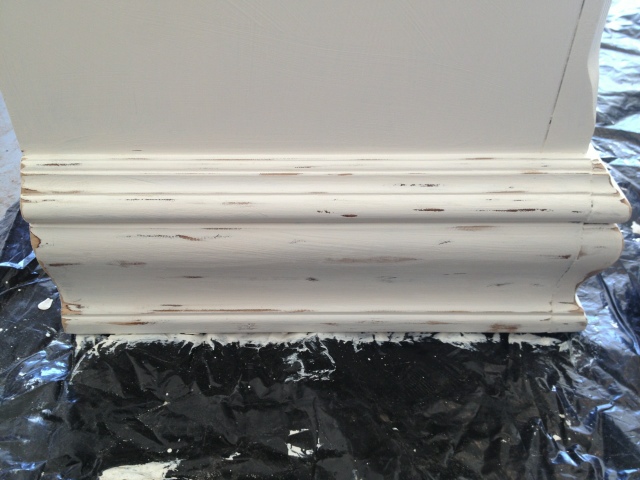
It’s supposed to look like the bumps and bruises happened naturally. For the larger areas I had a hard time deciding how to distress them. I didn’t like one side I did, but at that point I’d committed to doing something similar on the other side.
I ended up using a regular piece of sandpaper (I used the scraps from sanding before) and scratching along the larger surfaces. I tried to make the scratches longer and flowing/rounded. I liked this effect quite a bit!
Since doing this project and many others, I’ve learned that you should always SAND WITH THE GRAIN OF THE WOOD. This would have given my project a better finished appearance instead of looking like it was randomly scratched up!
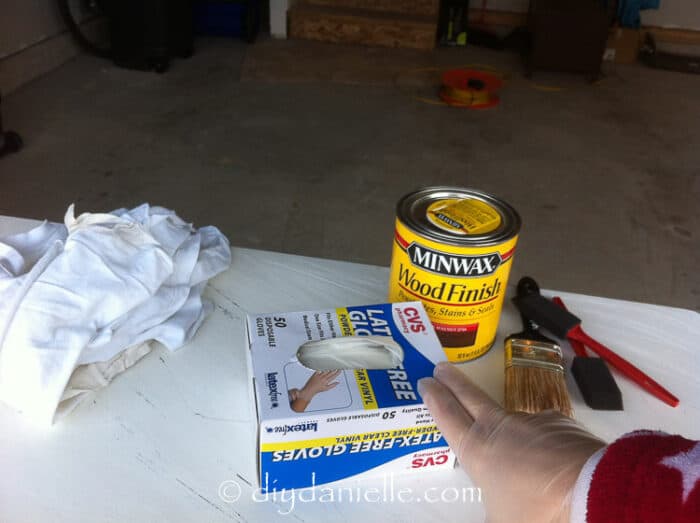
Step 5: Stain
Time: 80 minutes
I applied the stain with a foam brush or the regular paint brush- the foam brush was really nice because it didn’t drip as much as the paint brush which is great, but I only had a very small foam brush so it was a bit slower.
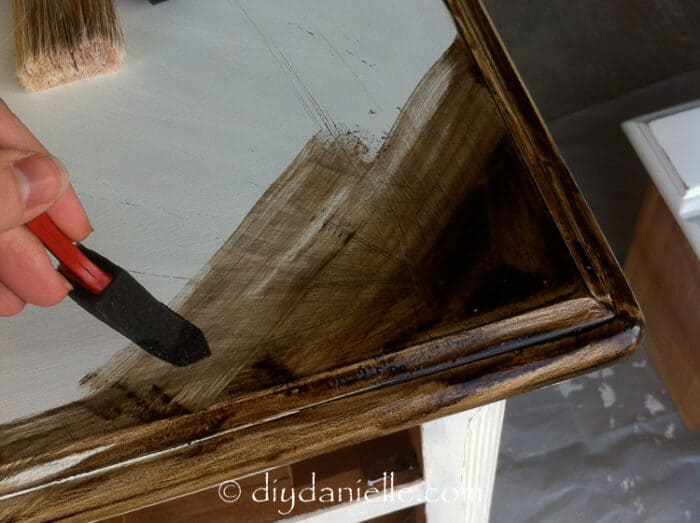
This is another part of the project where it’s smart to brush the stain on ALONG THE SAME DIRECTION AS THE WOOD GRAIN.
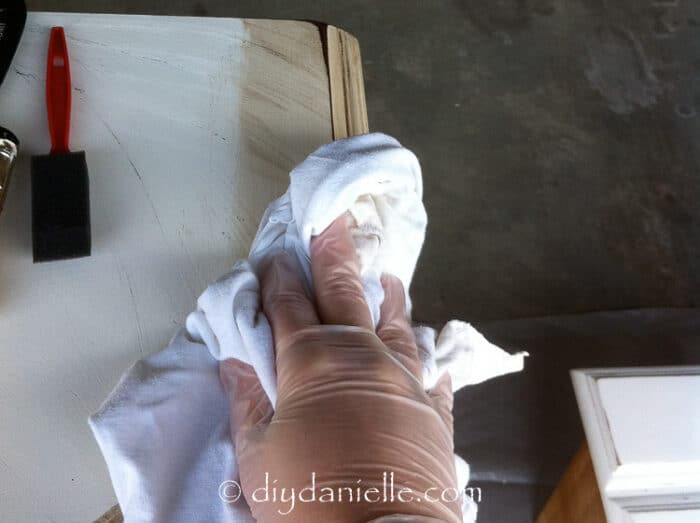
Then I took my cut up old t-shirt and wiped the excess stain off. SO PRETTY!
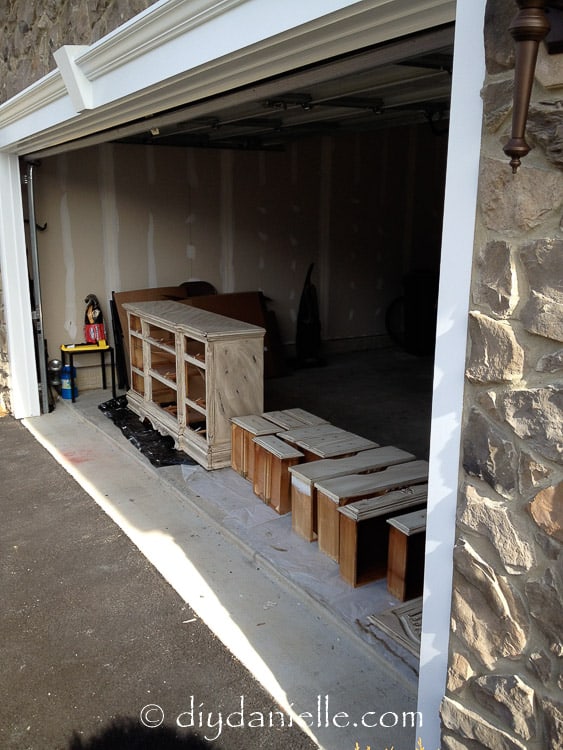
This takes a while to dry so I moved the furniture prior to staining to the very front of my garage so that the sun would help dry it (and the wind), but so that if it rained I didn’t need to move it at all. I can just close the garage door.
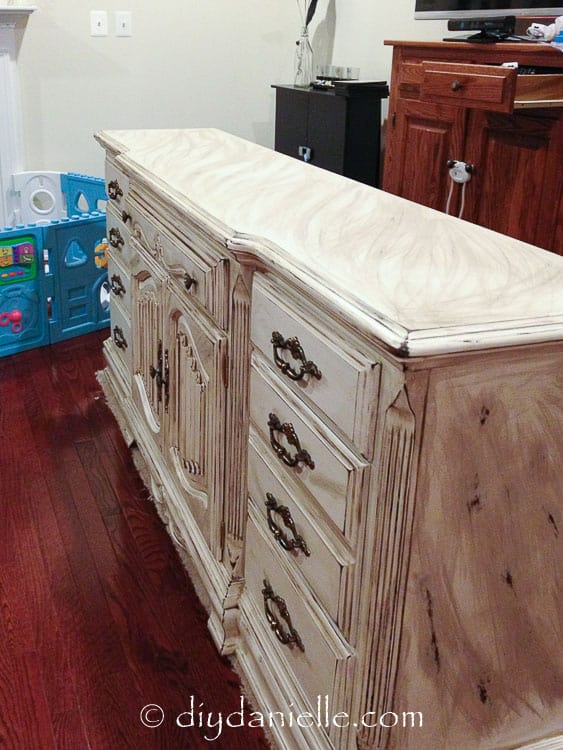
Here’s a photo of it after staining. The stain really makes the white look more antique.
Step 6: Wipe On Poly
Time: 20 minutes
Apply your wipe on poly. You want to do one layer, let it dry, then sand a tiny bit. Dust off. Use another layer of poly. Then you can apply a third layer of poly after that dries.
I used a staining pad to apply it. I recommend wearing gloves for this because it soaks through the pad. It’s a pain to get off (liberal amounts of vegetable oil and blue dawn worked for me).
Step 7: Reinstall Hardware
Time: 10 minutes
Just put all of your hardware back on and put the drawers back in once you move the bureau where you want it. And you’re finished!

I love it! I can’t even begin to explain how excited I am about this particular DIY project… I may have to distress everything in sight now… haha.
Total time spent: 565 minutes (9 hours, 25 minutes if my math is right)
Total Cost: $161.62
Worth every dime and every minute. I had enough supplies left for more projects; I ended up doing the same finish for our ottoman redo with the leftover supplies.
My one recommendation that I wish I could have given myself is to not cut corners… tape off areas you don’t want to accidentally paint or stain, and paint, distress, and stain EVERYTHING that will be showing.
Sand with the grain. Paint and stain with the grain of the wood.
Please share and pin this post! If you make this project, share it in our Stuff Mama Makes Facebook Group. We have regular giveaways for gift cards to craft stores. You can also tag me on Instagram @doityourselfdanielle; I love seeing everything you make!

And here’s the before and after side by side!

DIYDanielle
Sunday 3rd of March 2013
Good luck! It's a lot of work, but the results are so much fun to see happening as you work!
Tamara
Friday 1st of March 2013
Great job! Thanks so much for posting this tutorial and what you learned after all was said and done. I have a pie safe that I've been wanting to distress for over a year but I've been a scaredy cat and too afraid to try. Having read this, though, I can see that it's not nearly as hard as I'm imagining it to be. Thanks again!