
How to build a DIY planter box with trellis. This outdoor privacy screen planter is perfect for growing climbing plants with plenty of room in the front for lower growing plants.
I’d been talking about building these planters and trellis for a while. We’d installed a dog fence around one part of our yard to keep the dogs contained and I needed something to block them from hopping over near the stairs. It was a project that sort of sat for a while because we are always knee deep in several projects and usually exhausted from also caring for the two very busy boys.
But our in-laws were up for a weekend last year and my husband decided to tackle this while he had his dad around to help out a bit with the heavy parts. I was about a year late sharing this, but I have continued to update this post with photos (I’ll put a bunch at the bottom) over time because we grew different things each year.
This post may contain affiliate links which may earn me commissions should you click through them and take certain actions. As an affiliate for Amazon, Cricut, xTool, Home Depot, and other sites, I earn from qualifying purchases. Please DIY carefully. View my full legal disclosures here.
The majority of my content is generated by me, as are 99% of the photos and videos, but I utilize technology for titles, descriptions, video editing out all of my ums, and occasionally for text overlay on images.
Please read the whole post so you don’t miss any important information!
Supplies
As I’m writing this post a long time after he built it, I don’t have the full supply list, but hopefully this gives you some guidance on building your own.
- Pressure treated wood and trim:
- 4×4 posts
- I believe the sides are 2×6″sx the corner trim is 1×6″, and the top trim is 1x4s
- Nails
- Primer
- Paint
- Vinyl Lattice 4×8′
- Fill with: Potting soil, compost, and I layered some rocks on the bottom. Add seeds, water and sunshine. You can staple landscape fabric to the inside to help keep soil from washing out.
If you like garden content, I have a lot of great photos on my Instagram Account @doityourselfdanielle.
DIY Planter Box with Trellis
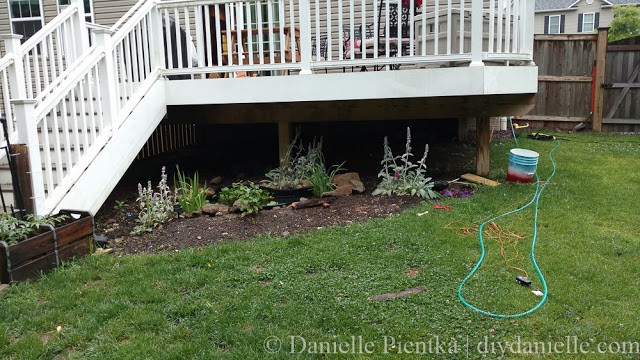
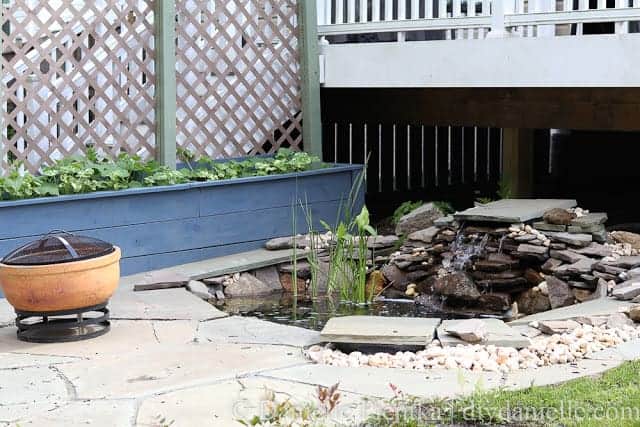
To begin this whole project, I want to tell you that we probably didn’t do this in the best method possible. Ideally, you’d want a nice level area and you’d build it all, then move it onto the spot you want. We have a slight incline to the area and we were building it beside the pond so we were trying to build it in that spot. Not ideal.
This is the spot. Right in front of the deck is the pond which is a bit hard to see from the angle of the photo. But you get the idea. Tight squeeze and it’s at a slight angle.
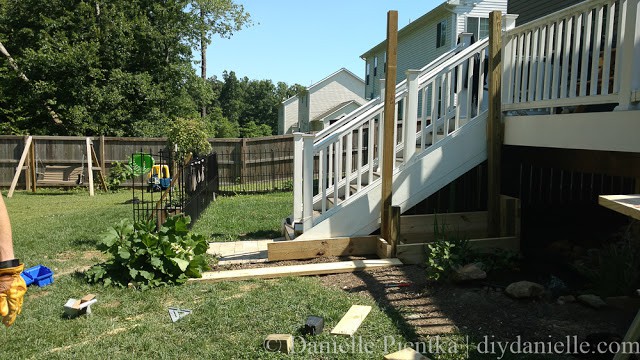
He built the portion that he wouldn’t be able to access next to the pond first. Then my father in law helped move it to the right spot.

From there, he was able to keep building the rest of the planters.
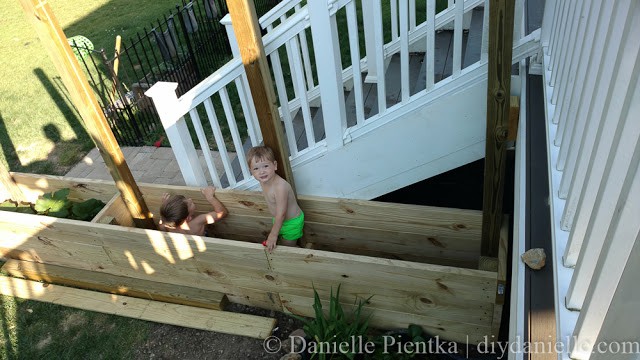
Here it is, partially finished without the lattice or trim installed.
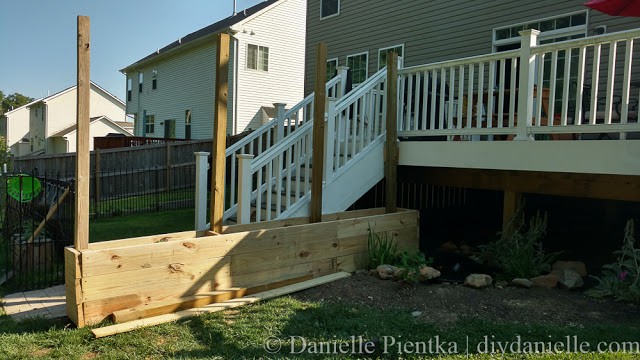
If you can’t tell, these are a lot of fun for the kids… their own special boat.
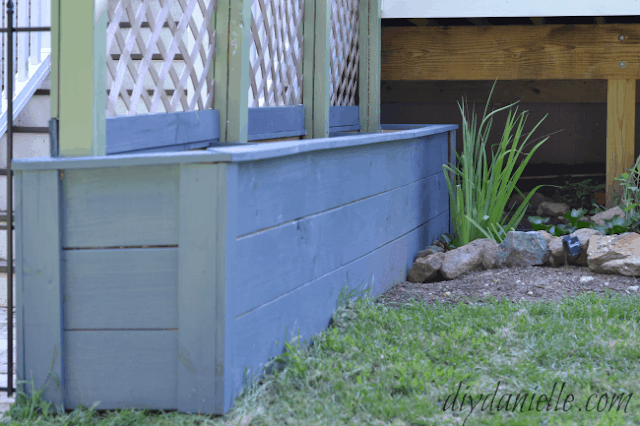
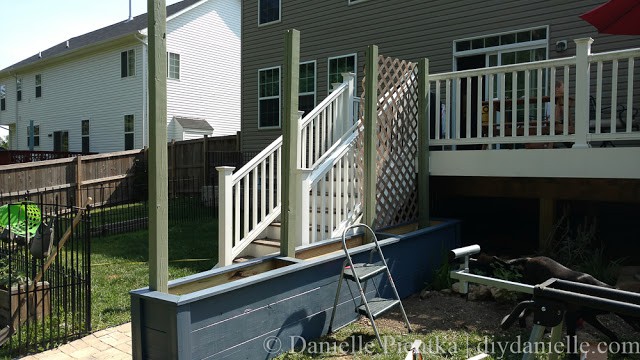
My husband added trim around the planters. Then I painted (with outdoor paint) the poles to support the lattice and the exterior of the planters before we installed the lattice. I would suggest stain instead of paint. I anticipate this will need more upkeep than stain would have so I’ve been having some regrets. We’ll see though.
The lattice went on the back of the support posts, then we adding a trim piece of wood on the opposite side to hold it all in place (post, lattice, then trim… with a screw going through all three).
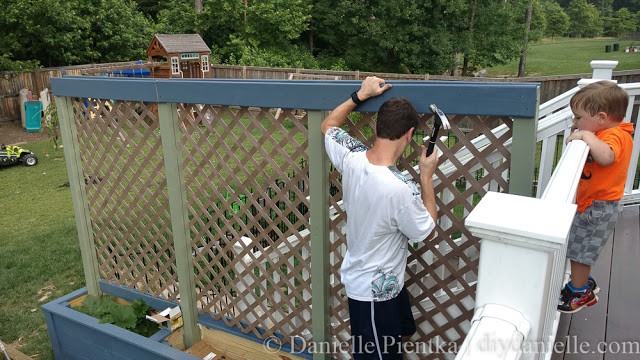
My husband added the trim to the top too. Eventually we stuck on some simple solar motion sensor lighting to the top on each side.
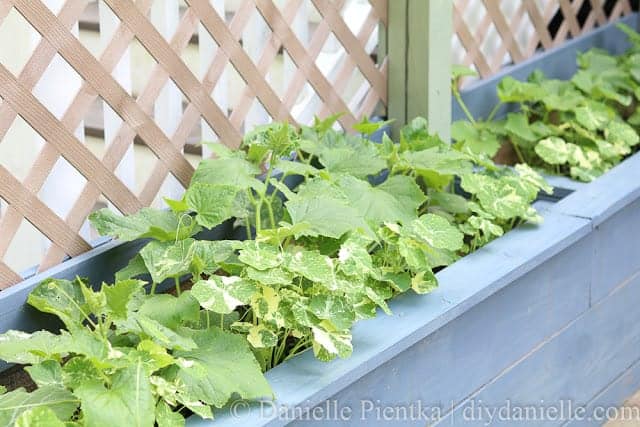
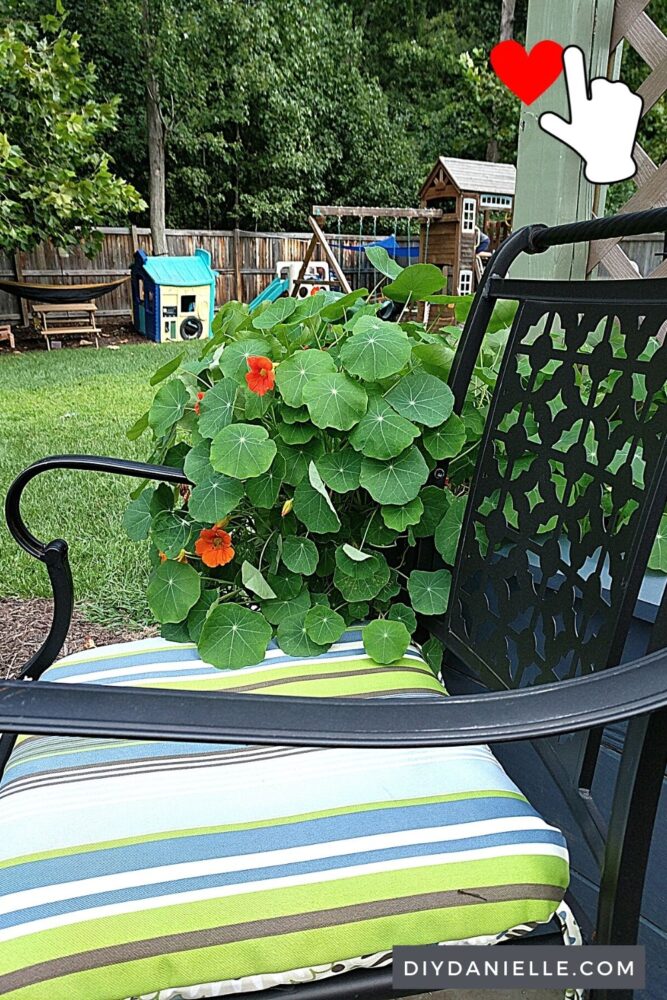
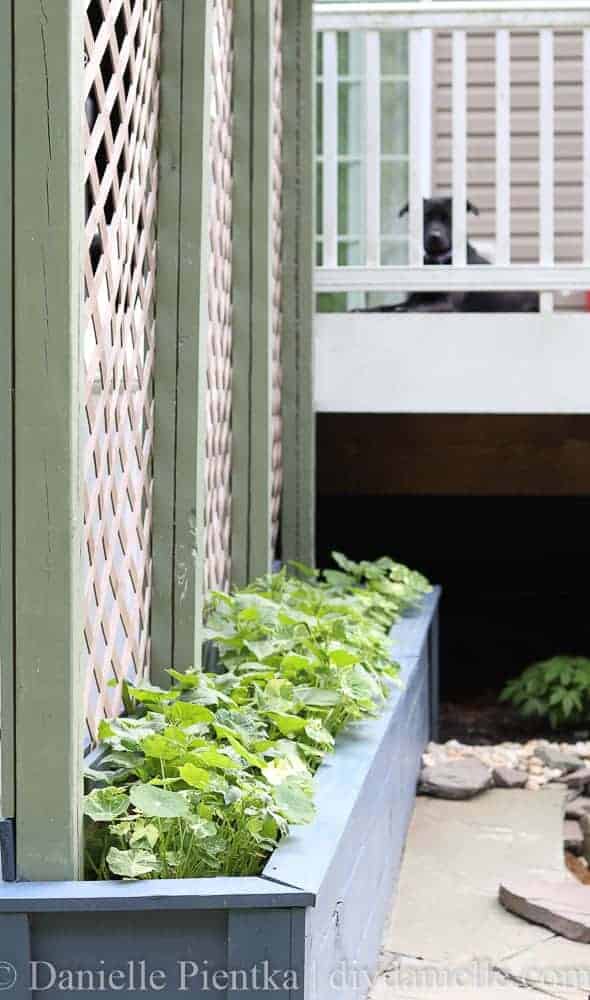
Last year I threw in some various hardy plants in there late in the season so I don’t have any good pictures of beautiful vines growing up the trellis. Womp womp. But this year I planted cucumber plants in the back and nasturtium in the front so hopefully I’ll be able to follow up with some gorgeous “after” photos once we hit August or so. If… you know… I can even waddle up and down stairs by that point…
So far so good though…
We ended up having a bigger pond and patio installed later. The combo is AMAZING. The pond is clear thanks to the UV light that we installed later.
Plants for the Large Planter with Trellis
This thing is enormous and it’s deep which gives you a lot of options for what you want to grow in it. We’ve had good success both years that we grew in this- although we moved so I can’t speak for how it’s going for the new owners of the home.
You’ll need to tailor your plant choices to how much shade the planter gets. Don’t forget that the trellis may provide some shade, depending on the direction you put the planter and trellis. Our trellis did shade our planter a bit during the summer.
Year one, I planted nasturtium along the front which created a waterfall of pretty orange flowers over the front edge of the planter and onto the pond and patio. I grew cucumbers up the trellis. This worked really well and I liked the colors for the planter. I also liked having edibles close at hand as both cucumber and nasturtium are edible plants.
The one issue with the cucumbers is that we used compost in the planters and I had a squash volunteer. The squash volunteer attracted those icky squash bugs and they moved to the cucumber plants when I pulled the squash plant out. I HATE those things… I don’t mind an occasional bug, but there’s always tons of them so I wasn’t a fan. I also dislike spraying with any sort of pesticides so there’s that.
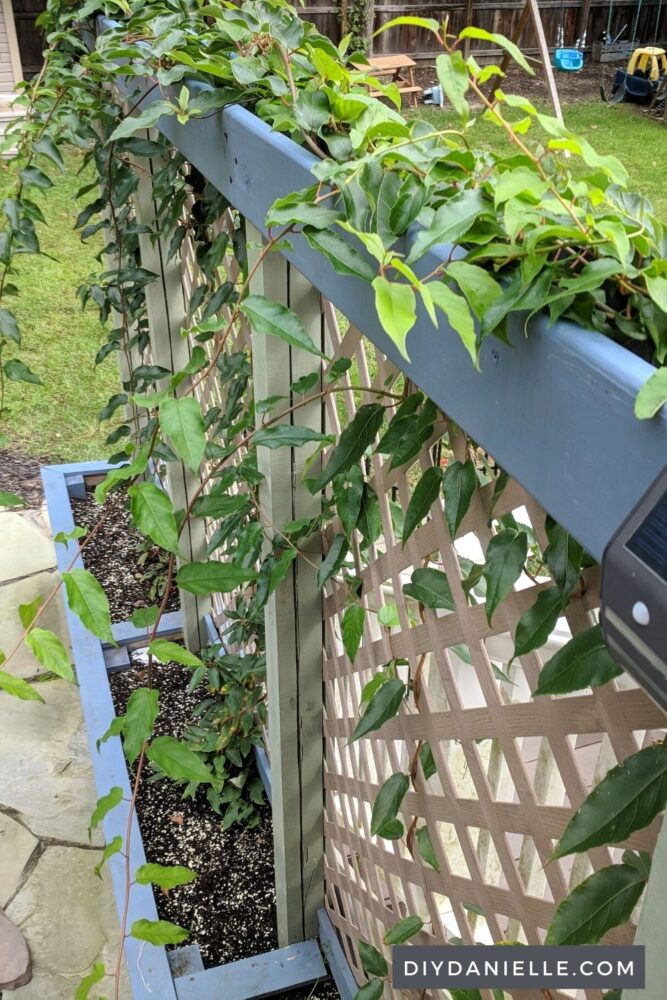
Year two, I planted hardy kiwi in the back. These remained for the new owners of the house and should come back every year for them. Eventually they’ll produce small fruit, similar to the tropical kiwi but smaller and they don’t require peeling. The vine grew fast and was very pretty- but I didn’t get any flowers for that year.
In the front, I planted a ton of carrots. They grew AWESOME. I have never had such good luck with carrots so it was nice getting such a large crop. In the future, I would plant more carrots, more strategically. I did a single row along the front… instead, I’d opt to plant seeds in a zig zag so I could increase my crop.
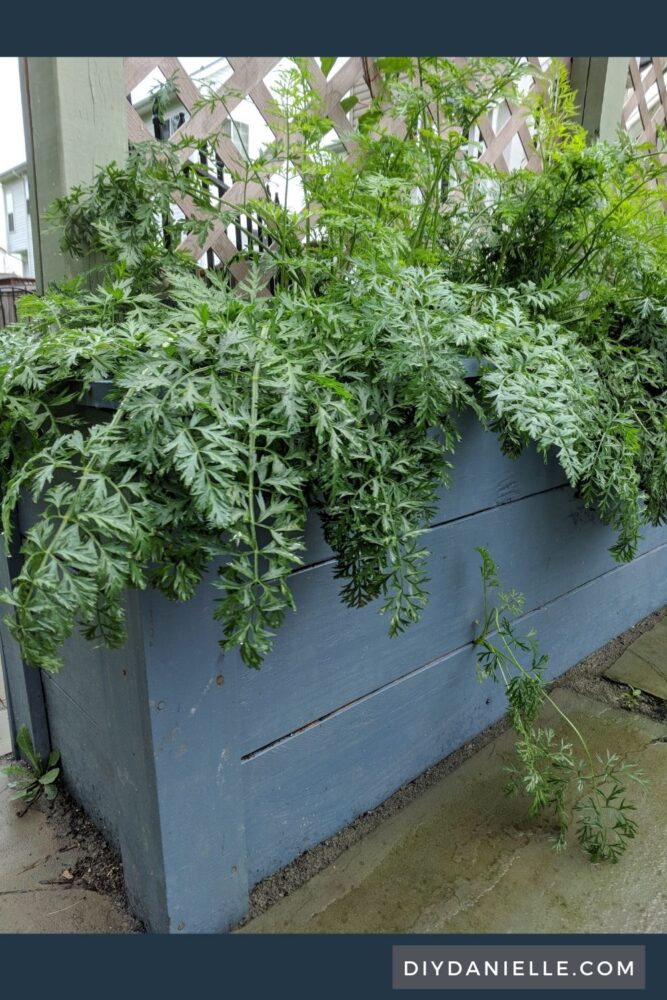
This is a better picture of the carrots pulled back… this was year 1 with the hardy kiwi so they were quite small at the time.
No issues with bugs in the planters that year. If you like to use markers to identify your plants, check out these cute DIY plant markers that I made with my Cricut.
I was thinking about it and maypop might be a great option for a sunny privacy trellis too. They have very pretty flowers and seem to grow fast.
Check out some more posts on my blog:
- More DIY Privacy Screen Ideas
- 20 Outdoor DIY Bar Projects
- 15 DIY Outdoor Water Fountains
- DIY Water Trough Planter & Water Feature
- How to Use a Planter Box to Anchor a Gazebo
Google Web Story: DIY Planter Box with Trellis
Please share and pin this post!

DIY Planter Box with Trellis
Learn how to build a DIY planter box with an attached trellis. There's plenty of room for the plants to grow.
Materials
- Pressure Treated Wood
- Paint
- Lattice
Tools
- Hammer
- Nails
Instructions
- Start building the planter box with the pressure treated wood.
- Add trim around the planters.
- Paint with outdoor paint. Add poles to support the lattice and the exterior of the planters before you install the lattice.
- Add trim to the top of the planter box too.
I plan to get this made asap – I love it. Thanks for sharing. When I get ready I’ll send you a picture. I have a ton of flowers, bushes & trees. I’m 72-year-old & I love working outside but I can’t do much anymore. I have some materials so I’m excited.
God bless you with that sweet baby coming!! Jan
Thank you! I can’t wait to see pictures. 🙂
Loving this idea to block out my neighbors yard until the fence gets installed!
🙂 Yay for blocking neighbors. LOL. Not that neighbors aren’t lovely, but sometimes it’s nice to have a little privacy.