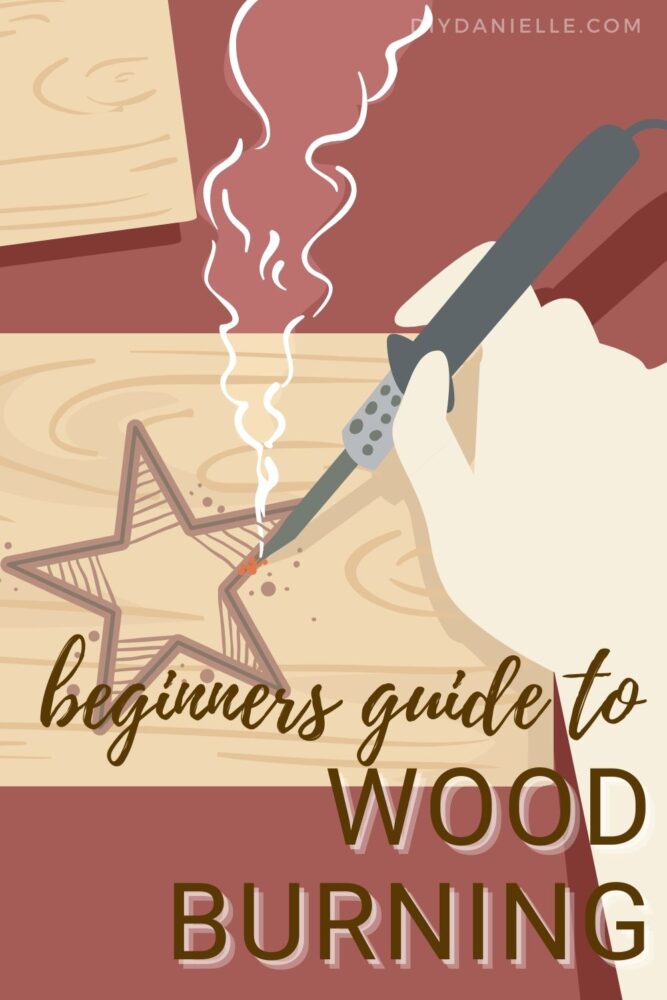
Learn how to get started with wood burning, how to use a wood burning tool, and the best designs for beginners.
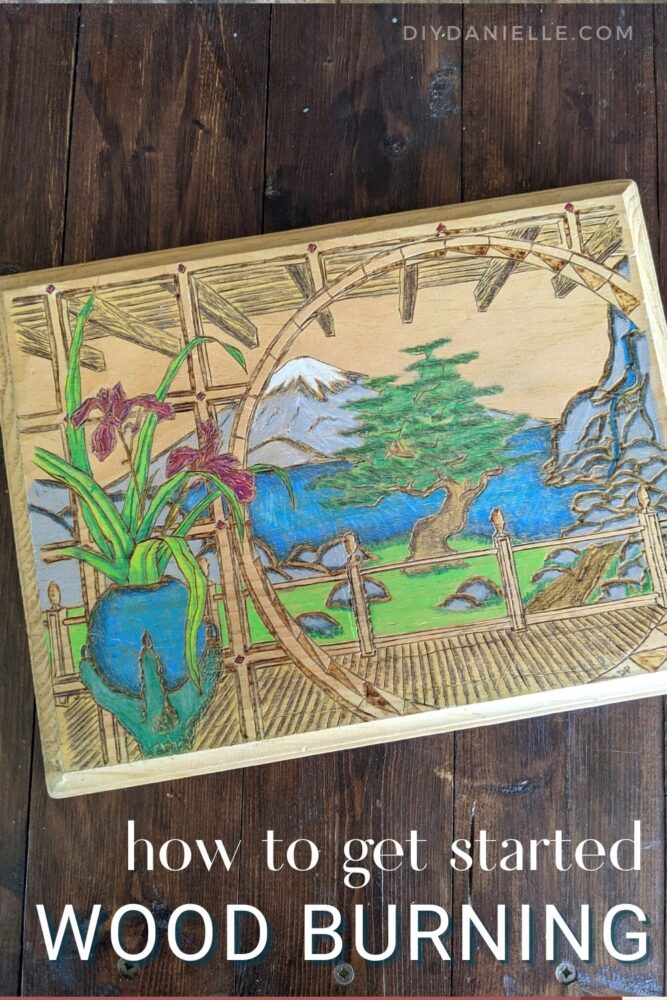
Way before I started my blog, I was dabbling in a variety of crafts. I ran across some old wood burning projects that I did when I was young. I forgot how lovely they are! Wood burning is a great way to add detail to woodworking projects, and you can even use special color pencils to add detail to the designs. Today I want to talk a little bit about the craft and include ideas on how to incorporate wood burning into your other craft projects.
This post may contain affiliate links which may earn me commissions should you click through them and take certain actions. As an affiliate for Amazon, Cricut, xTool, Home Depot, and other sites, I earn from qualifying purchases. Please DIY carefully. View my full legal disclosures here.
Please read the whole post so you don’t miss any important information!
What is Wood Burning?
Wood burning is exactly what it sounds like. You make designs on wood by burning patterns onto it. To do this, you use a small “pen” that heats up and use it to draw designs on wood.
For most beginners, you start by tracing a design onto the wood, then go over the design with your wood burning tool. For talented artists, you can sketch a design directly on your wood, then use your wood burner.
Wood Burning Tips
Different tips work for shading or outlining the design so it’s important to understand what each tip does.
Here’s some of the tips available:
- Universal tip: Honestly, I used this for almost everything. It does the trick.
- Shading tip: Used for shading
- Dot tip: Used to make dots
- Branding tips: These have a design on the end and you can press straight down to ‘brand’ the design into the wood. I’ve never used these.
This is a really good guide to the different tips and what they do. When swapping out tips, make sure your wood burner is cool to the touch before removing the old tip.
Tips and Tricks for Wood Burning
- Soft woods are easier to burn than hard woods. Basswood, Birch, and Poplar are all popular choices. Most craft stores have a small wood burning section with good choices for your projects in that aisle.
- Make sure your wood burner is hot enough before you get started.
- Practice on scrap wood first.
- Be CAREFUL when handling your wood burner. The metal bits are all very hot and it’s very easy to burn yourself. I do, quite frequently.
- Use a set of pliers to attach and detach your tips. Wait to remove tips until they are cool, however.
- Spend a little more money on a quality wood burning tool. Being able to set the temperature and having a comfortable handle will make this a lot more fun. I used cheap tools back in the days before internet shopping; frequently the handles would get too hot, the temperature wouldn’t be consistent, and my hands would cramp up because they were uncomfortable to hold.
How to Transfer Designs onto Wood for Wood Burning
While some of you may be talented artists, I am not. I cannot draw designs with the detail that I’d like on my work. This is NOT a problem though! You can actually print designs and transfer them to your wood. Once transferred, you can trace over the lines with your wood burning tool.
You’ll need to buy transfer tracing paper for this. The set linked includes a stylus for tracing, as well as 200 sheets of the transfer sheets.
- Print your design on regular printer paper.
- Place your tracing paper over your wood with the printed design on top.
- Tape in place.
- Use the stylus to trace your printed design. The design should transfer through the transfer paper onto the wood underneath.
This is the easiest way to transfer a design.
For one project, I used the computer to simplify a picture of my horse, then transferred it to the wood to burn. Unfortunately I’m in the middle of moving my craft room into the She Shed we’re renovating so I can’t find it to photograph. I’ll try to update this once I move.
Adding Color to Wood Burning Designs
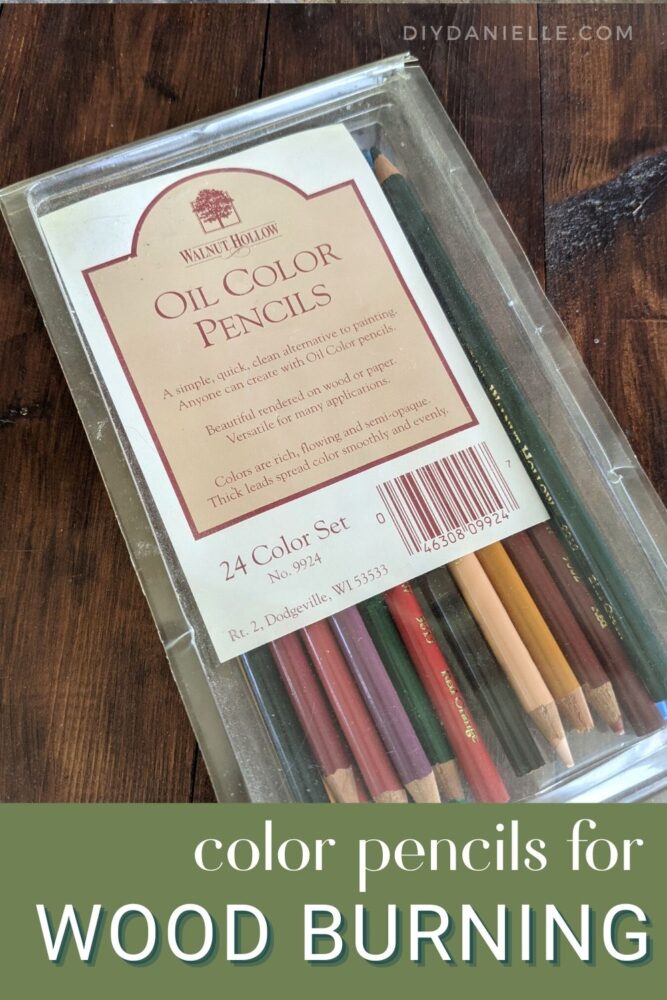
While generally wood burning designs are purely from the color of the burnt wood, color can be added to wood burning design. You have a few options- you can use color pencils designed for wood burning, like I did in the photos below, or you can use paints or stains.
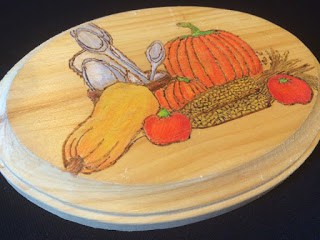
These are the color pencils that I used. They’re oil based and specify that they work on wood. I bought these many, many years ago and don’t do wood burning frequently so I can’t say if there’s a better product out there.
Just keep in mind that wood burning is beautiful by itself… the burning gives a bit of a 3D look to the design and adding color may flatten the appearance a bit.
Wood Burning Projects for Beginners
Wood Burning Projects for Beginners
Ideas for wood burning projects for beginners. Here are some tutorials to help walk you through wood burning.
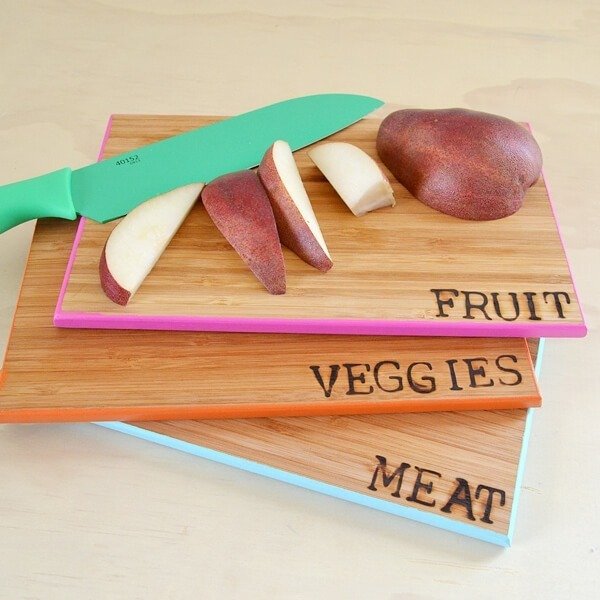
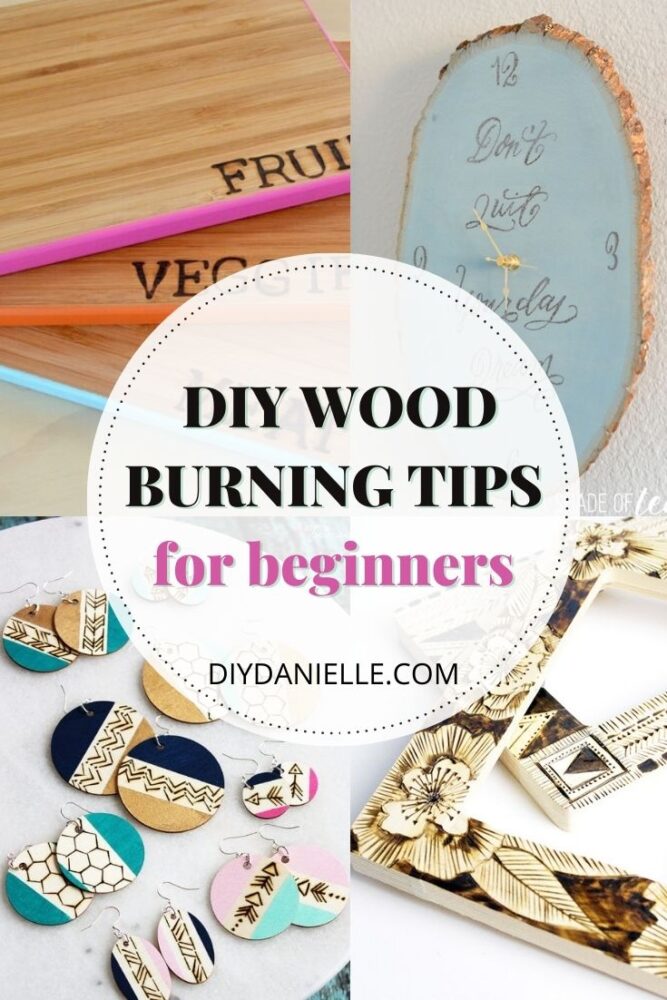
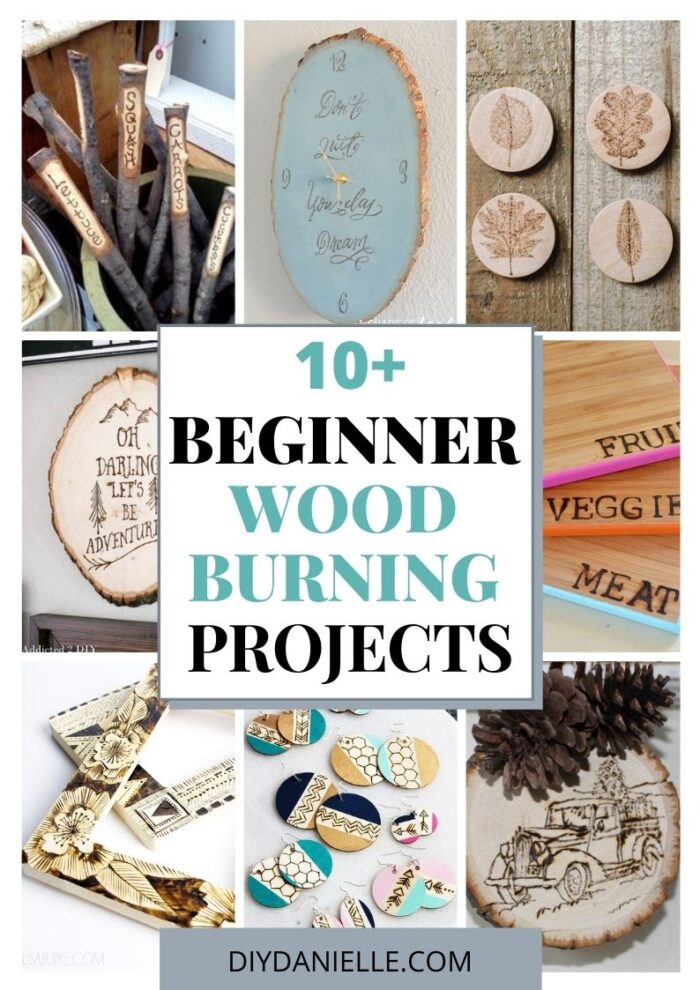
Cutting boards are a great beginner wood burning project because they are so versatile. You can start with a simple project like these, or get more detailed. Love the idea of color coding the boards to keep meats separate!
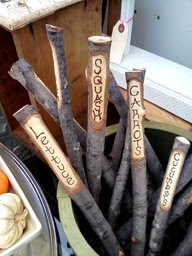
Gather twigs and sticks from your yard to make fun plant markers. This is basically a free craft if you already own the tool!
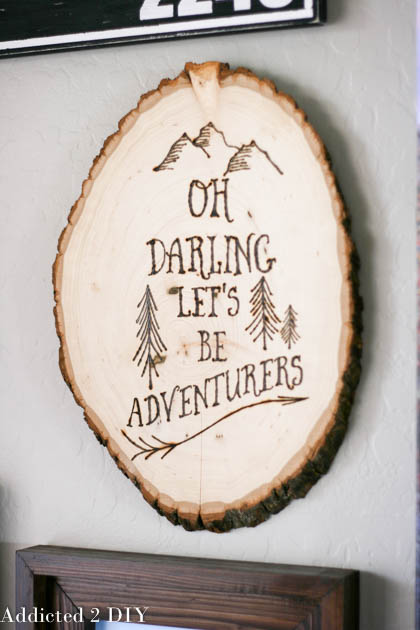
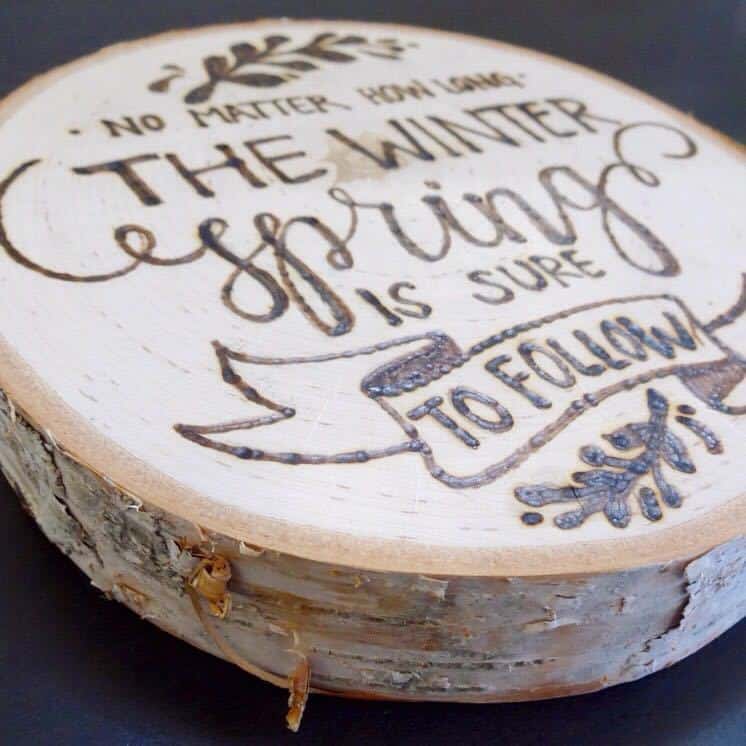
Create a rustic wood slice wood burned piece of art for your home. Add your favorite quote, or family monogram.
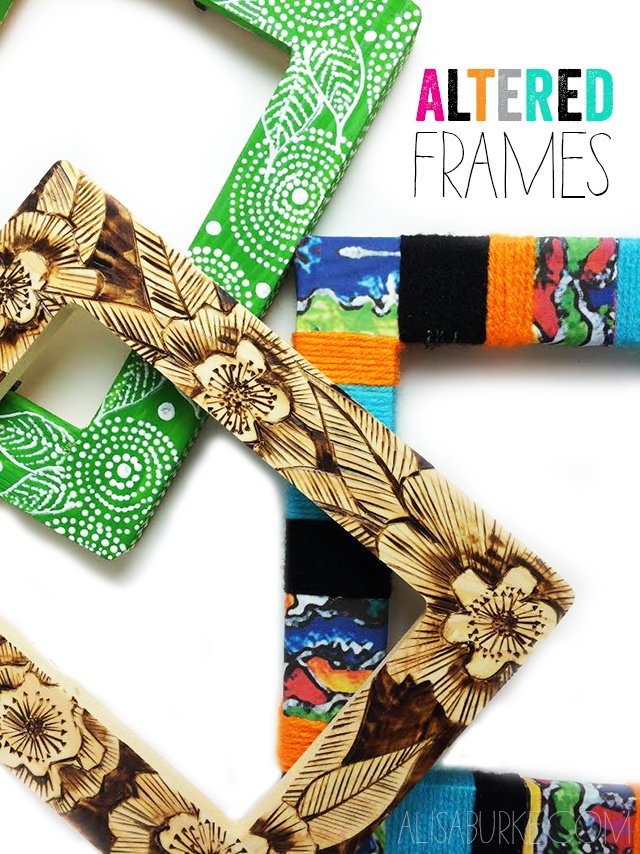
Pick up inexpensive picture frames and give them a completely new look with your wood burning tool.
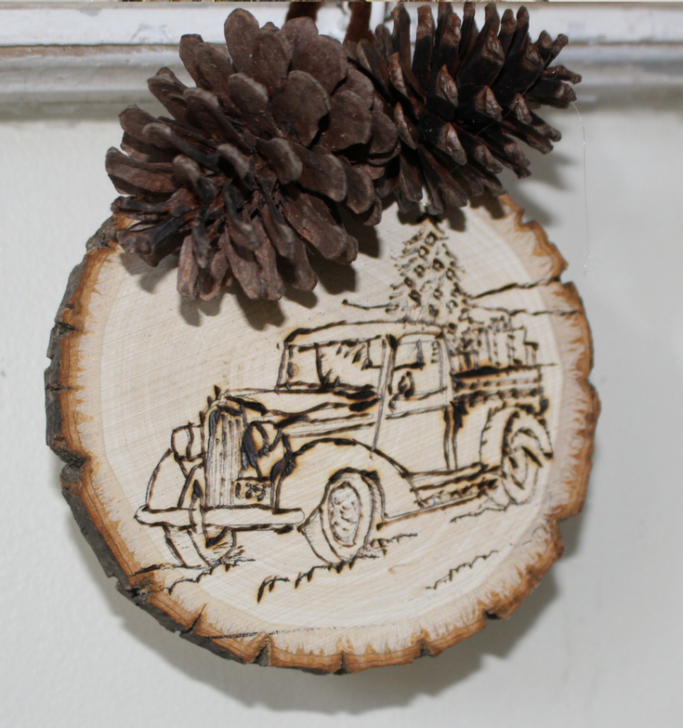
A creative way to wood burning technique for beginners is to use a rubber stamp to outline the image. Then you can use your wood burning tool to trace the outline. This is a great way to get more detailed images like this old truck.
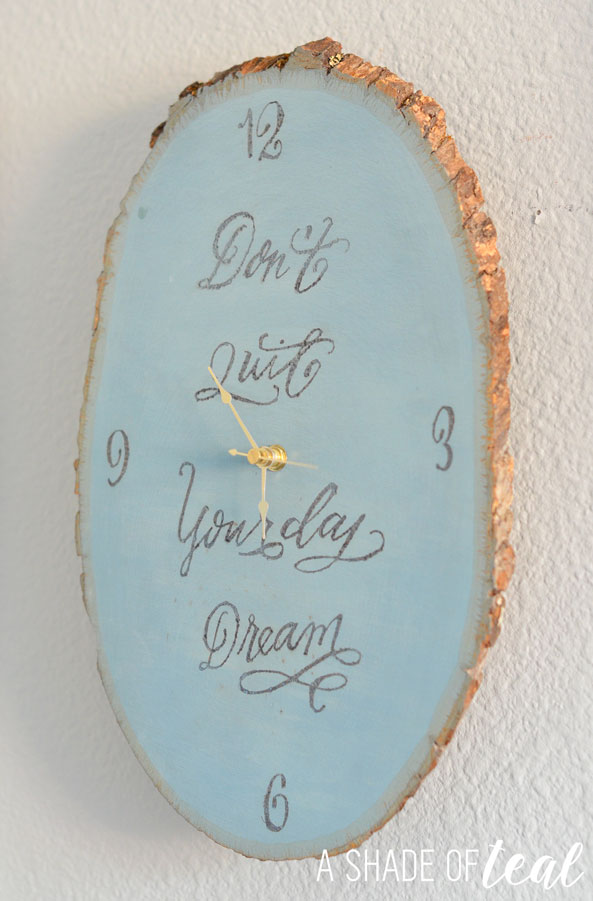
Learn how to turn a piece of basswood into a beautiful and unique wood burned clock.
This is another great step-by-step tutorial for a beginner wood burning sign.
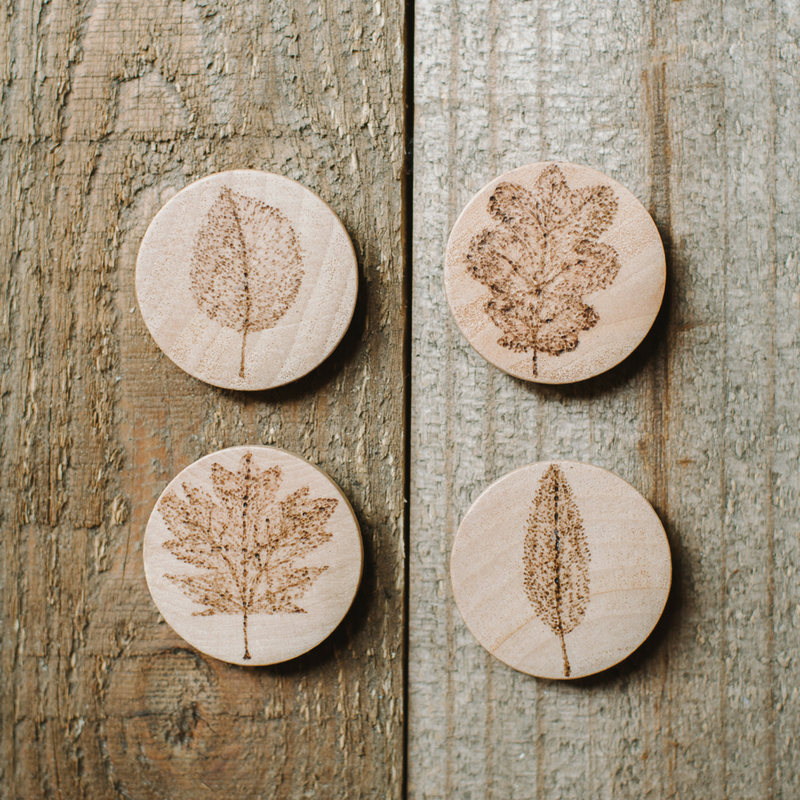
Make your own wood burned leaf magnets using this simple tutorial. You could make magnets for each season!
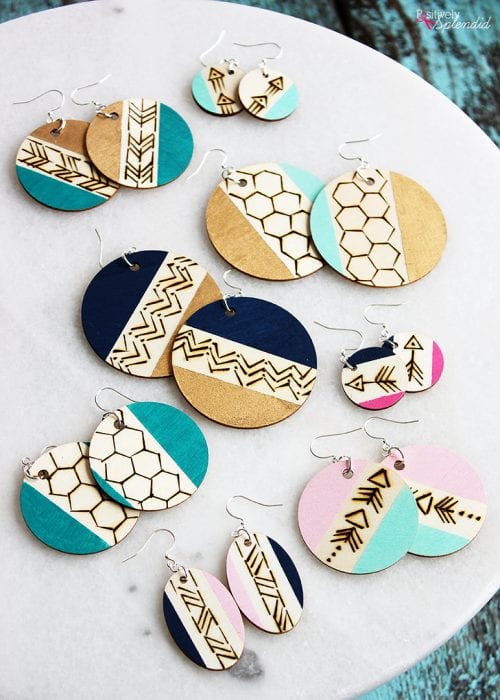
DIY Wood Burned Earrings - Easy and stylish handmade gift idea!
If you are looking for an easy and fun handmade gift idea, these DIY wood burned earrings are perfect! You could make a bunch for holiday gift giving.
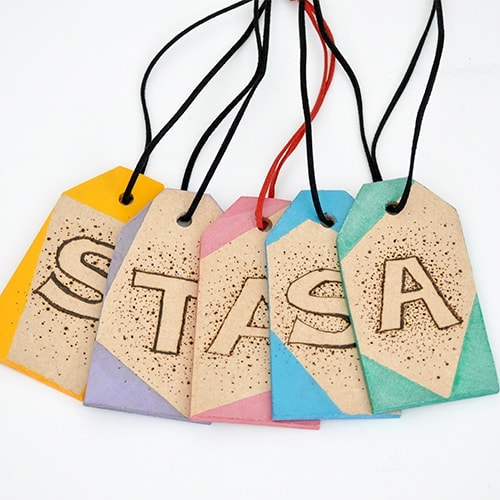
Make wood burned monogrammed luggage or gift tags. They make a great gift and are super fun to make.
Please share and pin this post! If you make this project, share it in our Stuff Mama Makes Facebook Group. We have regular giveaways for gift cards to craft stores. You can also tag me on Instagram @doityourselfdanielle; I love seeing everything you make!