
Thinking about buying a yoga bolster pillow for your home yoga practice? Know how to sew? Make your own bolster using custom fabric choices!
I’ve been wanting to purchase a yoga bolster pillow because I’ve done some really relaxing poses in yoga class using one for support and I wanted to imitate them at home. But eh… expensive. I was so excited to suddenly realize- SURPRISE!- that I could make them. Of course- fabric. Oiy!
This is actually a REALLY easy project and I used all sorts of scrap fabric and upcycled clothing to stuff it. I usually like to use fiberfil for the insides of pillows or pillow forms, but yoga bolsters are really much more firm. I tried using scraps inside my oldest son’s floor pillow and it’s firm just like a yoga bolster so I figured it would be a perfect use for extra scraps AND it’d have the firm quality that I wanted.
This post may contain affiliate links which may earn me commissions should you click through them and take certain actions. As an affiliate for Amazon, Cricut, xTool, Home Depot, and other sites, I earn from qualifying purchases. Please DIY carefully. View my full legal disclosures here.
The majority of my content is generated by me, as are 99% of the photos and videos, but I utilize technology for titles, descriptions, video editing out all of my ums, and occasionally for text overlay on images.
Please read the whole post so you don’t miss any important information!
If you love yoga, you’ll also love my posts about making a yoga mat bag. I have a no sew yoga mat bag tutorial and a yoga mat bag I made by sewing. Oooo and here are some super cute yoga shirts that I made with my Cricut machine.
Here’s an item in my store that you might enjoy! These belly bands are perfect for boy goats who might be attending some goat yoga. Keep scrolling for the yoga bolster tutorial!
Supplies for a Yoga Bolster Pillow
- Fabric: A good upholstery fabric will work well and be durable.
- Something for stuffing. You know all those clean but worn clothes that really aren’t good enough for donations, but you’re loathe to just toss? They work well in here. I had socks, underwear, pajamas, etc. that are now so helpfully stuffing my yoga bolster.
How to Sew a Yoga Bolster Pillow
So here’s the instructions on how to make a yoga bolster for yourself. Like all my tutorials, I like to break it down quite a bit for those who aren’t super familiar with sewing.
Wash fabric.
Iron fabric.
Cut fabric.
- Large Fabric Cut: (2) 26″x13″
- Medium Fabric Cut: (2) 26″x7″
- Small Fabric Cut (end pieces): (2) 7″x13″
- Straps: (2) 5″x13″
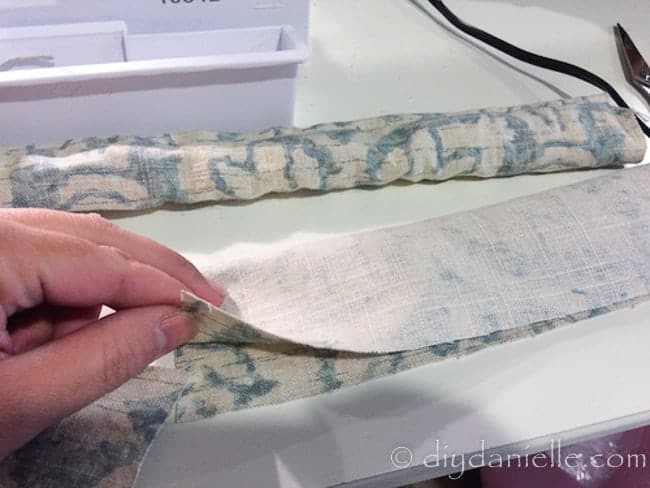
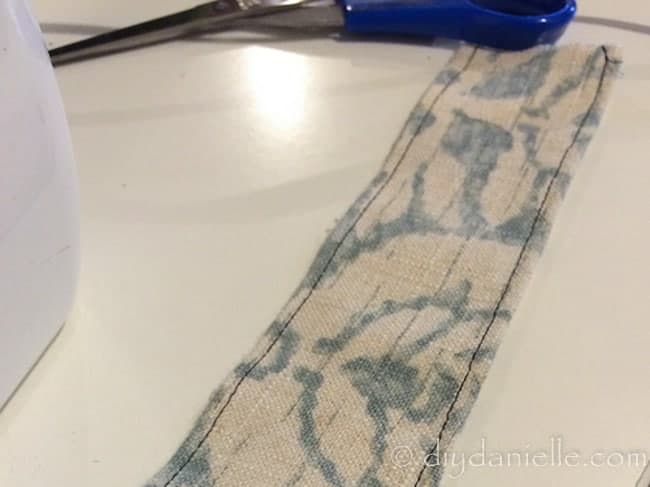
Fold straps in half, right sides together and sew up long side. Turn right sides out. Iron. Stitch long sides. These are your straps.
Place the short pieces of your fabric to the side. You’ll use those and the straps last.
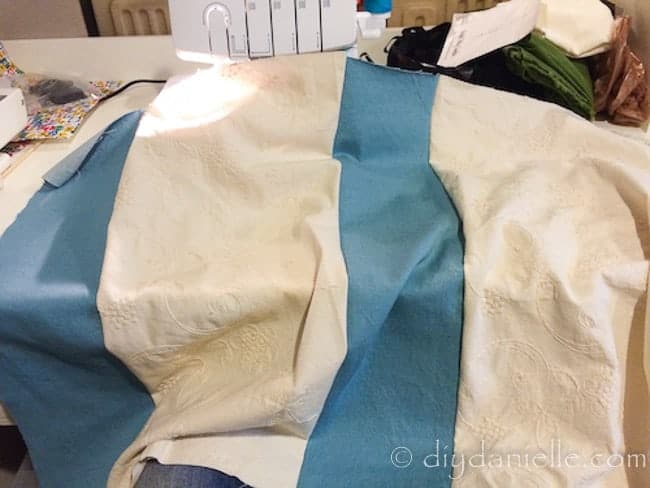
Sew long pieces together along the long edge… Alternate between the 26×7 (blue) and the 26×13 (beige). This will give you one big piece of fabric once pieced together. I did use a serger, but you can use a regular sewing machine as well.
Now you’ll take the two ends of that long piece of fabric and face them right sides together. Sew them together… and you’ve got the main portion of your yoga bolster sewn together.
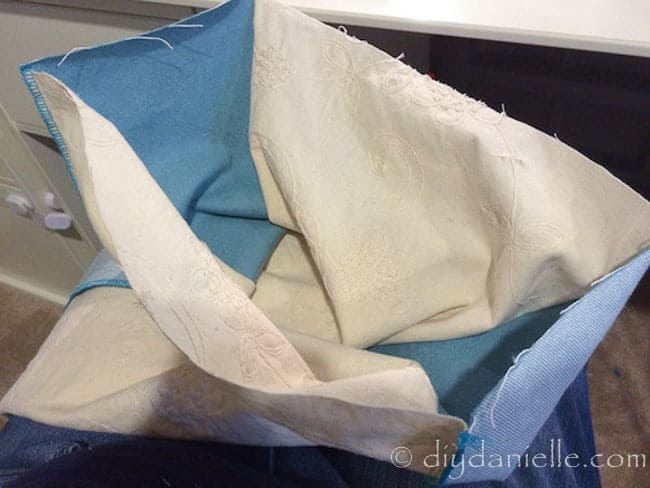
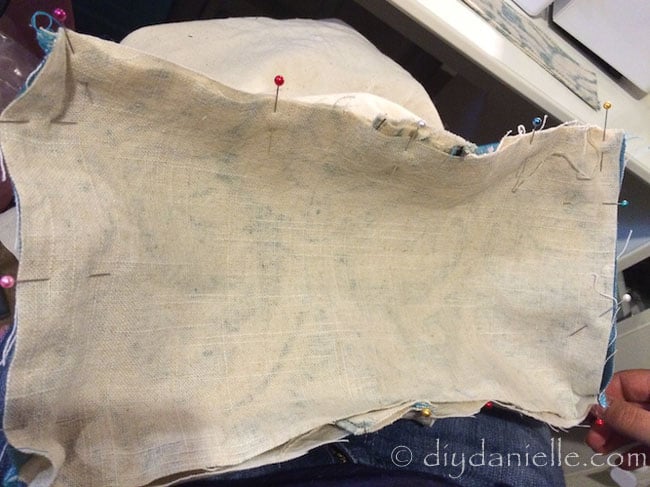
Now you need to add your ends and the straps on. Pin your straps inside the tube of fabric, one for each side. These actually pin to the short sides- in the picture below I added my straps to the long side (whoops!) so ignore that.
Once you’ve got it pinned all the way around, you can completely sew one side closed. Make sure not to hit the pins of course.
Now you need to sew up the final side. Same deal with pinning, except when you sew this you need to leave an opening to turn it right sides out (and fill). I recommend doing a hand’s width space for this. I leave my opening in the middle of one long side because I need to sew down the straps really well and it’s easier to do that with the machine.
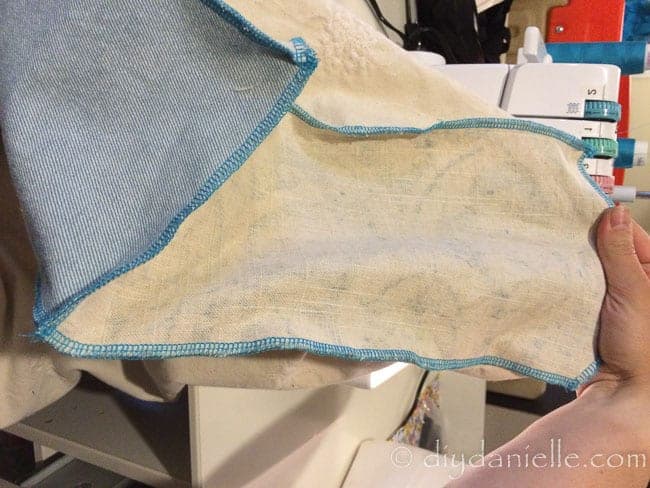
Turn fabric right sides out.
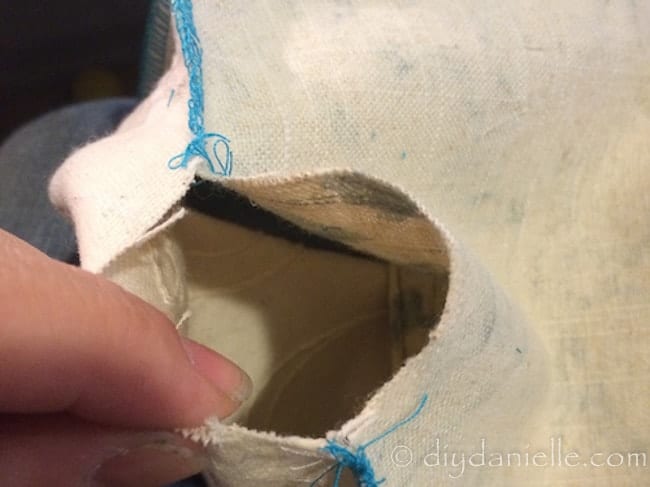
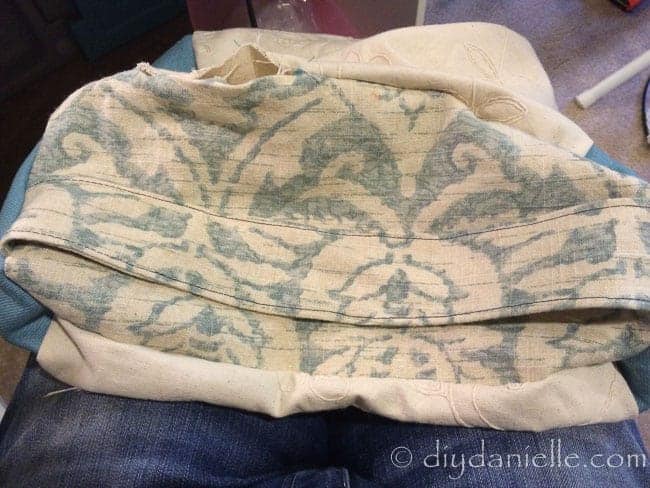
Fill yoga bolster with scrap fabric. I stuffed this pretty much completely full. I want it to be solid.
Hand sew your opening closed.
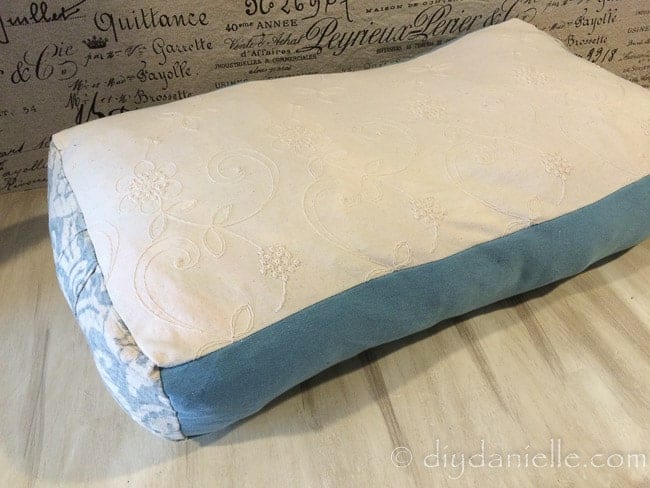
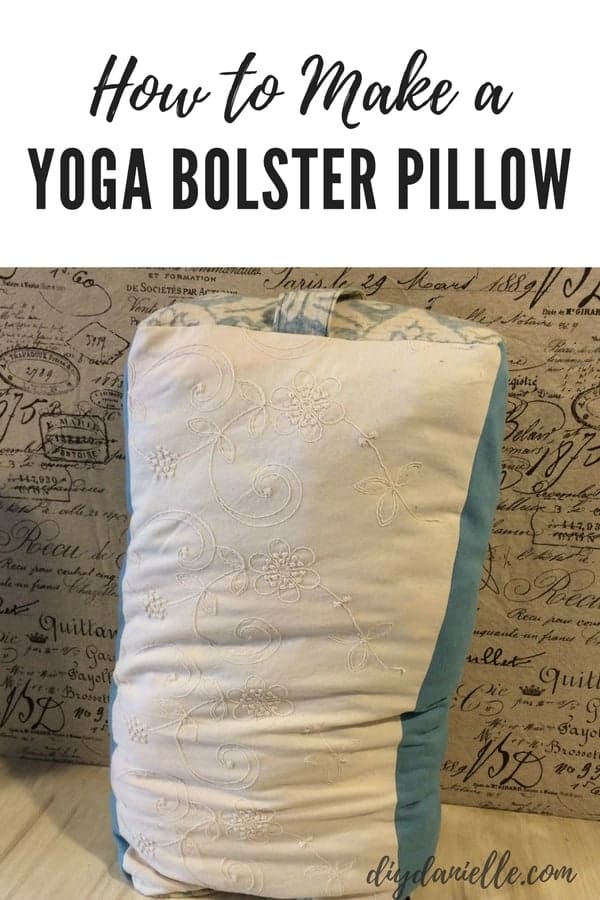
And here’s my final product. I used it under my knees when I’m sleeping a lot because it is more comfortable for my back. I can also use it as a floor pillow for my sons (who love it!) or do yoga poses on it (as intended). I love that it’s customized and doesn’t look like every yoga bolster on the market- which is to say, plain.
Please share and pin this post! You can also post your project and tag the DIYDanielle team on Instagram @doityourselfdanielle!
If you’re new to sewing, making sure to check out my posts: Tools that Make Sewing Easier and How to Choose a Sewing Machine. Love this? Check out 15 Small Home Gym Ideas.
Google Web Story: How to Sew a Yoga Bolster Pillow
How To Sew A Yoga Bolster Pillow
Make your own yoga bolster pillow using custom fabric choices and scrap fabric.
Materials
- Fabric
- Stuffing
Tools
- Sewing Machine
Instructions
- Wash fabric.
- Iron fabric.
- Cut fabric: large fabric cut: (2) 26″x13″, medium fabric cut: (2) 26″x7″, small fabric cut (end pieces): (2) 7″x13″
- Straps: (2) 5″x13″
- Fold straps in half, right sides together and sew up long side.
- Turn right sides out. Iron.
- Stitch long sides. These are your straps.
- Place the short pieces of your fabric to the side.
- Sew long pieces together along the long edge alternating between the 26×7 (blue) and the 26×13 (beige).
- Take the two ends of the long piece of fabric and face them right sides together. Sew.
- Add your ends and the straps on.
- Pin your straps inside the tube of fabric, one for each side.
- Completely sew one side closed.
- Sew up the final side.
- Turn fabric right sides out.
- Fill yoga bolster with scrap fabric.
- Hand sew your opening closed.
Recommended Products
As an Amazon Associate and member of other affiliate programs, I earn from qualifying purchases.

This is exactly the pattern I was looking for – upcycling and all.
This is beautiful! Thanks so much!!
I was so happy to find your yoga bolster pattern! I very much need a bolster for my home yoga practice . Thanks for sharing!!
Thanks so much! I just made the bolster and will sew a cover next. Worked out great!
Awesome! Feel share to share a photo of the bolster in our Facebook group, Stuff Mama Makes 🙂 We have a monthly contest thread too for people to submit entries.
This looks awesome, great use of scrap fabric and scrap clothes. I’m wondering how heavy is it?
Thanks for sharing.
Thanks! It’s pretty heavy (but probably comparable to the ones at my yoga class) and the downfall of clothes is that it gets a bit lumpy. But it works! It might be worth leaving an opening/zipper so you can occasionally fluff the insides a bit 😉