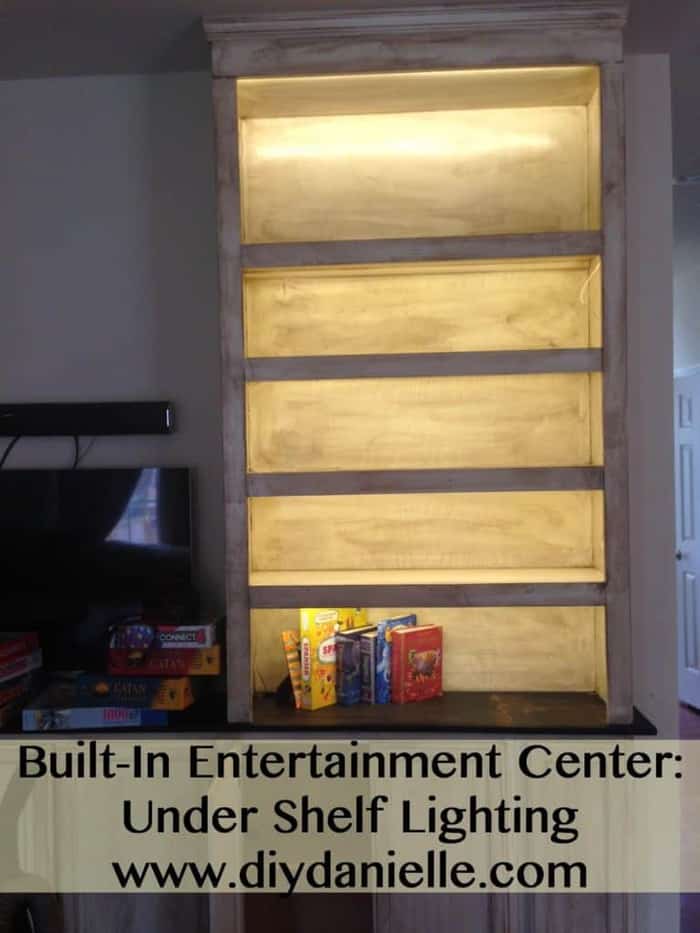
How to install easy DIY under cabinet lighting on bookshelves. This custom lighting was the perfect way to light up each shelf.
This post may contain affiliate links which may earn me commissions should you click through them and take certain actions. As an affiliate for Amazon, Cricut, xTool, Home Depot, and other sites, I earn from qualifying purchases. Please DIY carefully. View my full legal disclosures here.
Please read the whole post so you don’t miss any important information!
An electrician gave us a quote about getting LED tape lighting installed in our DIY built in entertainment center, and while I’m sure they would’ve done a much nicer job, it was out of our price range.
I found this tutorial explaining how to DIY the project so we decided to try it… my husband saw it and didn’t read through fully because he knows how to solder. I’m going to explain, as best I can, how he did this project.
This would be great for under kitchen cabinets too and if I recall would be cheaper than what we bought for our small condo kitchen renovation.
Supplies Used
- (2) LEDwholesalers 16.4 Feet (5 Meter) Flexible LED Light Strip with 300xSMD2835 and Adhesive Back, 12 Volt, Warm White 3100K, 2026WW-31K $11.88 each
- AC Power Adapter with 3-Prong Plug 12 Volt 4 Amp with 5mm DC Output Jack, 3228: $10.99 (1)
- My husband also bought 100′ of 24G Speaker Wire for $6.97
- We had all the equipment for soldering so we didn’t need to purchase that. (wire strippers, wire cutters, solder, flux, soldering iron)
Total Price: $41.72

This is what the tape lighting looks like off the roll.
 |
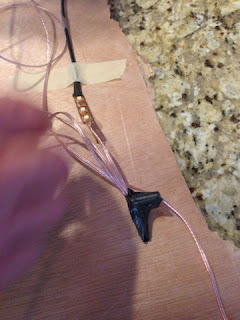
| My husband, showing how the wiring is split so it can run to the two different bookshelves. |
 |
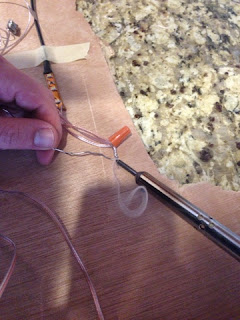
| This is the beginning of the set of lights which plugs into the AC adapter. He cut a short strip of the light strip, then soldered the wires so they’d would split to both bookshelves. |
Soldering 101
 |
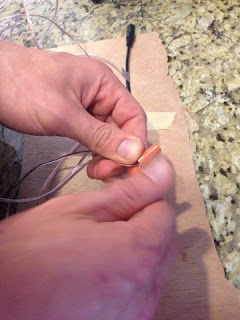
| We put some soldering flux on with a toothpick. |
 |
| Here he’s touching the solder (the wire) to the “dots” on the end to give himself something to attach the wire to. |
 |
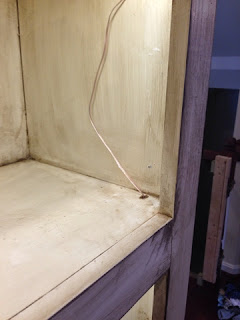
| We realized we shouldn’t be doing this on our granite counters and grabbed a piece of wood to put underneath. I used a piece of masking tape to keep it still. Here’s my husband, connecting the wire to the “dots” of solder to form the connection between the wire and the light strip. He did this with every strip of lights. So this part attached to the AC adapter, he split this wire to go to two separate wires (one for each bookshelf). Each wire ran through the cabinets (see how we drilled holes in my electric post) and ran up to the bookshelf. Once wire got to where we were installing the strip lighting, he attached (using soldering) another strip of lights that then was “taped” above the shelf so it’d shine down. On the other end of the light strip, he’d connect another wire so he could run that up to the next shelf through a small hole he drilled. And so it continued until he got to the top of the shelves. This means the drilled holes are on opposite sides for each shelf. |
This is how he split the wires for the beginning of the lighting, near to the AC Adapter.
(from Daddy B) The speaker wire is 2-conductor wire, meaning there are two wires stuck together. Each wire is two different colors (in this case copper/silver). The objective of the splitting is to divide 1 of each wire into two. Simply explained, you have to match the end of the wire coming from the power source to the ends of two other wires (matching all the colors). There are several ways of doing this, one easy way without soldering is to use wire caps. With a wire cap, you just twist the wires you want to connect together and put the cap on by pretending the wires are a screw and you are twisting/screwing the wires into the cap. In our case, the caps we had on hand weren’t small enough for the 24 AWG speaker wire, so we used some solder first, added the caps, and added electrical tape.
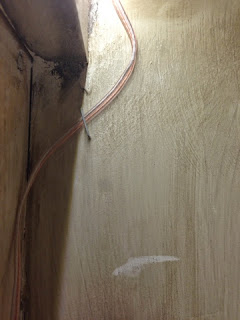
He drilled holes tucked into the corners of each bookshelf so the wires could run up along the side, but mostly remain hidden. Then he used a staple gun (my really cheap one I got at the craft store) to staple them in place so they wouldn’t show.
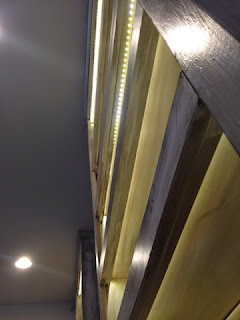
Picture from bottom up.
This is part of a MUCH larger project. We started by putting a cabinet base on for lots of lower storage. Next, we added a wood counter top. I painted and distressed the whole piece. My husband built bookshelves and added trim to make them look built in. Finally we added areas to run the wiring for our television and gaming systems.
To see the final product, make sure to check out our DIY built in entertainment center. You may also like seeing the newer version of our built ins that we added at our newer house: Easy Living Room Storage Cabinets and DIY Built In Bookshelves. We even created some recessed bookshelves at the new house next to the couch.
Please share and pin this post! If you make this project, share it in our Stuff Mama Makes Facebook Group. We have regular giveaways for gift cards to craft stores. You can also tag me on Instagram @doityourselfdanielle; I love seeing everything you make!