

Learn how we turned wall cabinets into a cabinet base for entertainment center storage. See the complete tutorial with steps below.
This post may contain affiliate links which may earn me commissions should you click through them and take certain actions. As an affiliate for Amazon, Cricut, xTool, Home Depot, and other sites, I earn from qualifying purchases. Please DIY carefully. View my full legal disclosures here.
The majority of my content is generated by me, as are 99% of the photos and videos, but I utilize technology for titles, descriptions, video editing out all of my ums, and occasionally for text overlay on images.
Please read the whole post so you don’t miss any important information!
When we moved into our home, we had this huge family room and only this teeny tiny rustic tv stand / bureau to place our television on. We wanted more storage in the room for video games, movies, and more. But the icky bookshelves we put up on either side of the bureau were pretty ugly.
Fortunately, Pinterest came to the rescue. I saw these built-ins from by Addicted2Decorating.com and we decided to tackle something similar for our space. Our in-laws came up so we decided to get started on this project while they were around to watch the kiddos for a bit.
Update from 1/25/20: We sold our home and moved so we HAD to recreate this project. For our second attempt at this, we didn’t build a base- instead our living room cabinet storage system is “floating” with legs for additional support. We also used pine bookshelves instead of MDF at our new home.
Here’s a product you might be interested in from my store. Keep scrolling for the tutorial!
How to Install Wall Cabinets as Base Cabinets
Before we get started, you should be clear on the difference between wall cabinets and base cabinets. Basically, wall cabinets are cabinets that are installed (usually against the wall) at eye level. Base cabinets are cabinets that sit below a countertop, closer to the ground.
Here’s some more information on the differences:
| Base Cabinets | Wall Cabinets |
| Sit below a countertop with extra space at the bottom of the cabinet (known as toe-kick space) | No extra base at the bottom |
| Usually between 24-30 inches deep | Shallower, only about 12-18 inches deep |
Now, since we were able to find wall cabinets at a reasonable price (see below for costs and supplies), I wanted to make them work as base cabinets for our entertainment center. You can easily do this, too, with a few changes.
Supplies
Our wall is 164″ long so we decided upon the following for the base: (2) 12″w cabinets, (2) 36″ w, and (2) 30″ w. Keep in mind that these are the wall cabinets you buy to put above in a kitchen– not base cabinets. Those would have taken up more floor space and made the space feel smaller.
Here’s the order list for our project and costs:
- 2x 12″w cabinets (12×30″): $101.82
- 2x 36″w cabinets (36×30″): $189.92
- 2x 30″w cabinets (30×30″): $164.47
- 8″ Steel Molding Bar: $9.77
- Pro Doweling Jig: $28.98
- Box of Screws: $5.58
- End Piece to Match Cabinets (covers the end that shows so it doesn’t look icky): $7
- 21/32″x16″x3′ Wood (Listed at PNT on receipt, 5 @ $7.90): $39.50
- 1x4x8′ Top Choice Wood for Countertop (Listed as Whtwd on receipt, 4 @ $5.68): $22.72
You can shop Home Depot’s upper cabinets that are unfinished here.
Here’s how I saved money on the project- I planned to use stock unfinished cabinets from Lowes. I bought a Lowe’s coupon off eBay that could be used online. Then I clicked through to the Lowe’s site from Rakuten and scheduled my order for pickup at Lowe’s.
Equipment
- Pro-Doweling Kit
- Drill
- Circular Saw
- Wood glue
- a miter saw would’ve been helpful
If you don’t have any tools, this Ryobi kit includes a brad nailer, some batteries, an impact driver, a circular saw, and a drill.
The cabinets fit in our minivan with the seats out. I wasn’t so sure about this whole minivan thing (I’m a big fan of our Hybrid Prius and the 44MPG I get in it), but it sure comes in handy for actually putting something besides the kids in the car!


Marking the Floor for the Base
Before we bought everything, my mother-in-law suggested we use masking tape to show where everything would go on the floor. This helped a lot while we were doing the whole process.
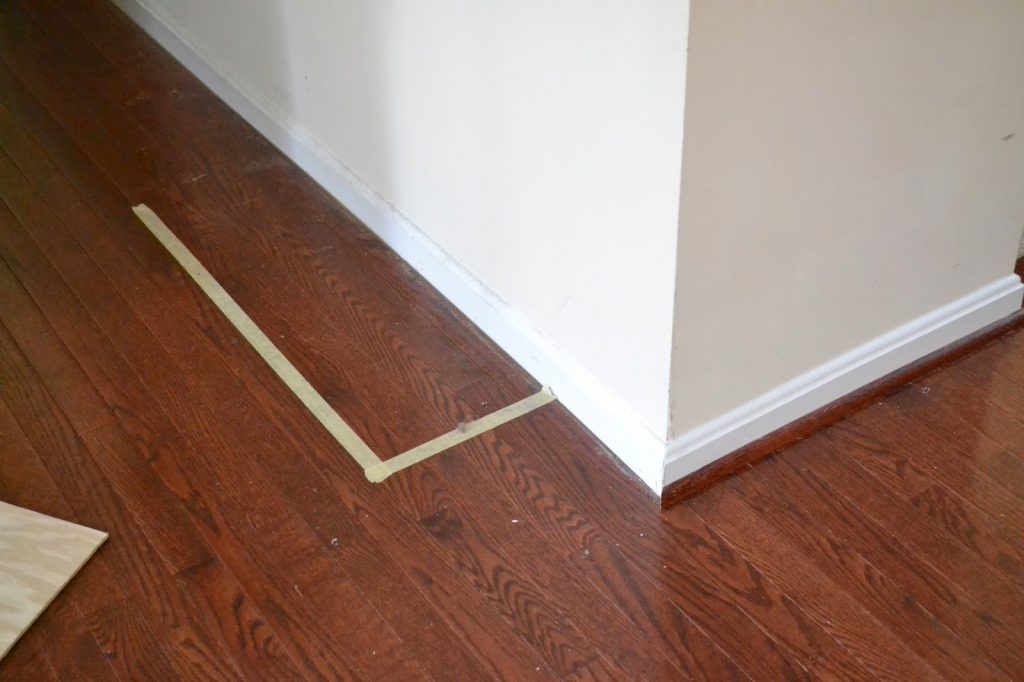
We had to remove the molding around the area we were installing the built-in cabinets. We opted to remove the molding for just the laminate floors and leave the white molding and work around it.
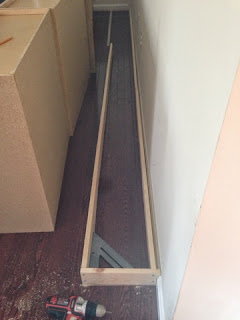
My husband then calculated measurements to build a base for the cabinets and used dowels (using a pro-doweling kit he found) to combine pieces so they were long enough. I think in the original tutorial she built a separate base for each set of cabinets, but he built one big base instead.


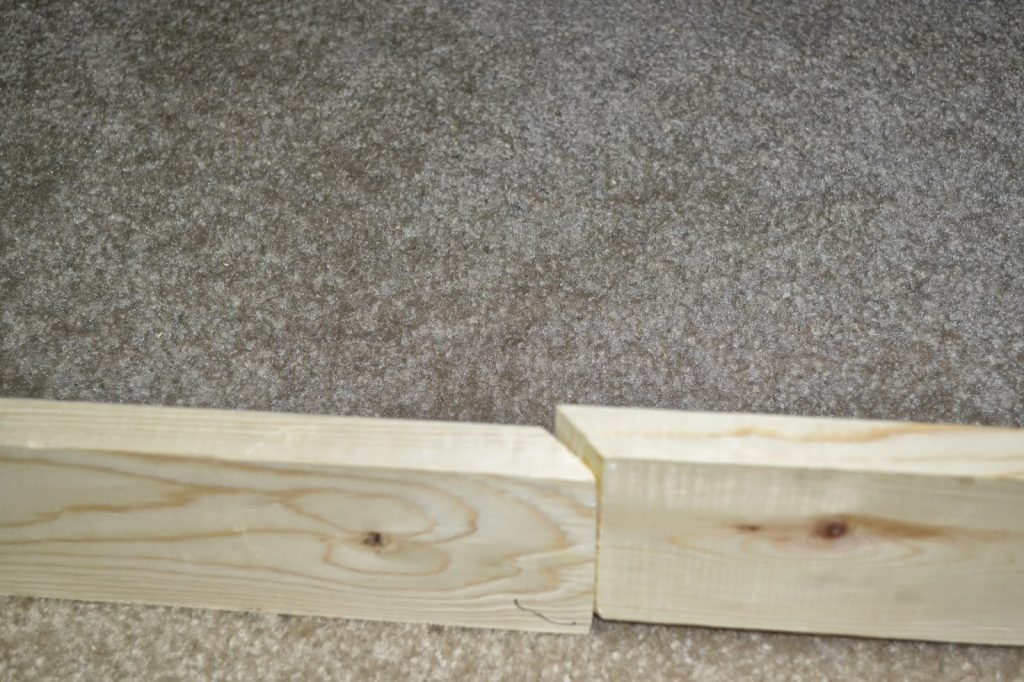
For the front of the base, he cut a slanted edge on two boards (because he didn’t have one board long enough for the whole base) so he could combine them without having as rough of an edge like if he’d just combined them with two vertical cuts.
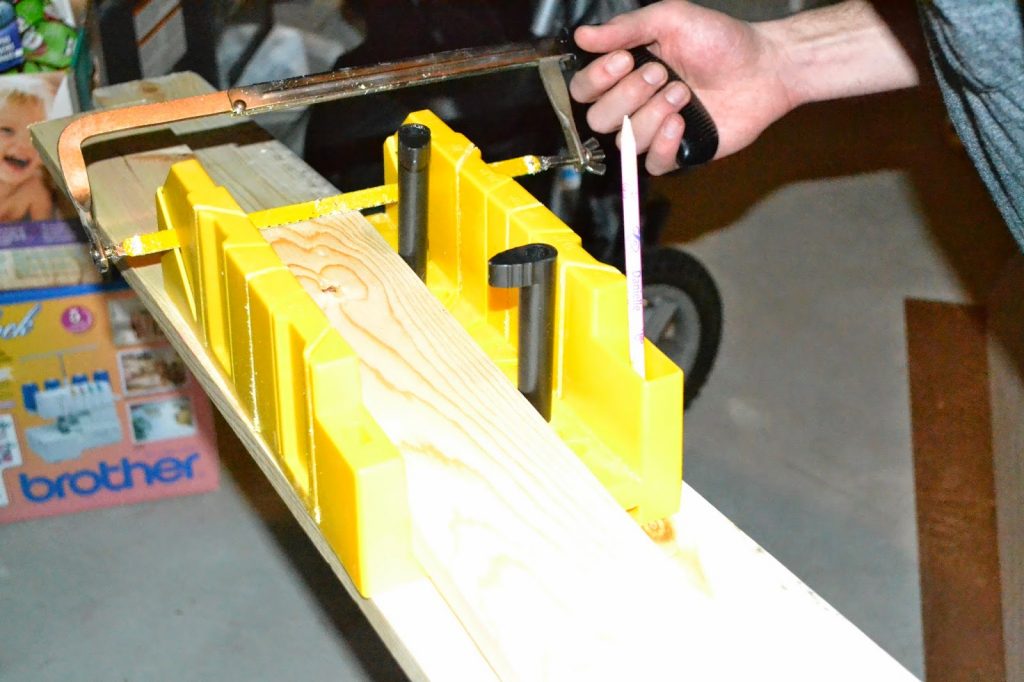
Ugh- looking back at this project, a miter saw would’ve been REALLY helpful. I can’t believe we used a hand saw for this! Back when we didn’t have as many tools, things took us quite a bit longer. Sometimes having the right equipment is REALLY nice.
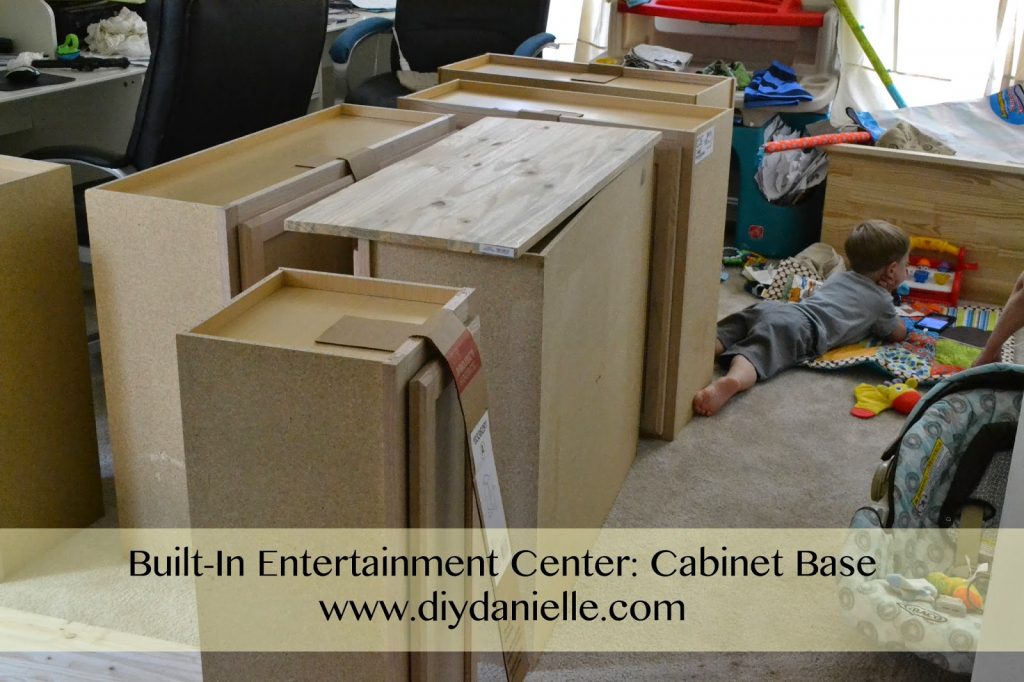
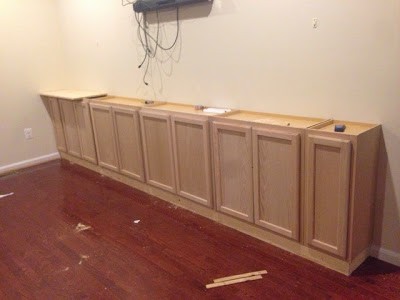
Here he is with the base being built, then a later picture with the base and the cabinets on top.
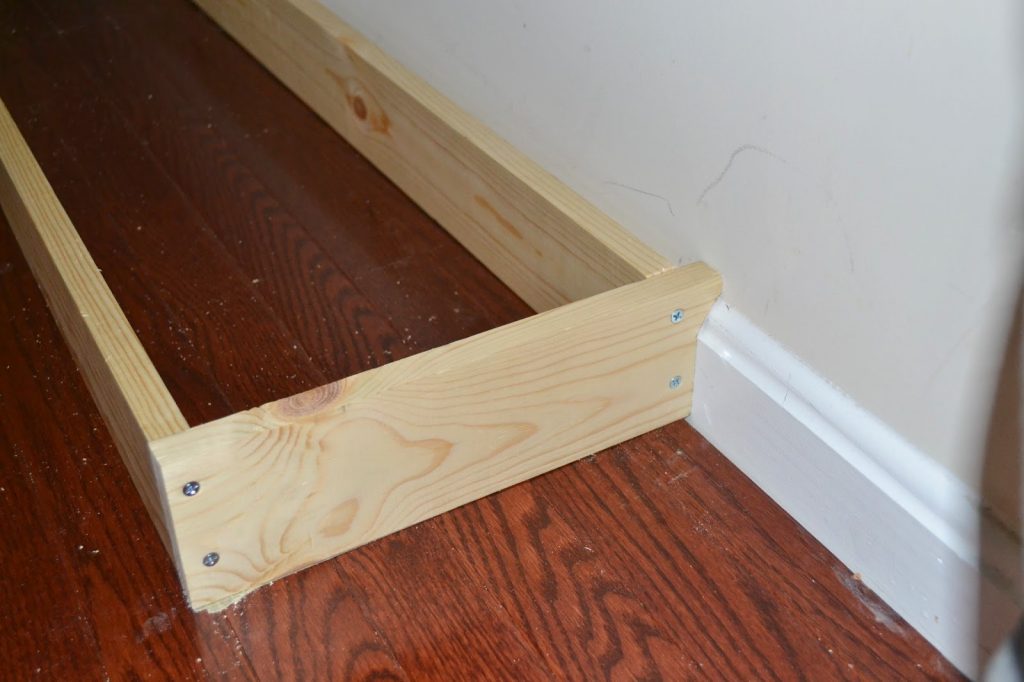 |
| He did this. I have no idea how it looks so perfect or what he did here. But it fits to wall nicer without him needing to remove the baseboard. |
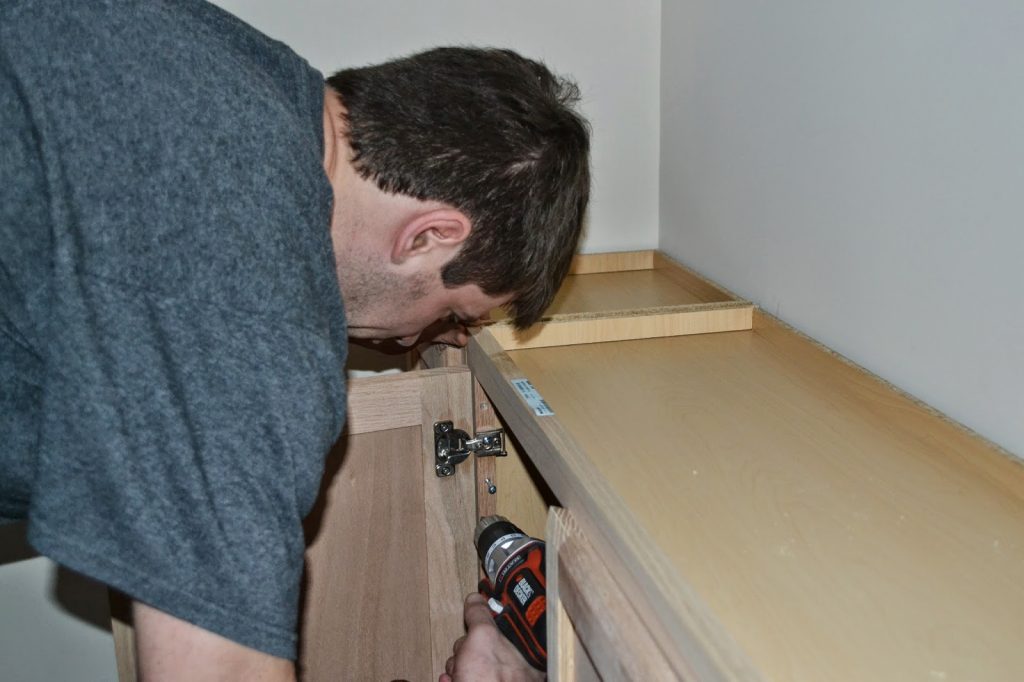
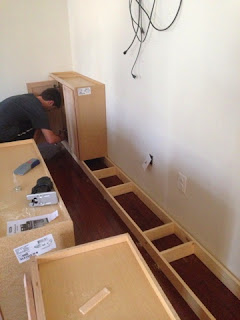
Once the base was on, Daddy B started installing the cabinets which screw into each other and the wall. He made sure to measure out where the outlets were and cut a spot out for them to come through. We will also cut a hole in the top of the cabinet and the countertop to run cords through for the electronics.
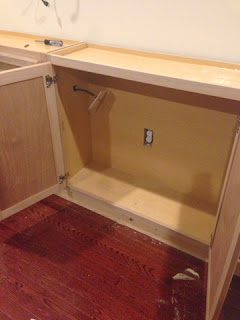
And here we are, all set up with the cabinets screwed together and mounted on the base. We didn’t use glue on the base to hold the cabinets on. Hoping that wasn’t a mistake. When we built this base, we were pretty huge amateurs to woodworking, but we slowly learned and Daddy B was very good at figuring this stuff out. If you are a new woodworker, be sure and check out the woodworking archives so you can learn more, too.

Built-In Entertainment Center: Cabinet Base
Learn how to build your own cabinet base for a built-in entertainment center with this DIY tutorial.
Materials
- 2x 12″w cabinets (12×30″)
- 2x 36″w cabinets (36×30″)
- 2x 30″w cabinets (30×30″)
- 8″ Steel Molding Bar
- End Piece to Match Cabinets
- 21/32″x16″x3′ Wood
- 1x4x8′ Top Choice Wood for Countertop
Tools
- Box of Screws
- Pro Doweling Jig
- Electric Screwdriver
- Saw
Instructions
- Remove the molding where the base cabinets are going.
- Calculate the measurements using the pro doweling kit.
- For the front base, cut a slanted edge on two boards and combine the two.
- Install the cabinets into each other and the wall.
- Measure and cut a spot out for the outlets.
- Cut a hole in the top of the cabinet and the countertop to run cords through for the electronics.
- Screw the cabinets together and mount on the base.
Other Posts from this Project:
- DIY Entertainment Center (Final Reveal)
- Cabinets with a base for the bottom of the entertainment center
- Adding a pine wood countertop
- How we added wiring for the television and game systems
- DIY under cabinet lighting
- How to distress the entertainment center for a farmhouse look
Please share and pin this post! You can also post your project and tag the DIYDanielle team on Instagram @doityourselfdanielle!