Sharing is caring!
My in-laws picked up this great Thomas train toy for Gs 2nd birthday and he loves it. It wasn’t until recently though that he found a way to incorporate make believe play with it. Now it seems to hold his attention even better. This is such a cool toy and it takes up a bit of room, but it’s easy to take apart and put in storage for a bit. We do this if G starts to seem bored with toys, then bring it out again in a month and he’s excited to see it again. At this age (30 months old), it’s sort of like Christmas all the time when you do this, ha.
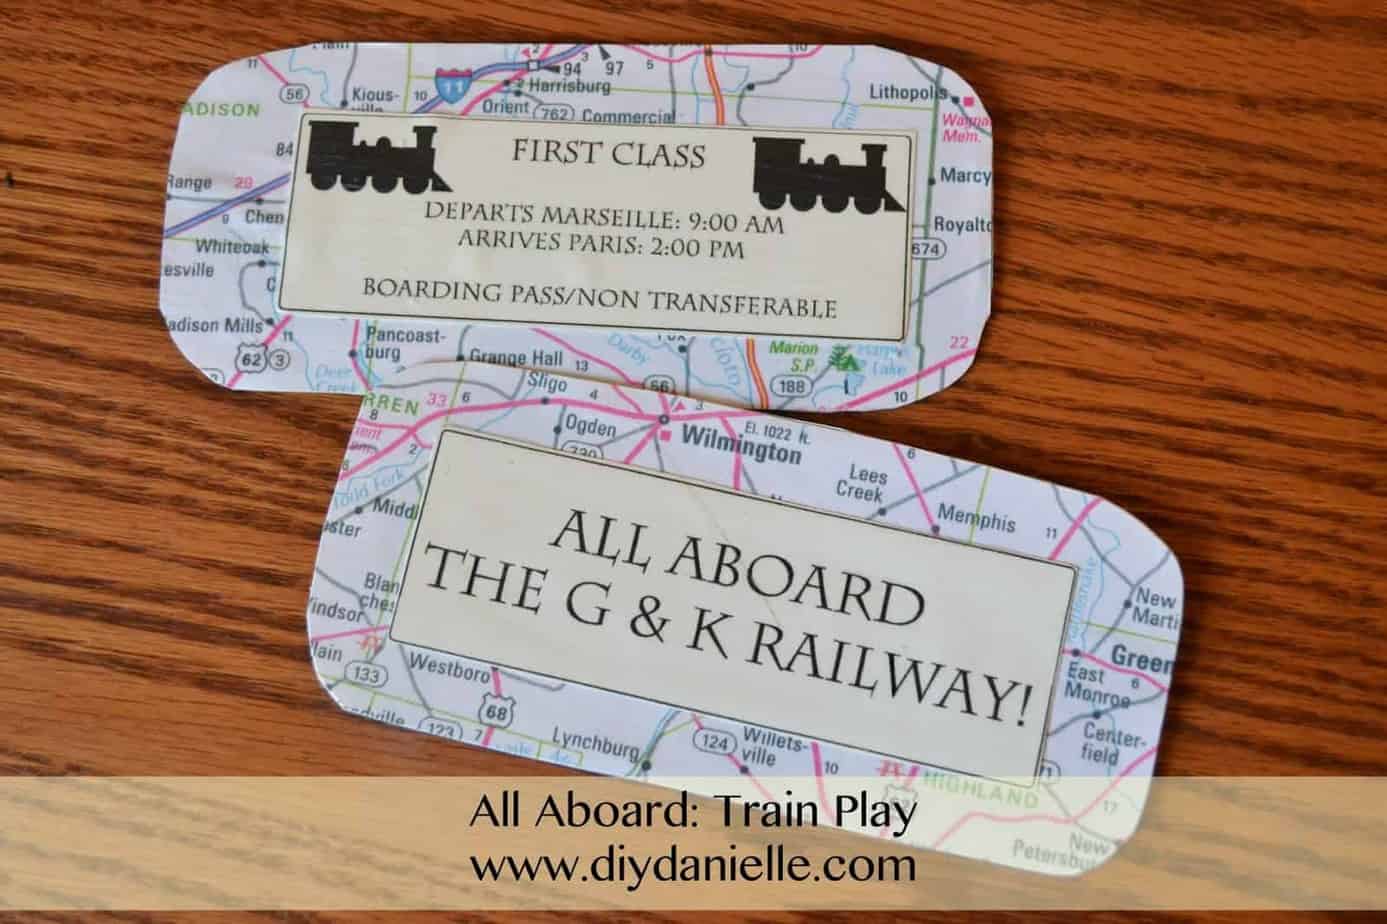
So for this “game” he likes to play with the train. He likes to buy tickets from us now and then he will ride the train down. Repeat. Over and over. If the train “breaks” (falls over), we stop and he will “repair” it with the hammer. Very cute, but it was bothering me to not have actual tickets. I decided to make him some real tickets to go with this play.
I cut up this heavy cardboard tag I had from one of K’s Christmas toys and upcycled that. I wanted something thick so he wouldn’t just cut it up with his scissors. I rounded the edges.
I took some scrapbook paper I had sitting around and mod posted it onto both sides of each tag.
Then I typed up what I wanted the tag to say on my computer and printed it out. You could
print it on a sticker or just plain paper then mod podge it on. I used mod podge to glue it on, then once that dried I used the mod podge to cover the whole ticket. It adds a shine to it which I like. My next crafty purchase might have to be a laminator for projects like this, but the mod podge really does look quite nice.
If you’d like to use the print outs I made, this link is for the Photoshop version (so you can edit names, dates, times, etc. if you have Photoshop or Photoshop Elements). This link is for a PDF version which mostly anyone should be able to print from, but not make changes.
And here they are!
Sharing is caring!