How to sew a tag blanket, with and without the crinkly material inside. This is such a cute idea for a baby gift.
This post may contain affiliate links which may earn me commissions should you click through them and take certain actions. As an affiliate for Amazon, Cricut, xTool, Home Depot, and other sites, I earn from qualifying purchases. Please DIY carefully. View my full legal disclosures here.
Please read the whole post so you don’t miss any important information!
Originally Posted on February 24, 2012, Updated Sept 2019
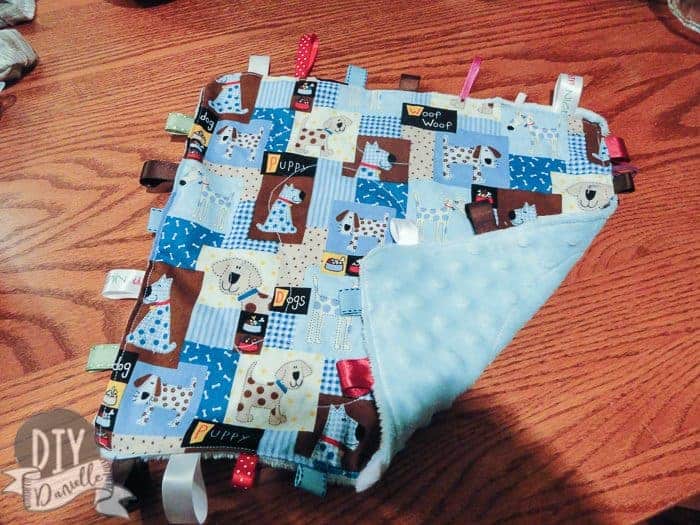
This was a fairly simple project to complete and only took me a 1/2 hr to 1 hour to make. Babies love the different fabric textures, plus the ribbons and crinkly-ness to taggy blankets.
These should only be used when supervised as they could get their fingers caught in the loops (although larger loops may help prevent issues). These blankets are a great toy for sensory play for young children.
How to Make a Tag Blanket
Supplies
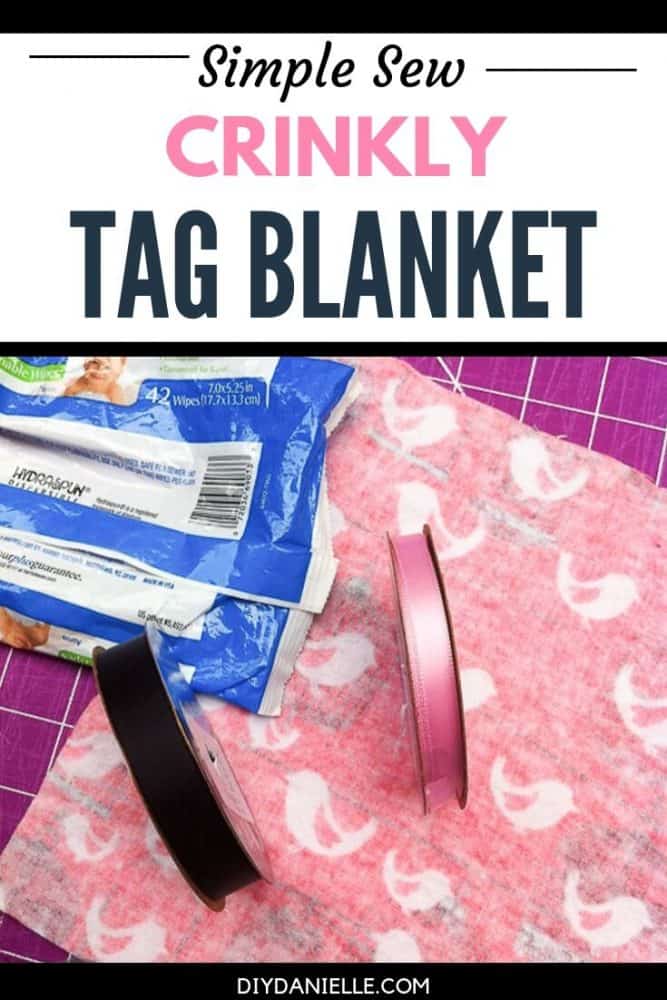
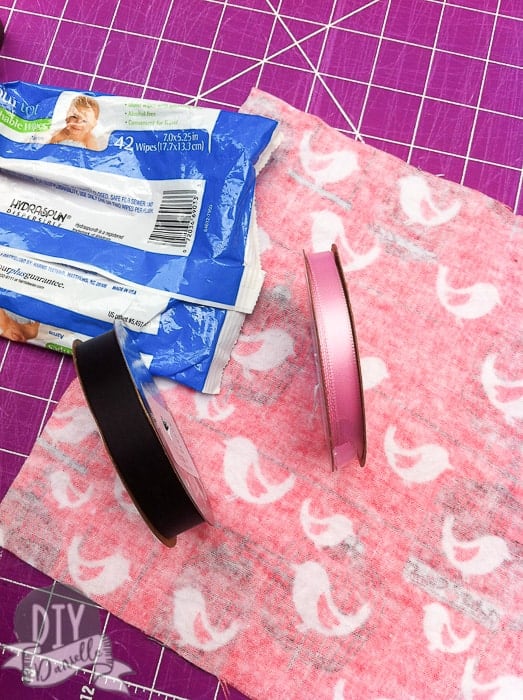
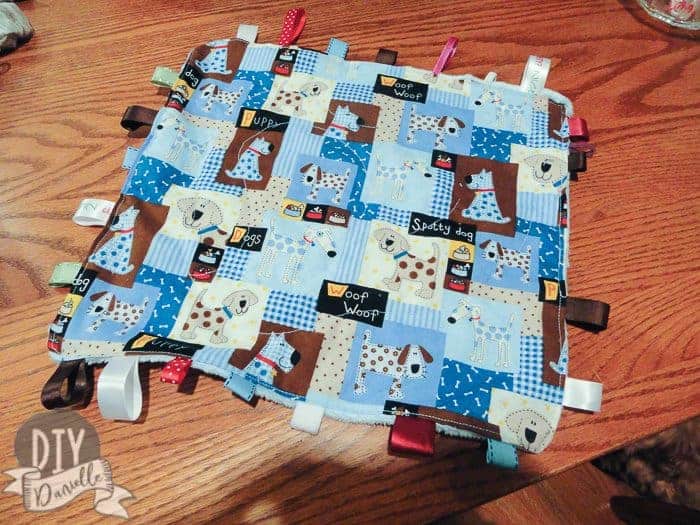
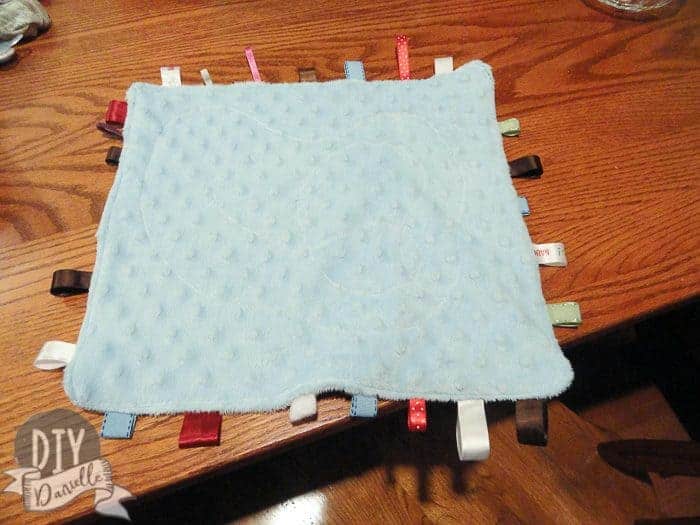
- Two pieces of fabric: I recommend fabric with two different textures. The pink one is made from two layers of flannel. The blue one is minky on one side and cotton on the other side.
- Ribbons
- Optional: Upcycled wipes bag
Sewing the Tag Blanket Together
These “blankets” are just small squares. You cut two pieces of fabric, one for the top and one for the bottom. They can be whatever size you want, but you should keep them only slightly larger than your wipes bag if you plan to use one. 10×10 or 12×12 would probably work well. I didn’t write down my original measurements, but these look to be around 8×8 finished (so you’d want to start with 9×9 cut of fabric).
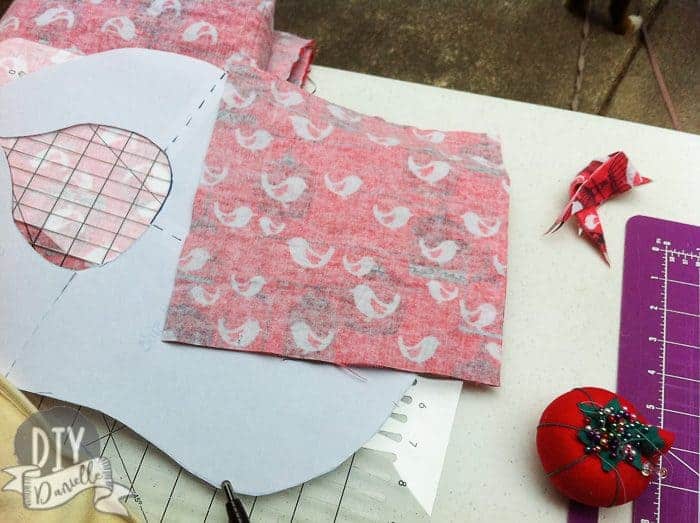
Lay your front piece of the blanket right sides up.
Cut some ribbons to short lengths, just big enough that the baby’s finger can’t get stuck in one (take into account that some of the ribbons will be sewn into the seam allowance). Place the folded over ribbon on top of the front piece with the raw edges of the ribbon pointing out. Repeat for however many ribbons you’d like to add.
Place the back piece of fabric right sides down on top and pin everything in place. Make sure to catch the ribbons while you’re pinning everything so they don’t wiggle loose.
If you want the middle to crinkle, this is where you need to add special crinkly material or the pieces of the wipes container. You can pin them on the wrong side of the back fabric.
Sew around your square, leaving a small area to turn the whole thing right sides out.
Turn. This will put your crinkly piece in the middle.
Press carefully (you don’t want to melt the plastic inside).
Top stitch and close up your opening.
And that’s it!
If you added the bag in the middle, you may want to quilt around a bit over the top of the blanket to hold it in place. Can you see the swirls I made with the white thread?
Please share and pin this post! If you make this project, share it in our Stuff Mama Makes Facebook Group. We have regular giveaways for gift cards to craft stores. You can also tag me on Instagram @doityourselfdanielle; I love seeing everything you make!