

Blog Transfer #9: Unpaper Towels and Kitchen Wetbag
Post may contain affiliate links. Using these links helps support my blog. Thank you!
I saw these on Pinterest and absolutely loved this idea. We spend so much money on paper towels and go through so many of them each year that it seemed like a very economical decision to switch to the “green” option of un-paper towels, especially with how easy they are to make. Plus, I had all of the necessary materials!
I upcycled some old towels while Daddy B was at work as my way of saying, “Hey hunny, we need new towels!”
Both of us are pretty cheap… err… financially responsible… so we tend to wear things out.
I just upcycled the pajama pants I’ve had since I was 15 or 16 years old… there were holes in them but I was still wearing them until I finally decided that they’d make a great soaker for some cloth diapers. It’s pretty ridiculous. These towels are pretty unusable. I’m not even sure they’re going to be the best option for un-paper towels, but I hate throwing things out.
There is a Cottontail Babies tutorial for un-paper towels.
Supplies:
-Old towels (I was able to get 6 terry cloth pieces from one big towel)
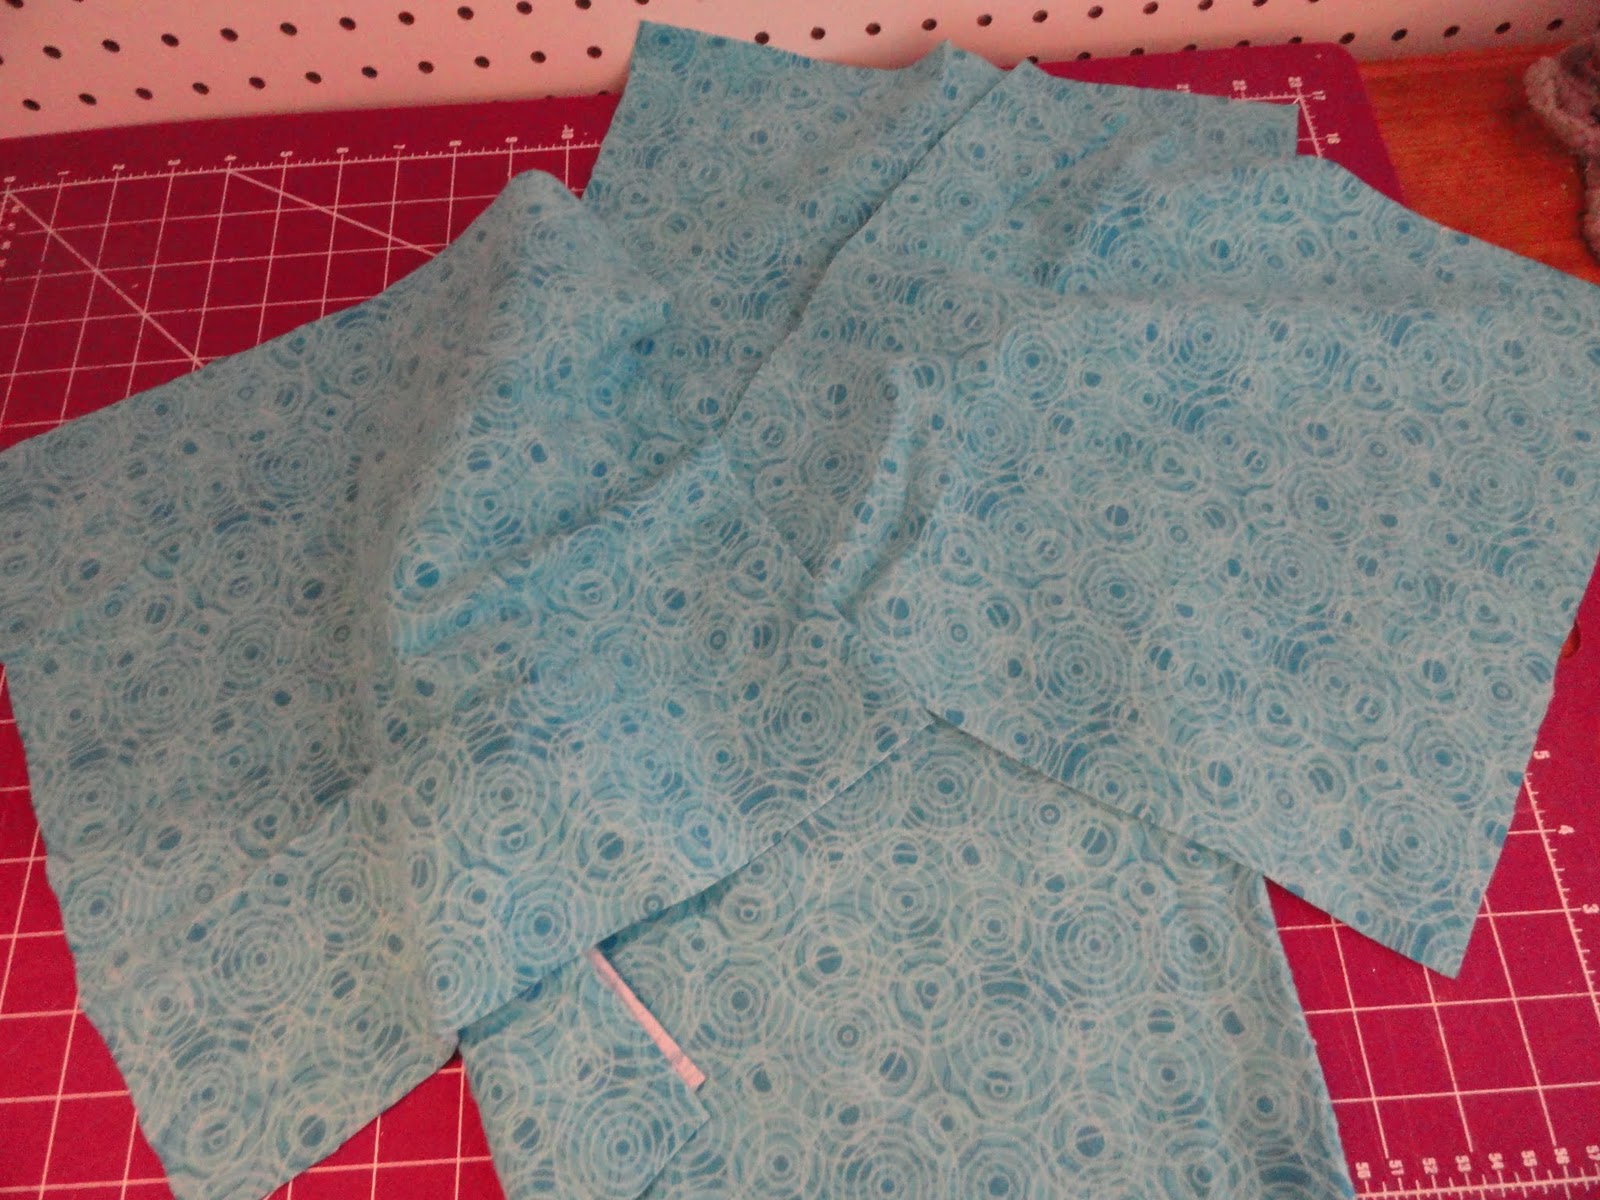
-Flannel
–Snaps/snap pliers or Hook & Loop
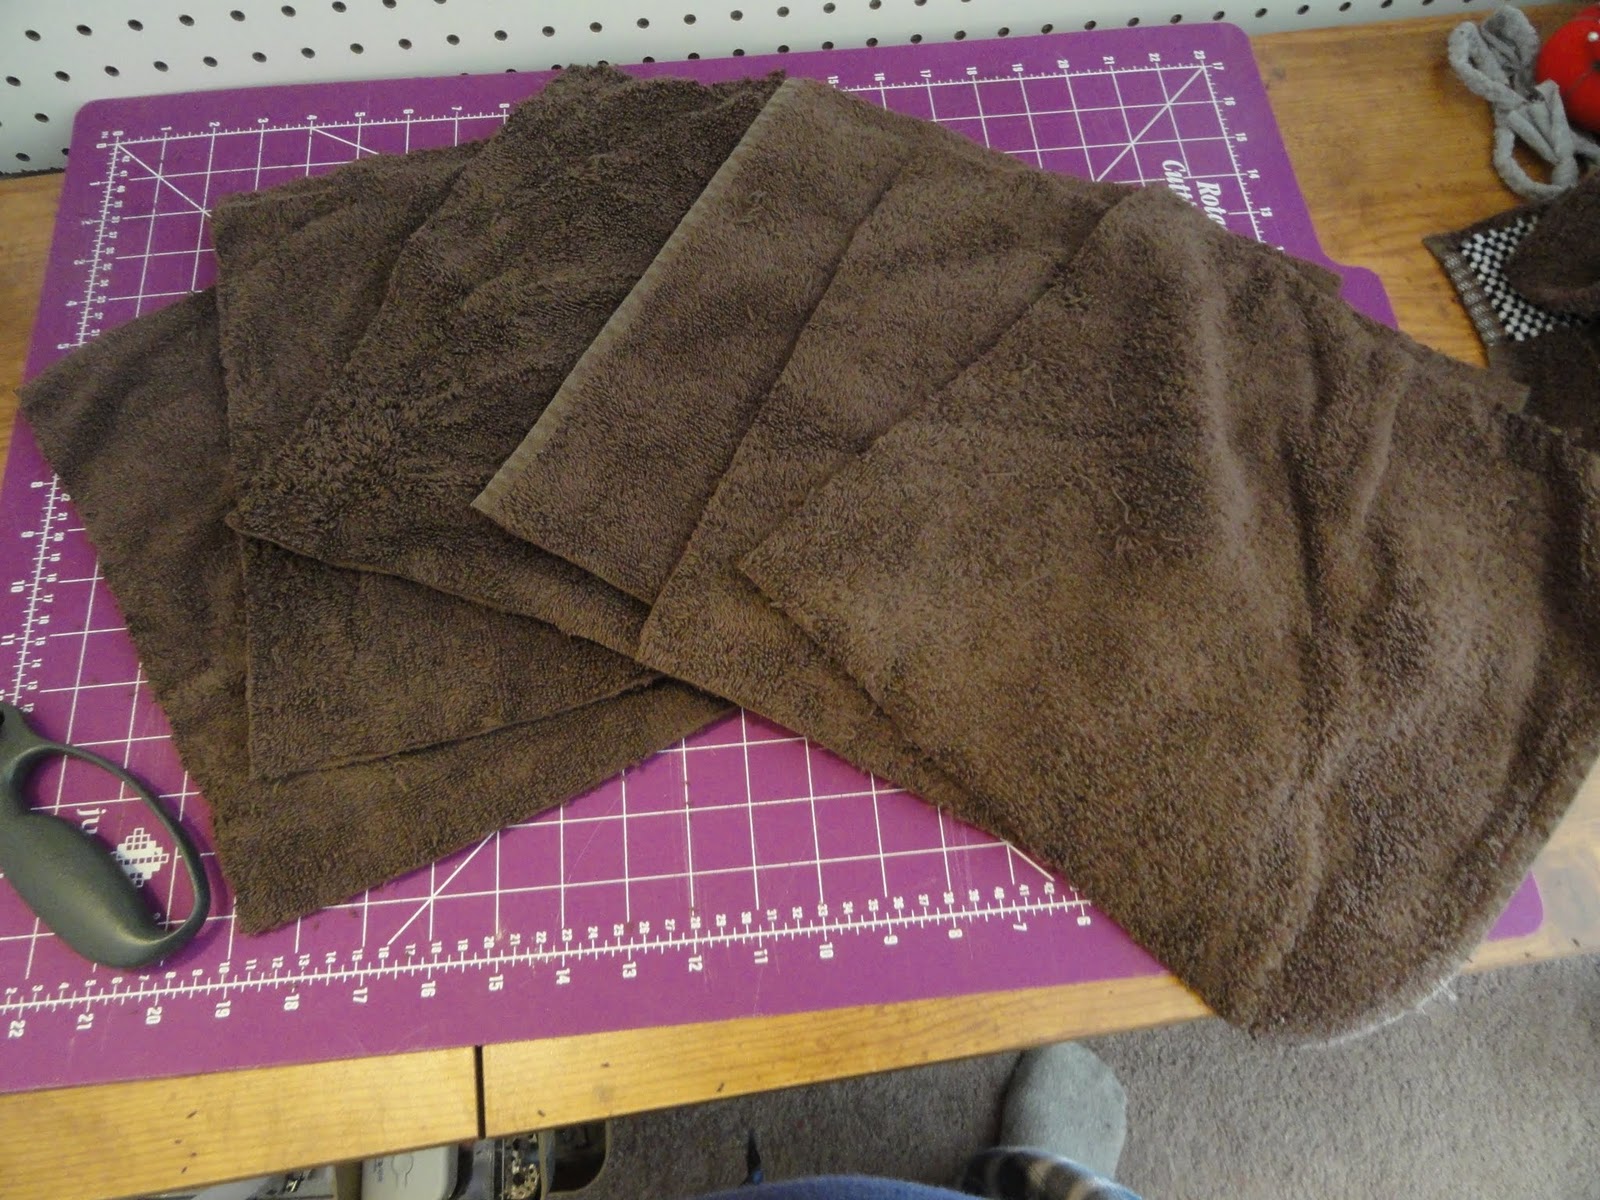
Each un-paper towel should be 12″ x 12″. I cut out my backs from the old towels and then the fronts of them from the flannel. It helps to wait until flannel is on sale to buy it- occasionally I see sales where it’s $1-2/yard which is great.
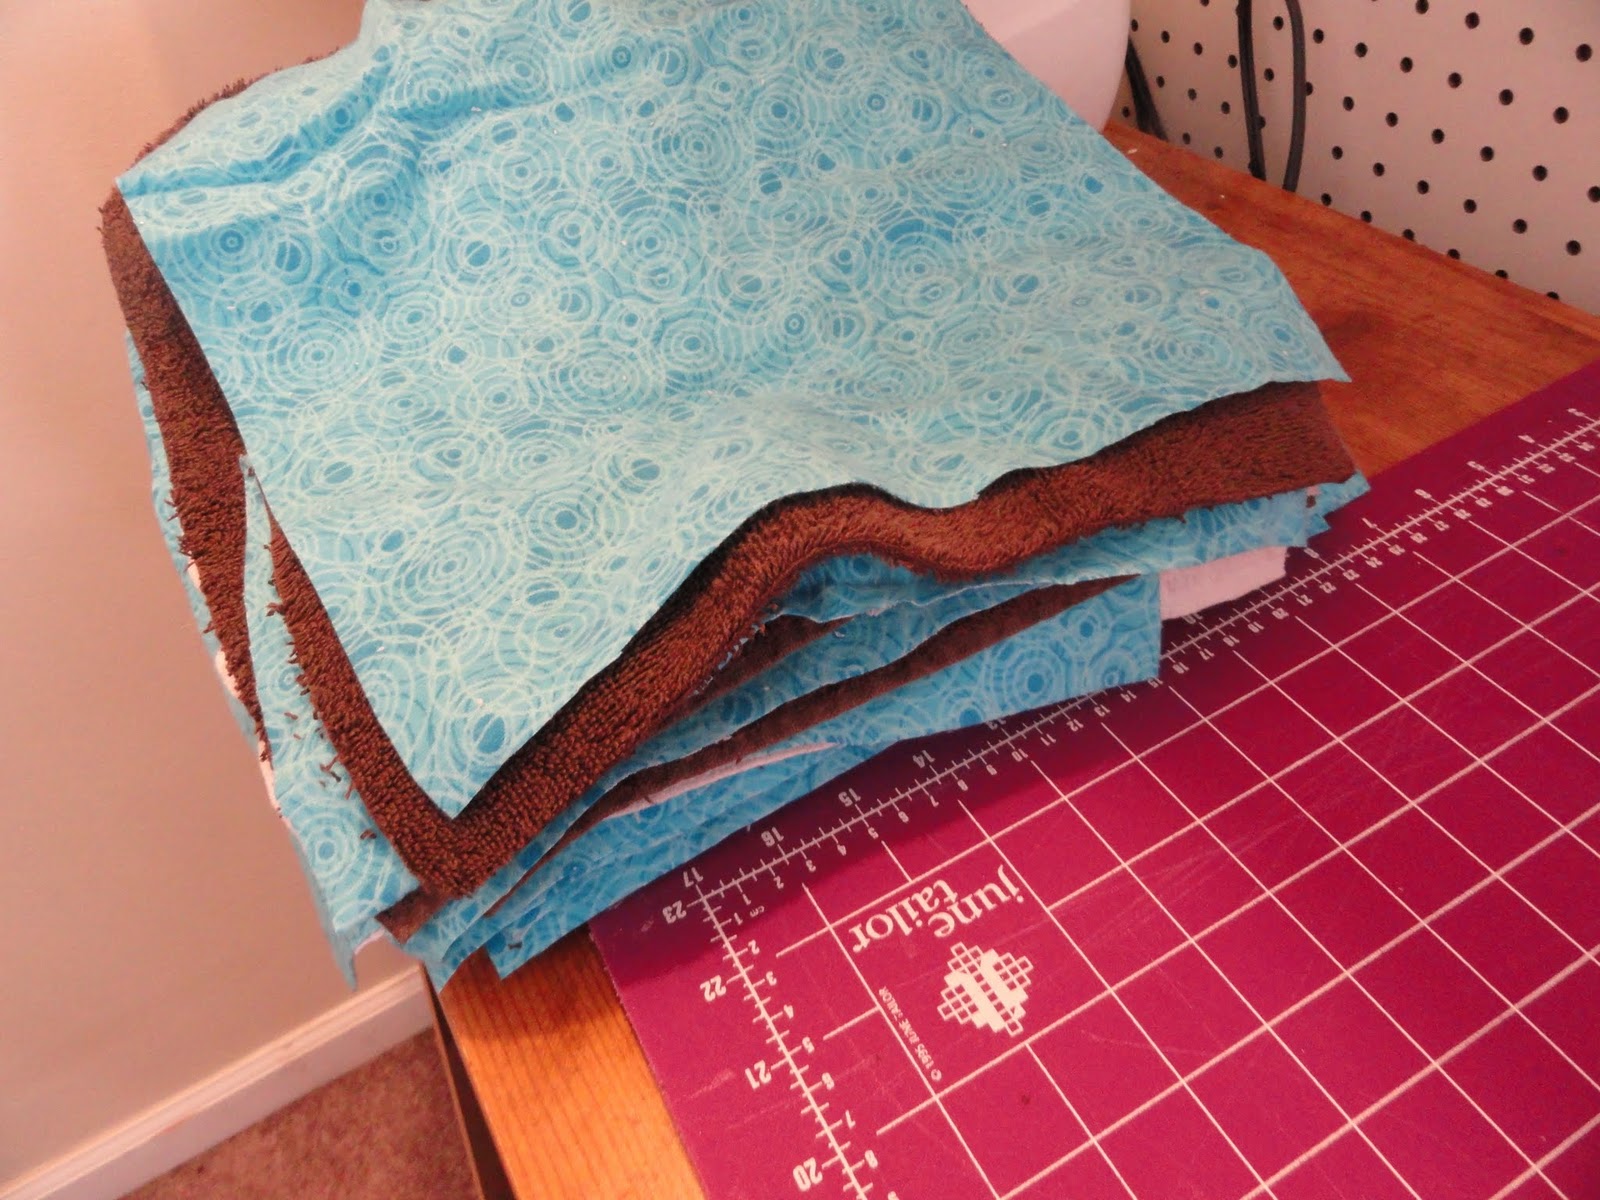
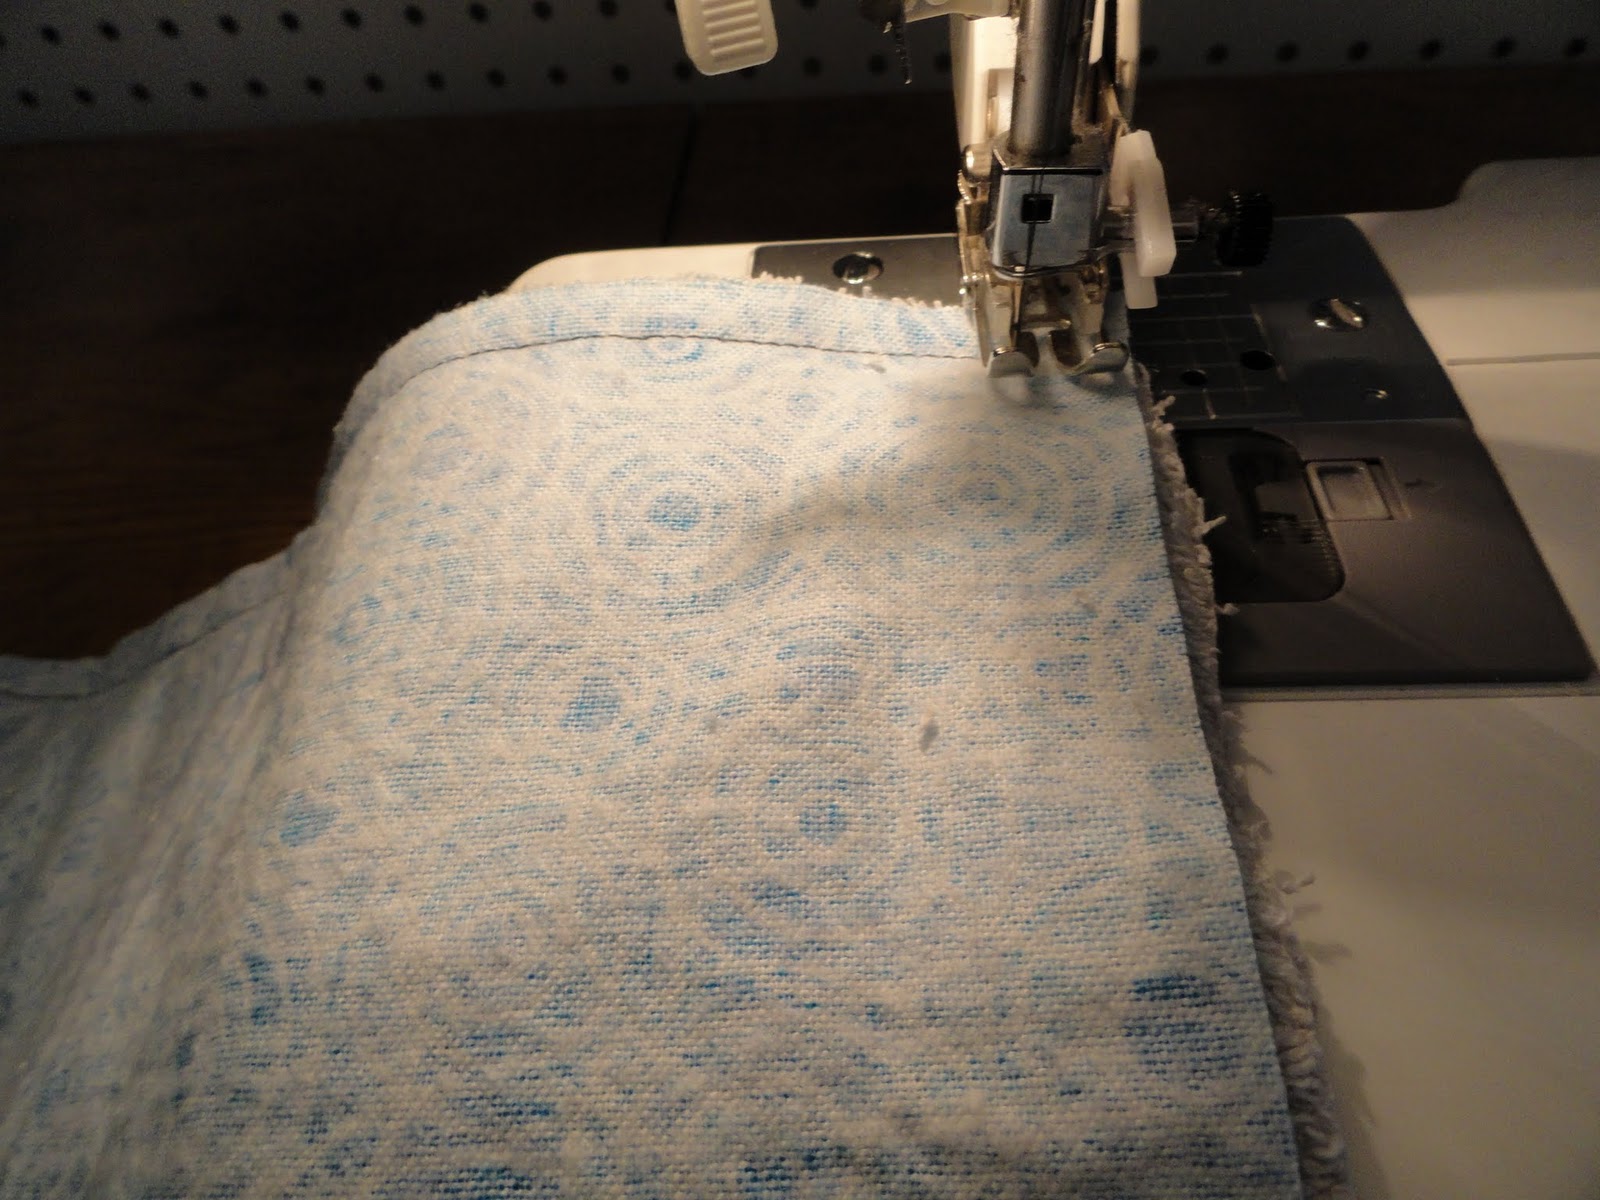
Sew the flannel and terrycloth right sides together, leaving a small area to turn.
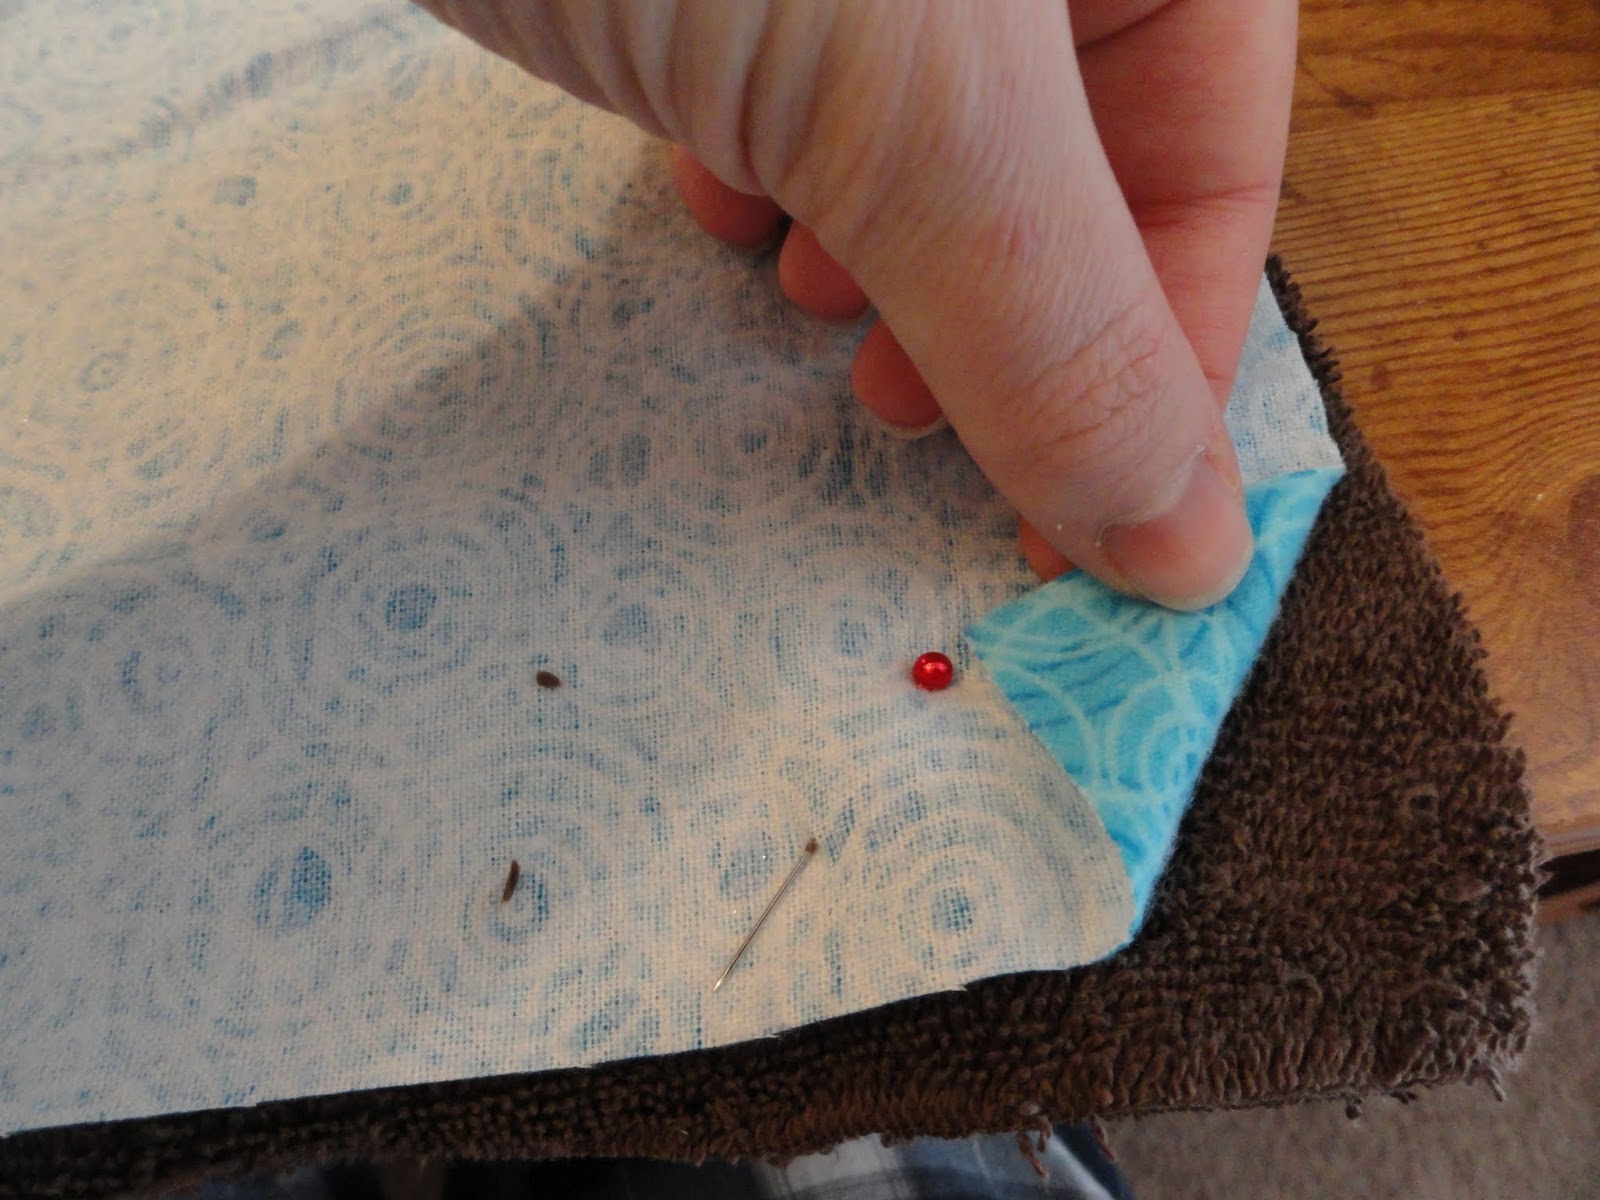
SNIP THE CORNERS (and cut away any excess from your seam allowance that’s left) when you’re done. This is important. Otherwise the extra bunches up underneath and makes it hard to apply snaps. I didn’t do this, oops.
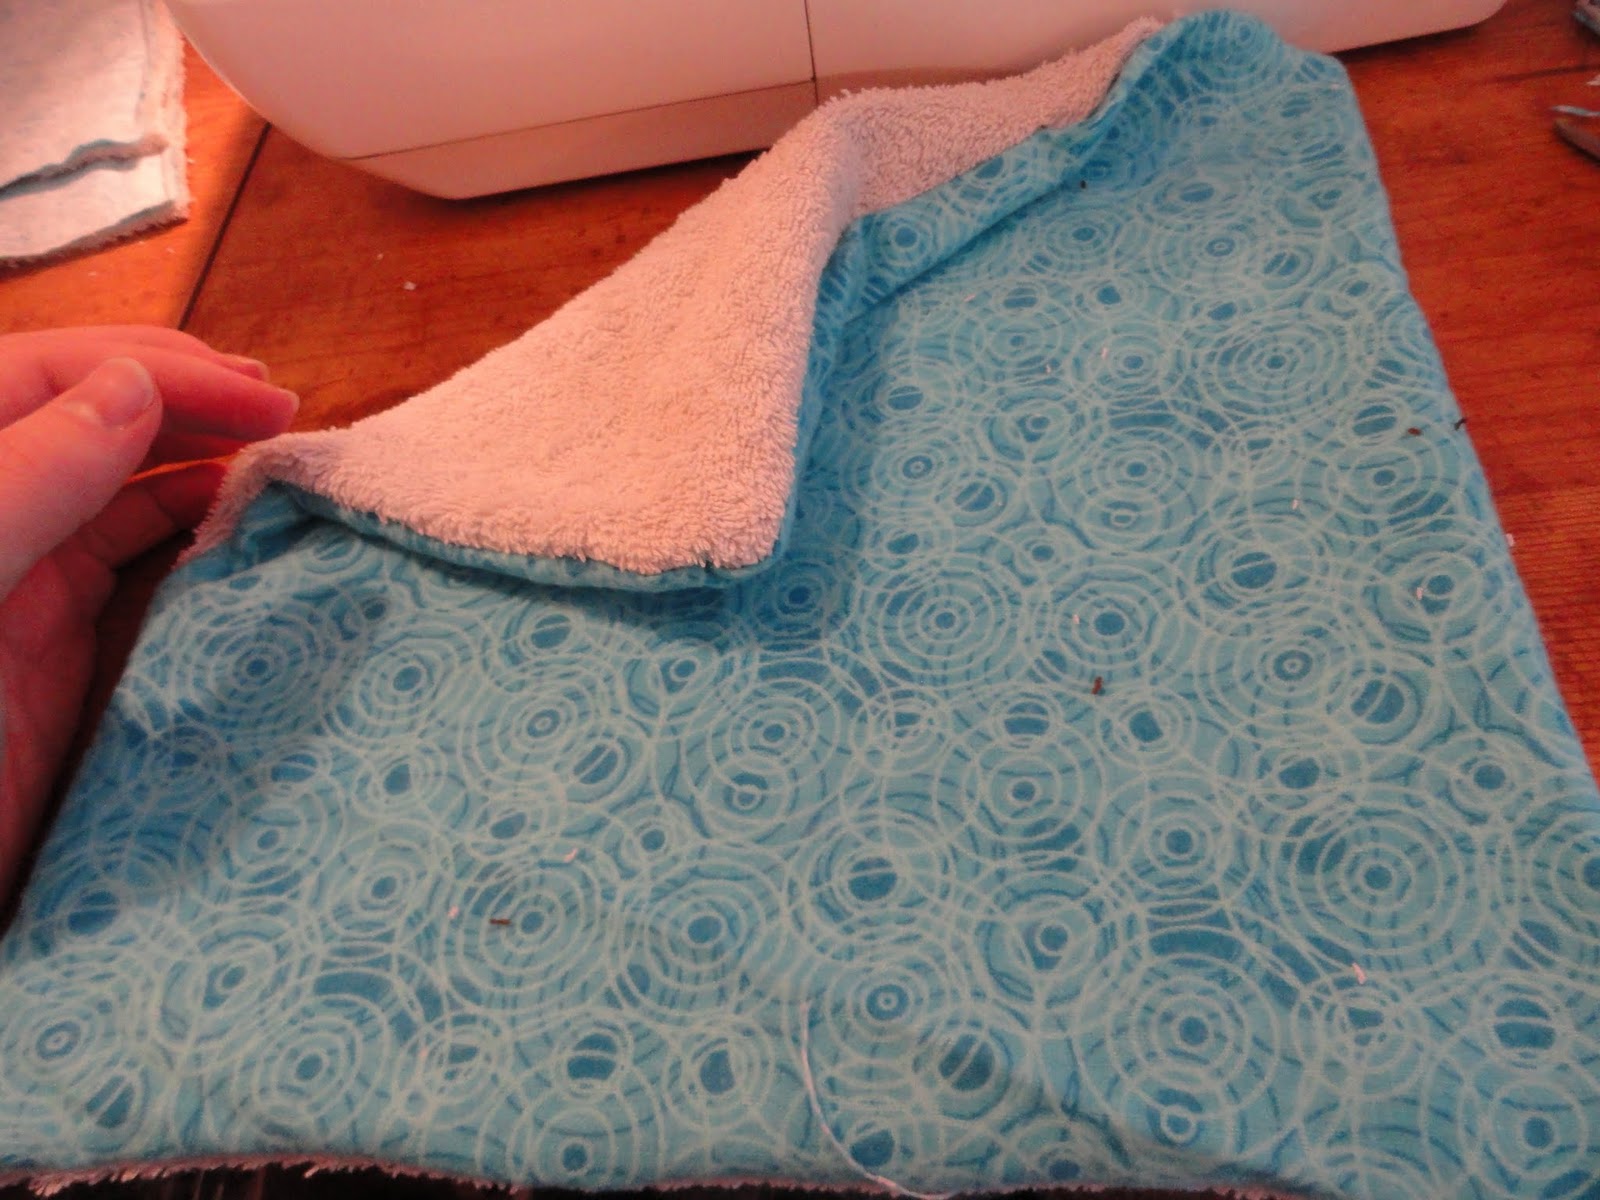

Turn and topstitch.
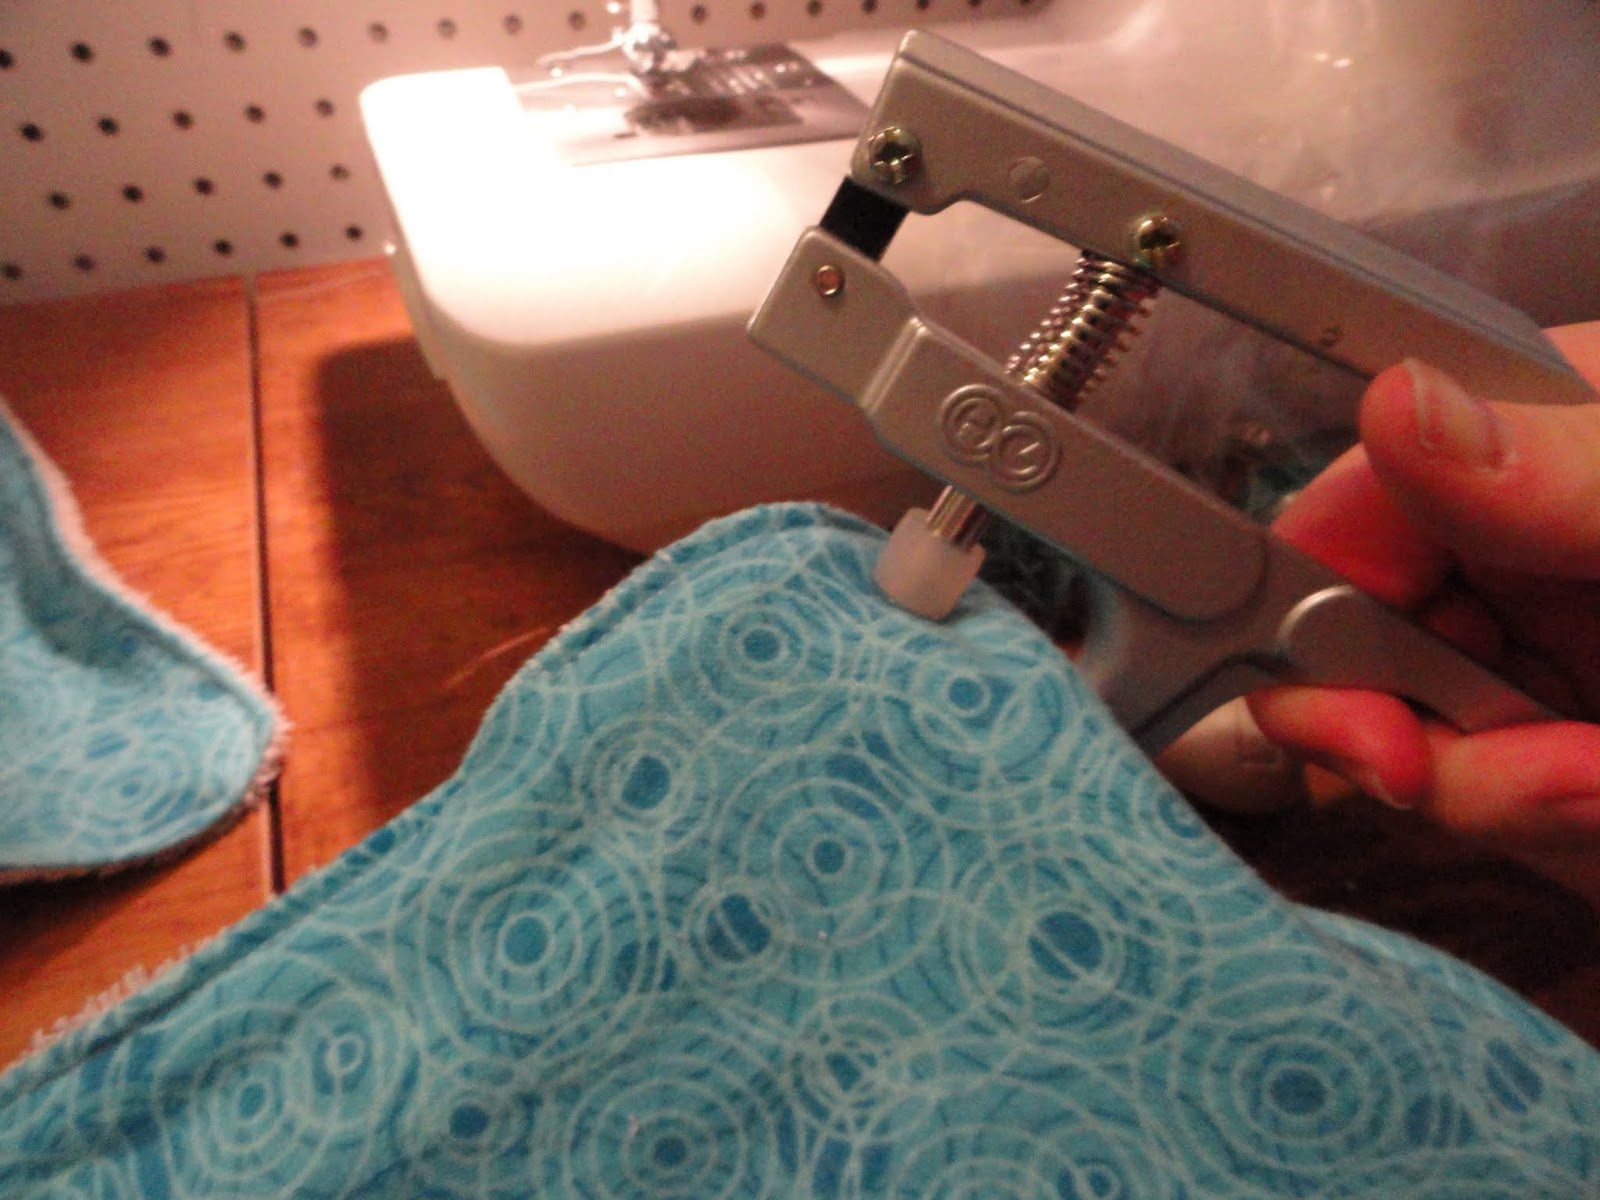
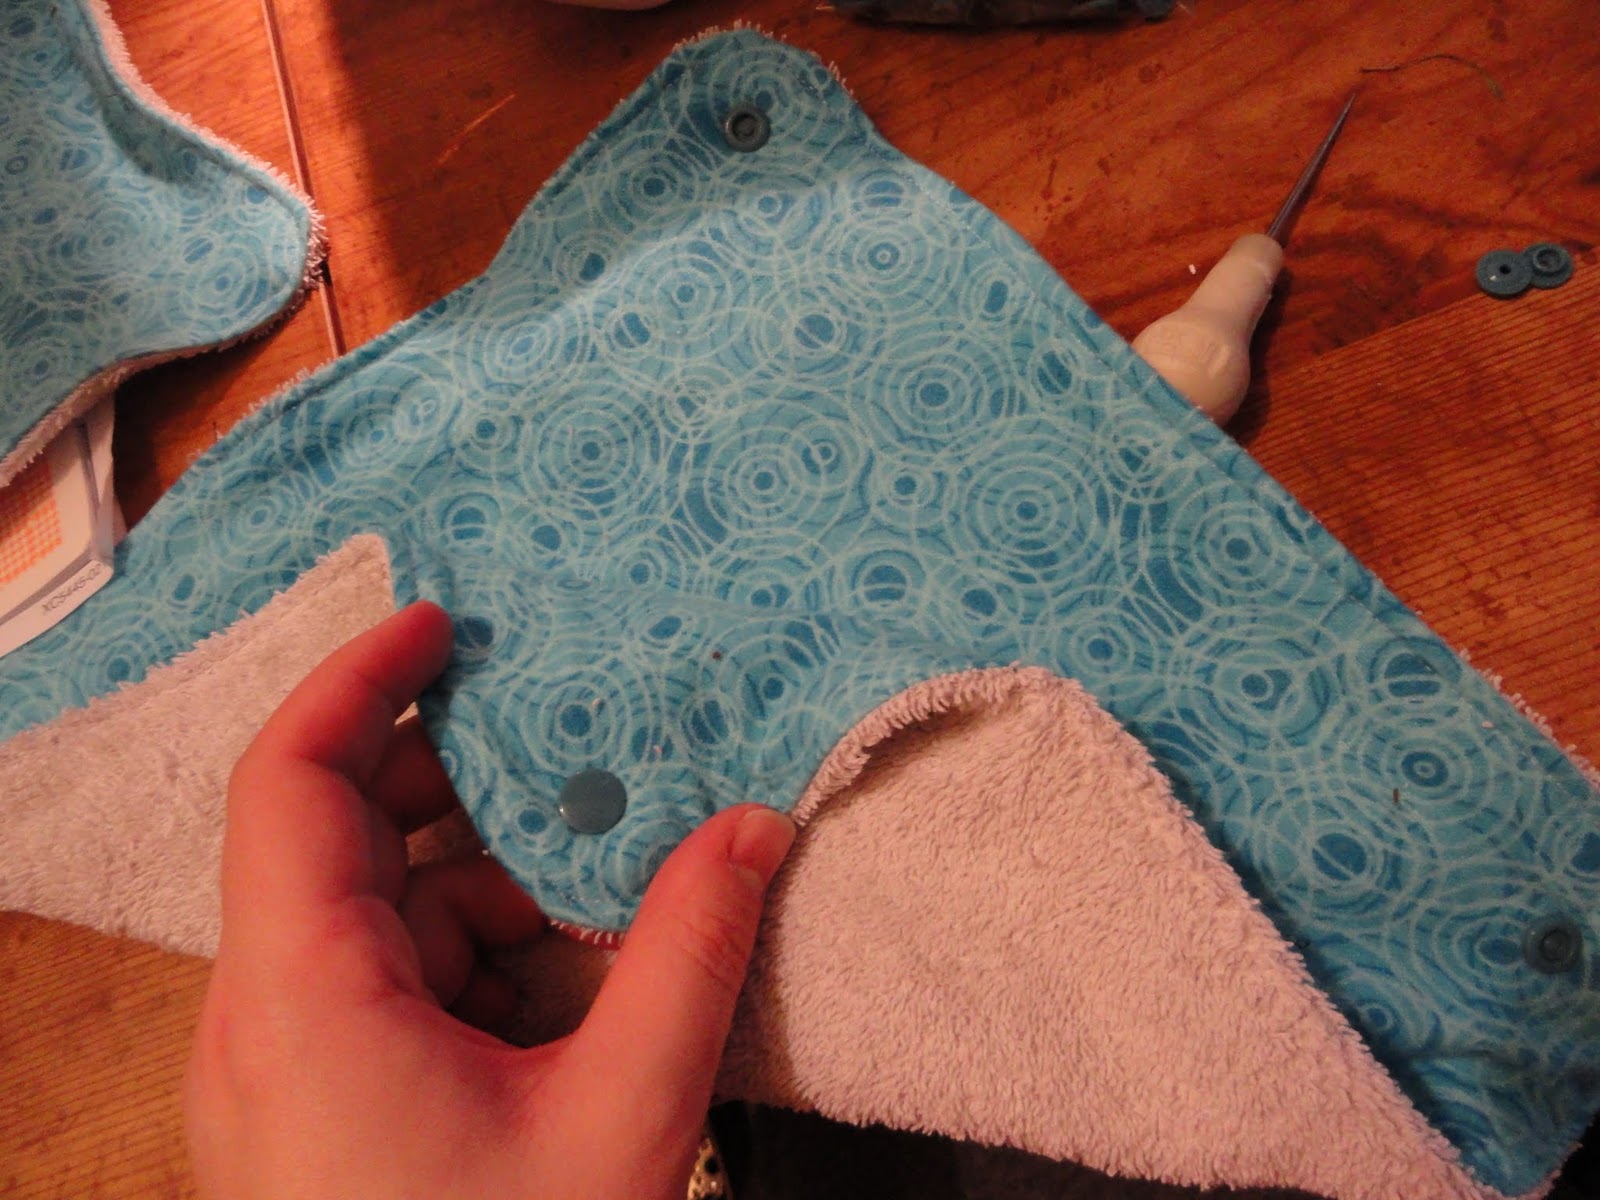
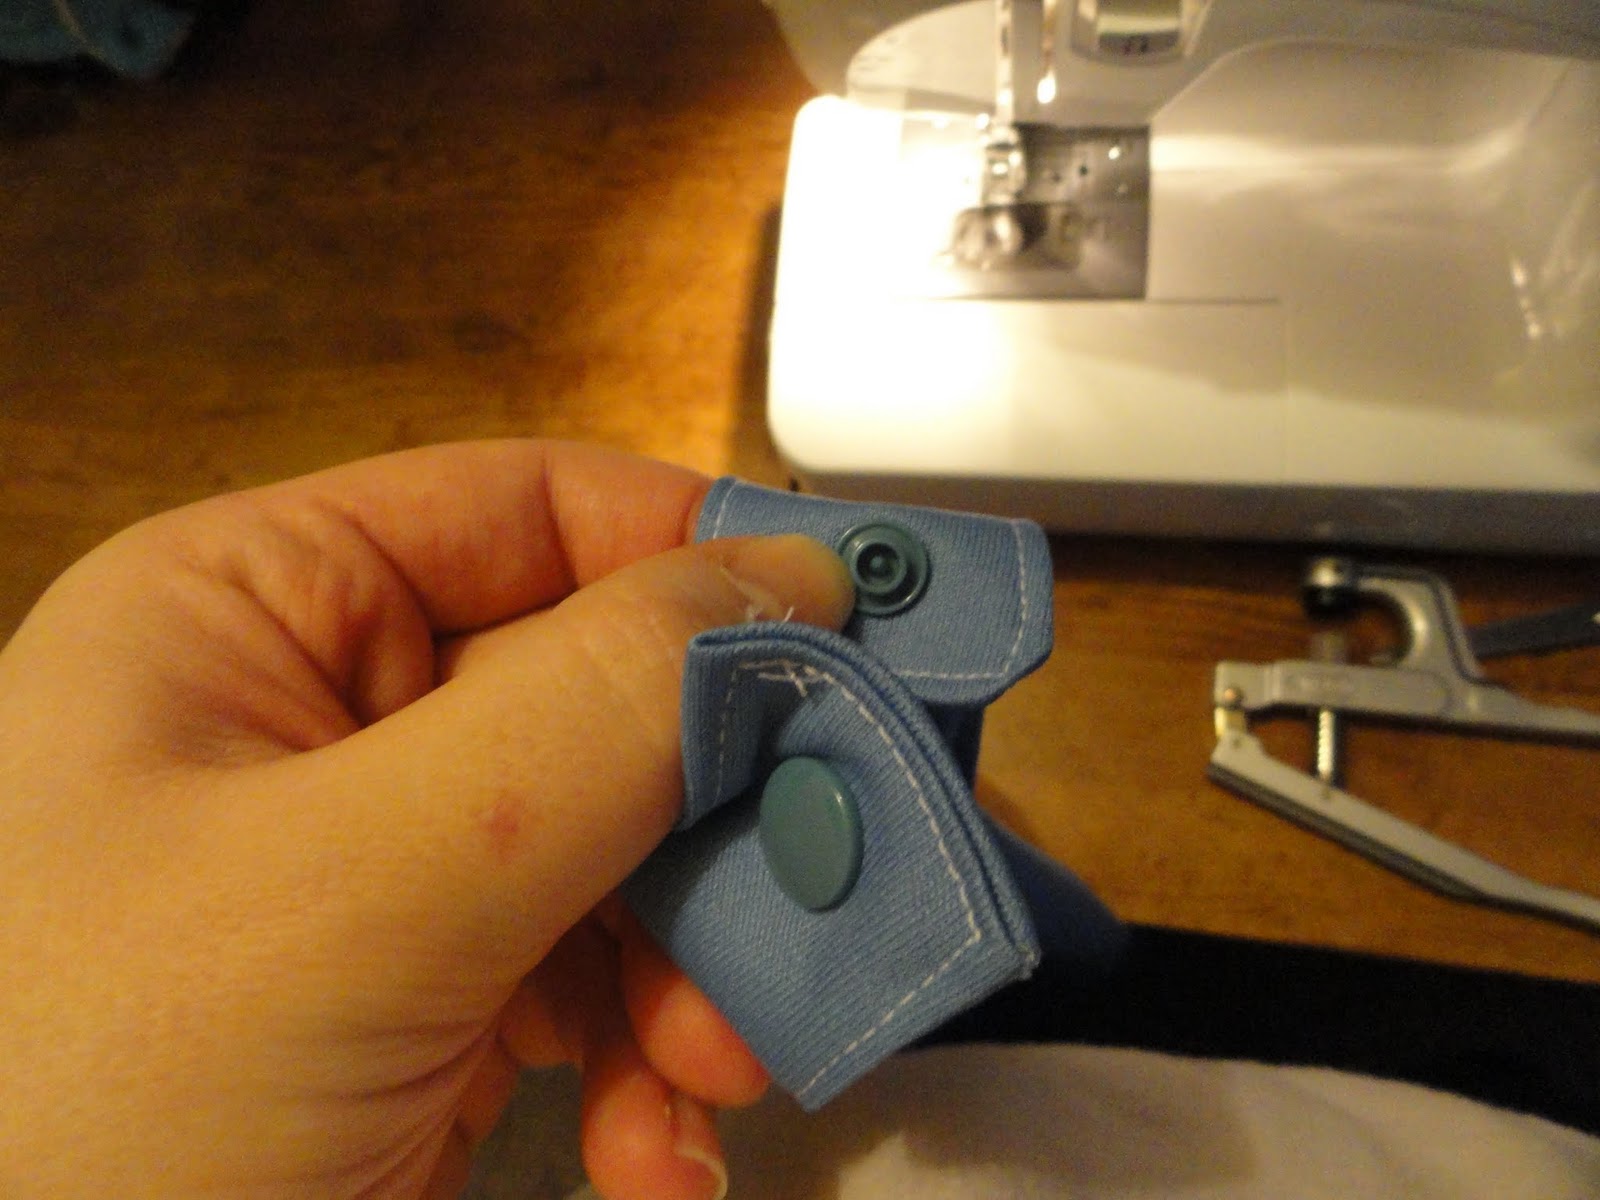
Then you can add the snaps to all four corners- you want to make sure that you use two sockets on the right, and two studs on the left. The Cottontail Babies tutorial shows how to place them so that you’ll be able to have your towels snap into each other easily.
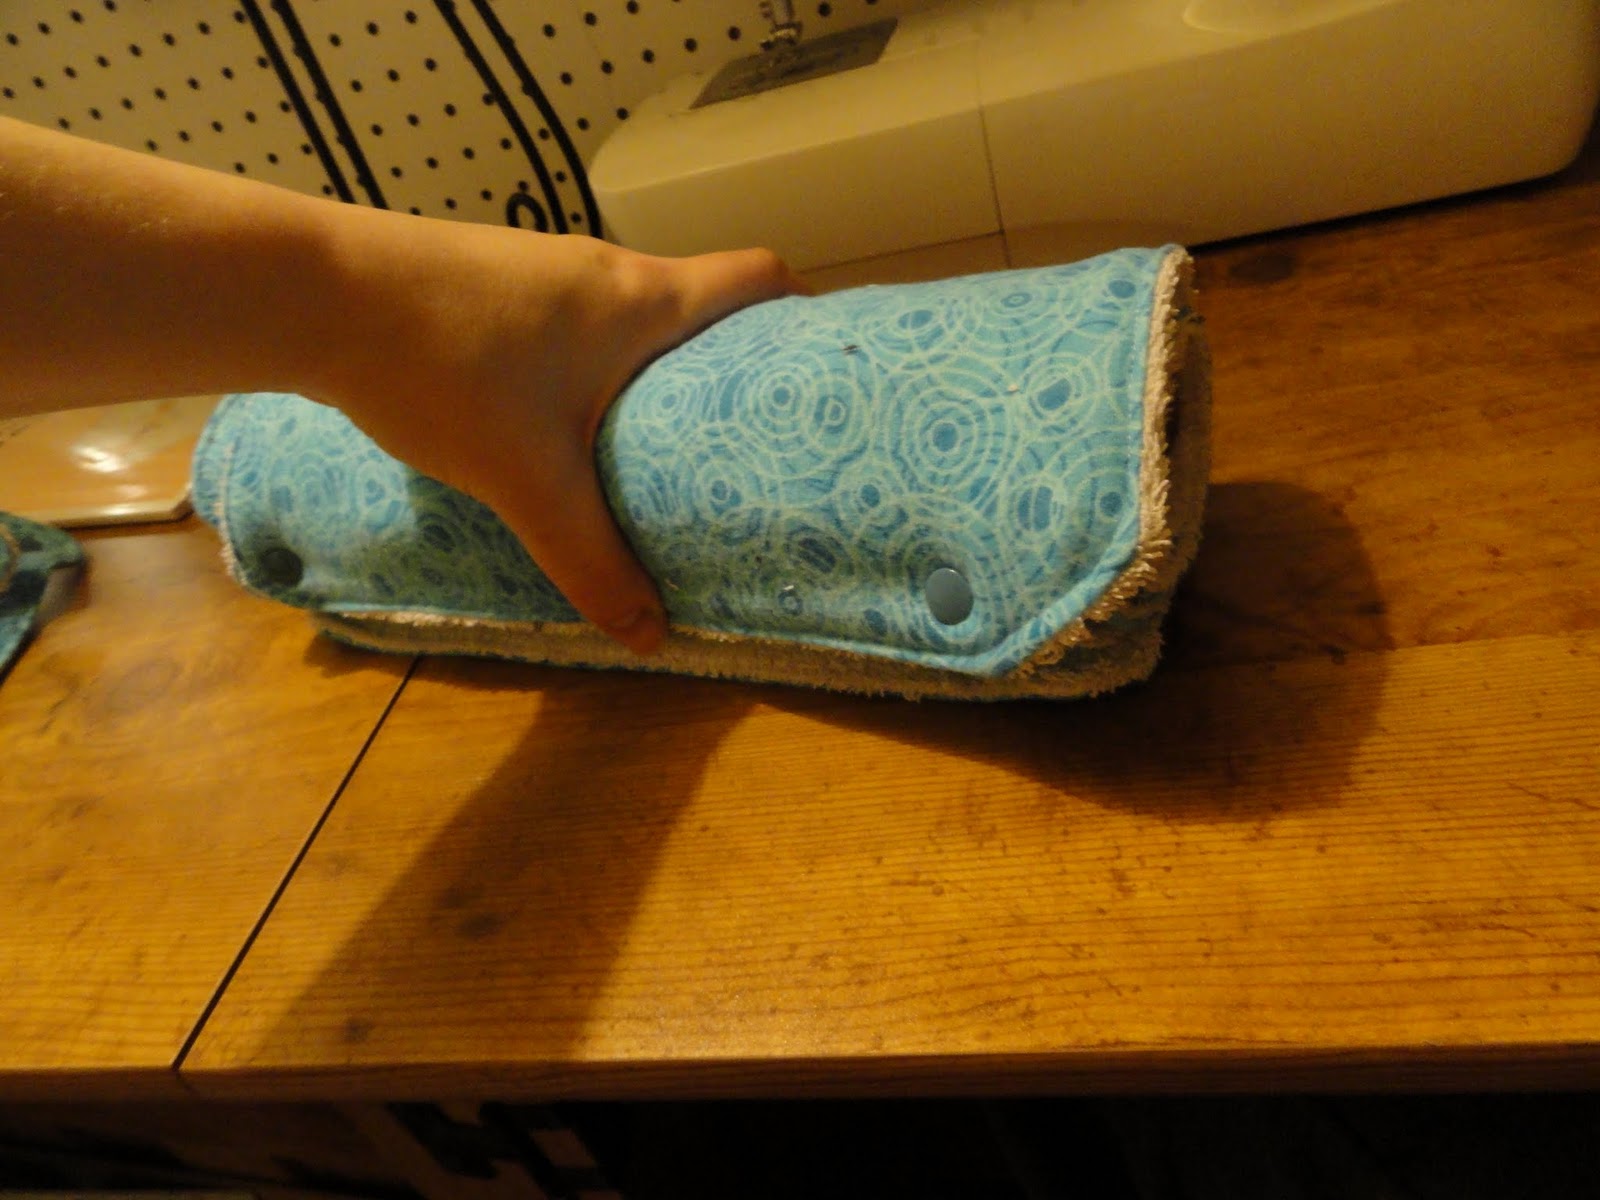
I found that about eight of these is about the right size to roll over a used paper towel roll and to place on a paper towel holder comfortably.

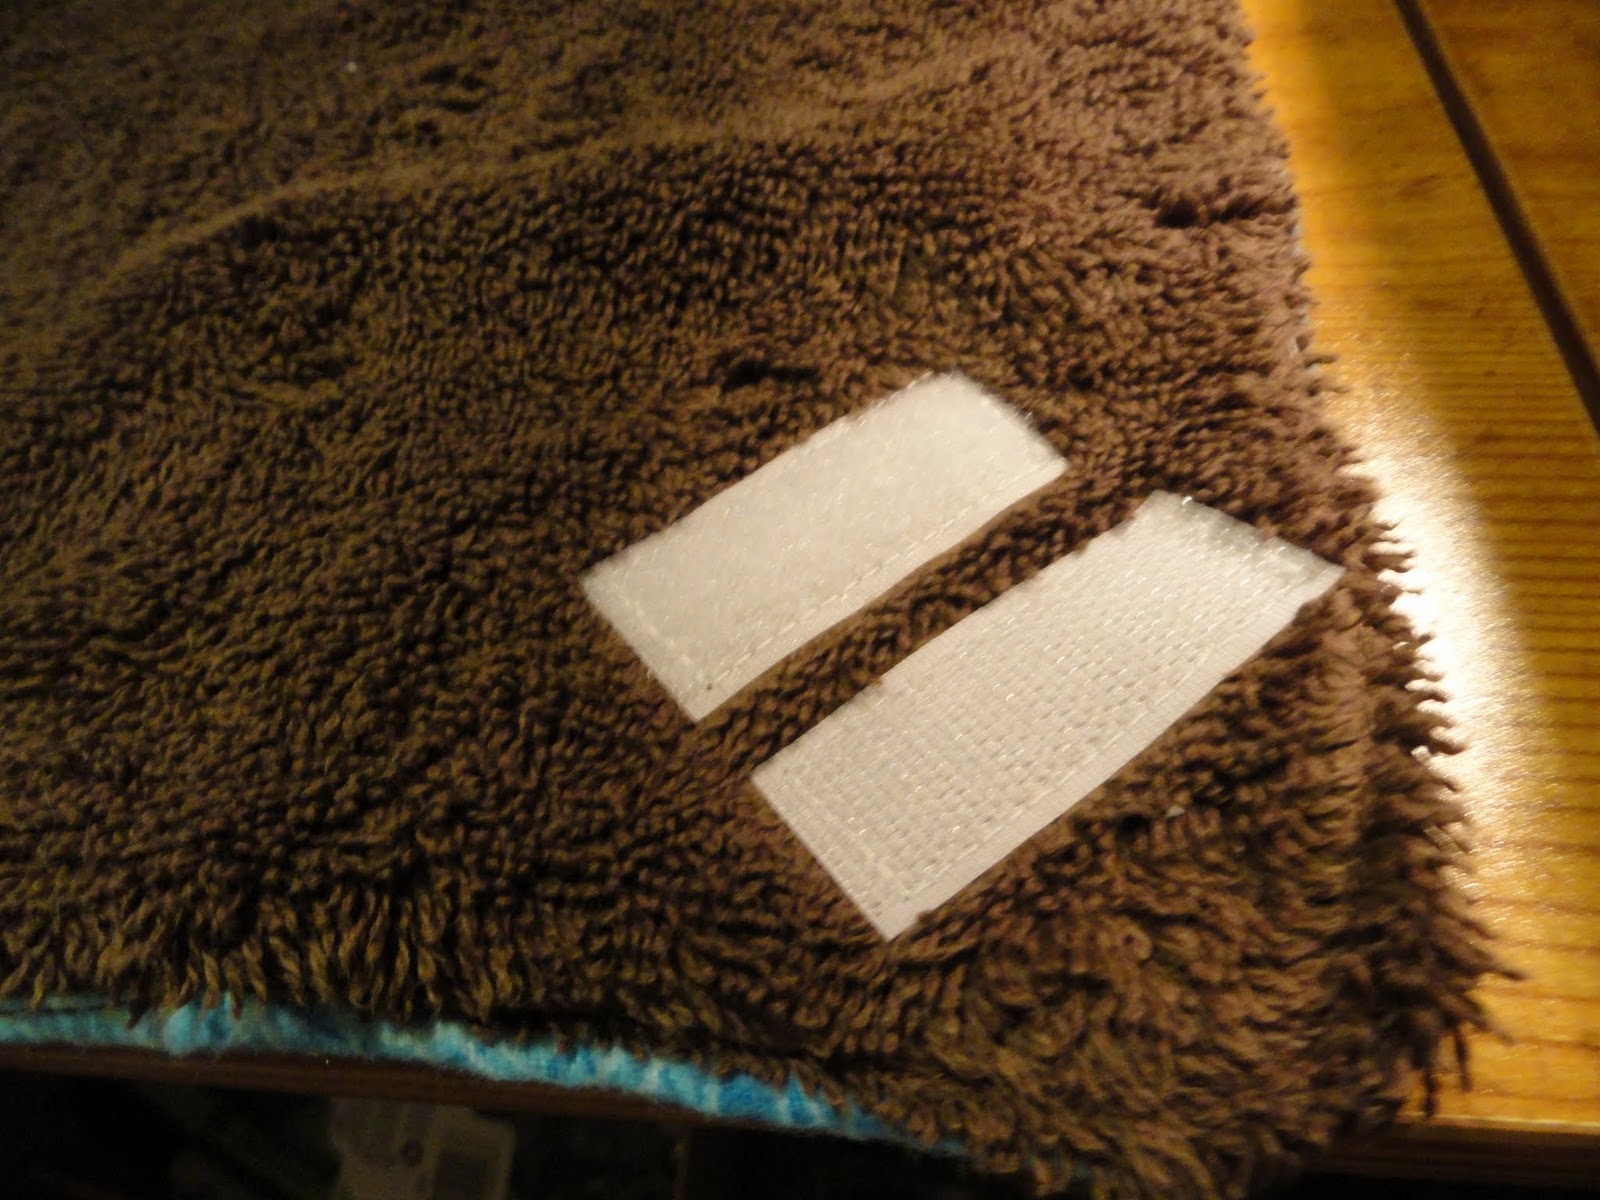
Alternative to snaps- Hook & Loop: You can just do this project the same way, but use hook & loop instead of snaps. The only difficulty with this is that you NEED to make sure that you don’t leave the tough side (vs the soft fuzzy side) undone when it goes through the washer/dryer. Otherwise all the dryer fuzz ends up in your hook & loop and make it less effective. One way to do this is to imitate the laundry tabs on cloth diapers. One drawback to doing hook & loops is that it’s a lot more time consuming than snaps. These took me forever to sew all the hook & loop on.
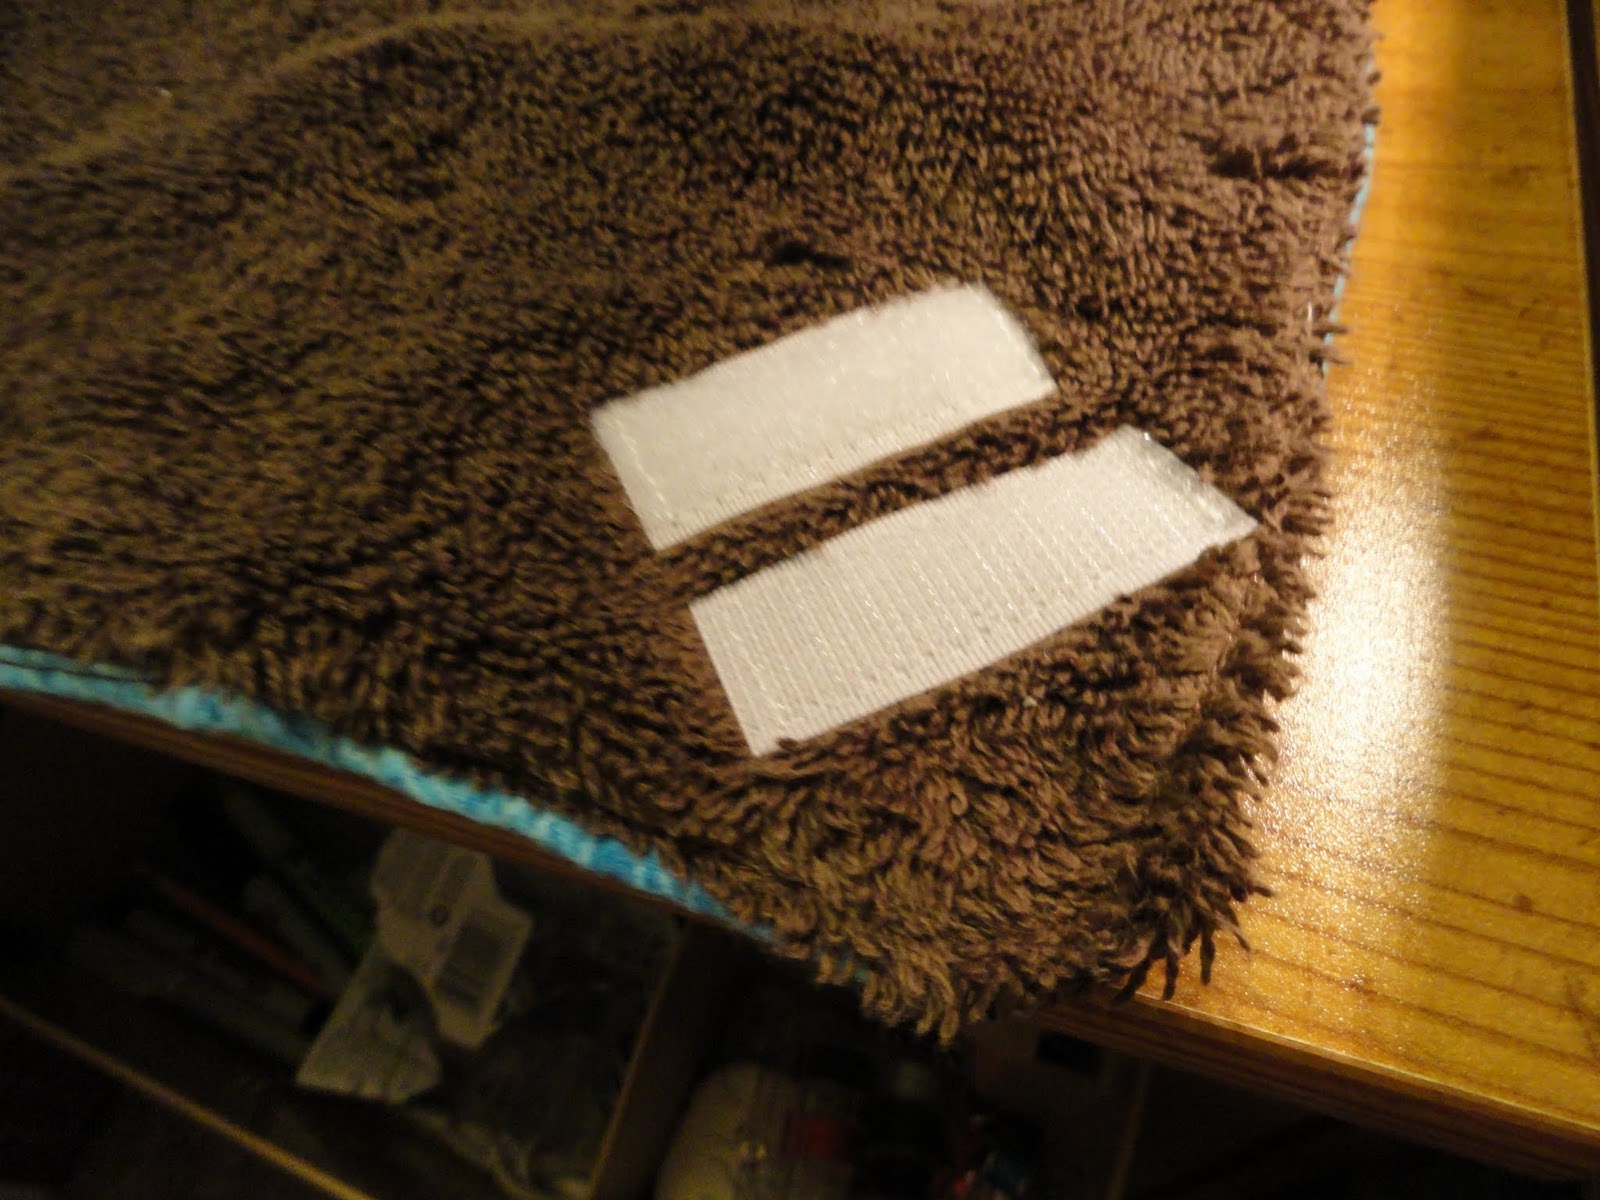
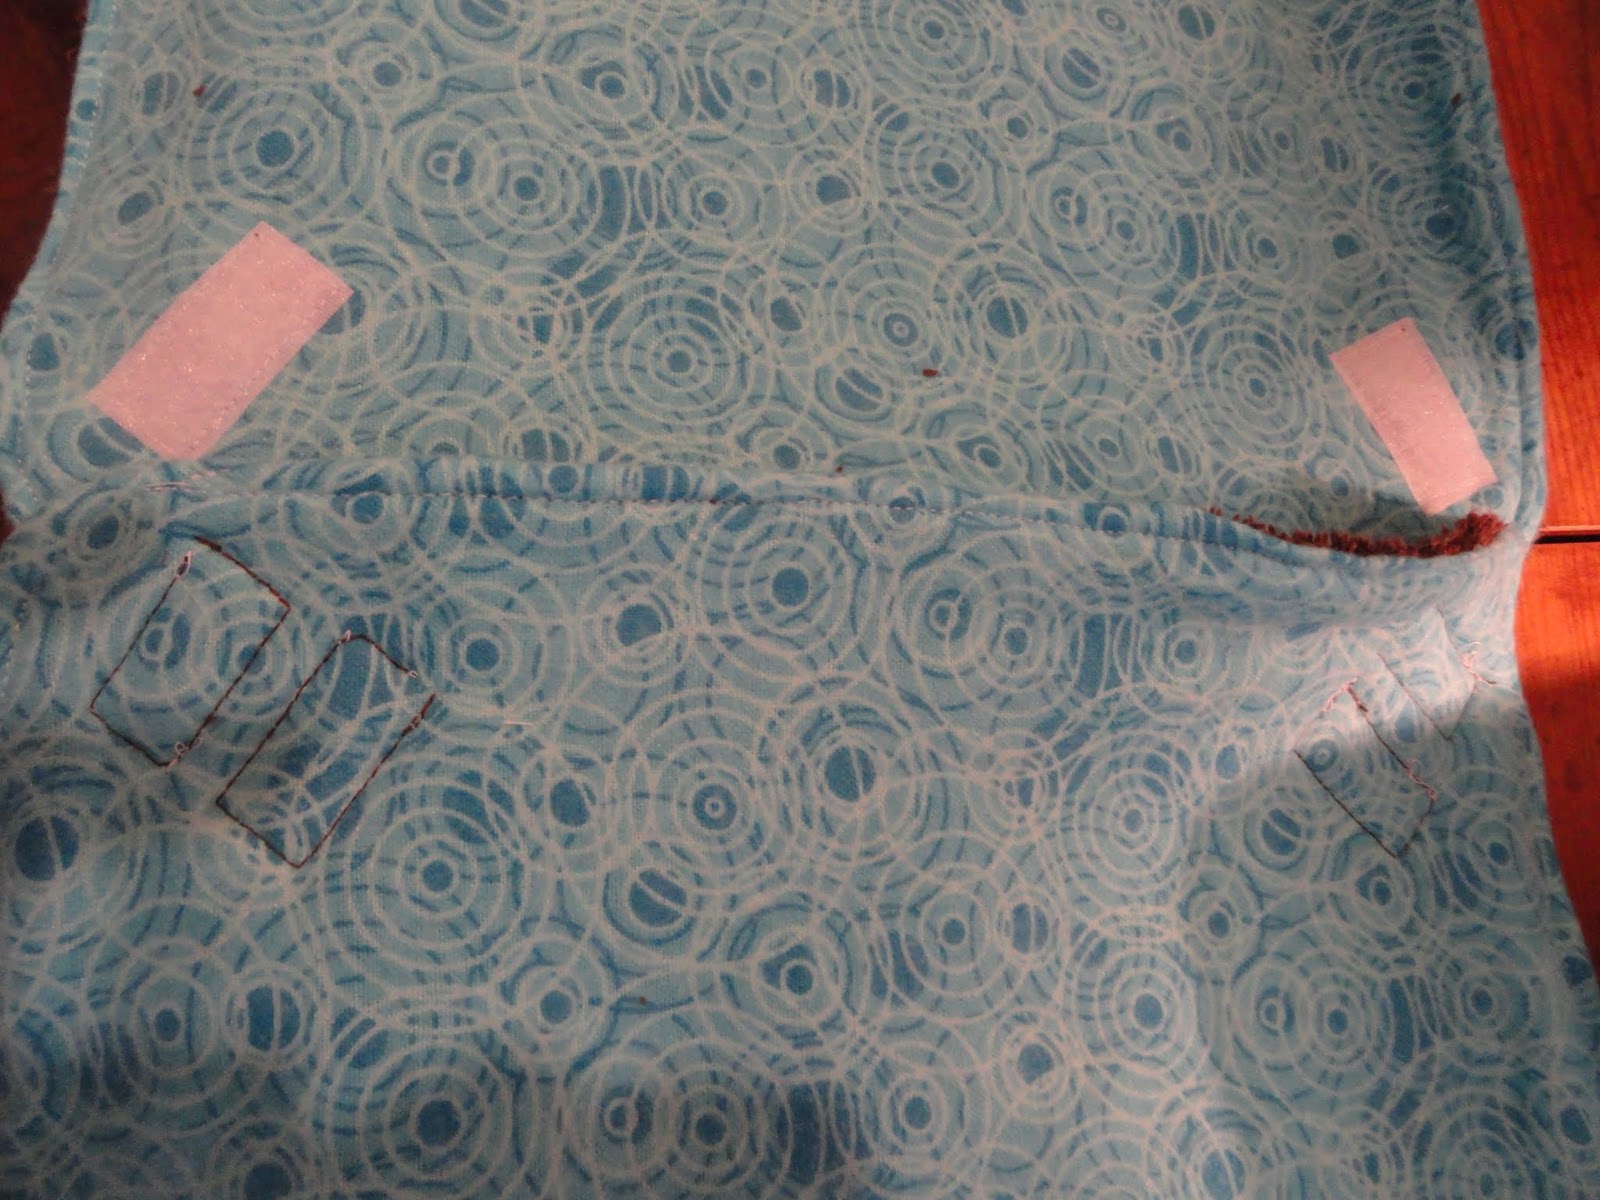

Make sure that when you sew the hook & loop on, that you line up the pieces correctly so that they’ll stick together in a line. I messed this up on my first try.
Laundry Tabs, close up:

In terms of sewing, I prefer using the snaps because they’re faster and this wasn’t my favorite project ever. It’s useful, but I don’t want to spend hours making them. I’d rather be sewing diapers! 🙂
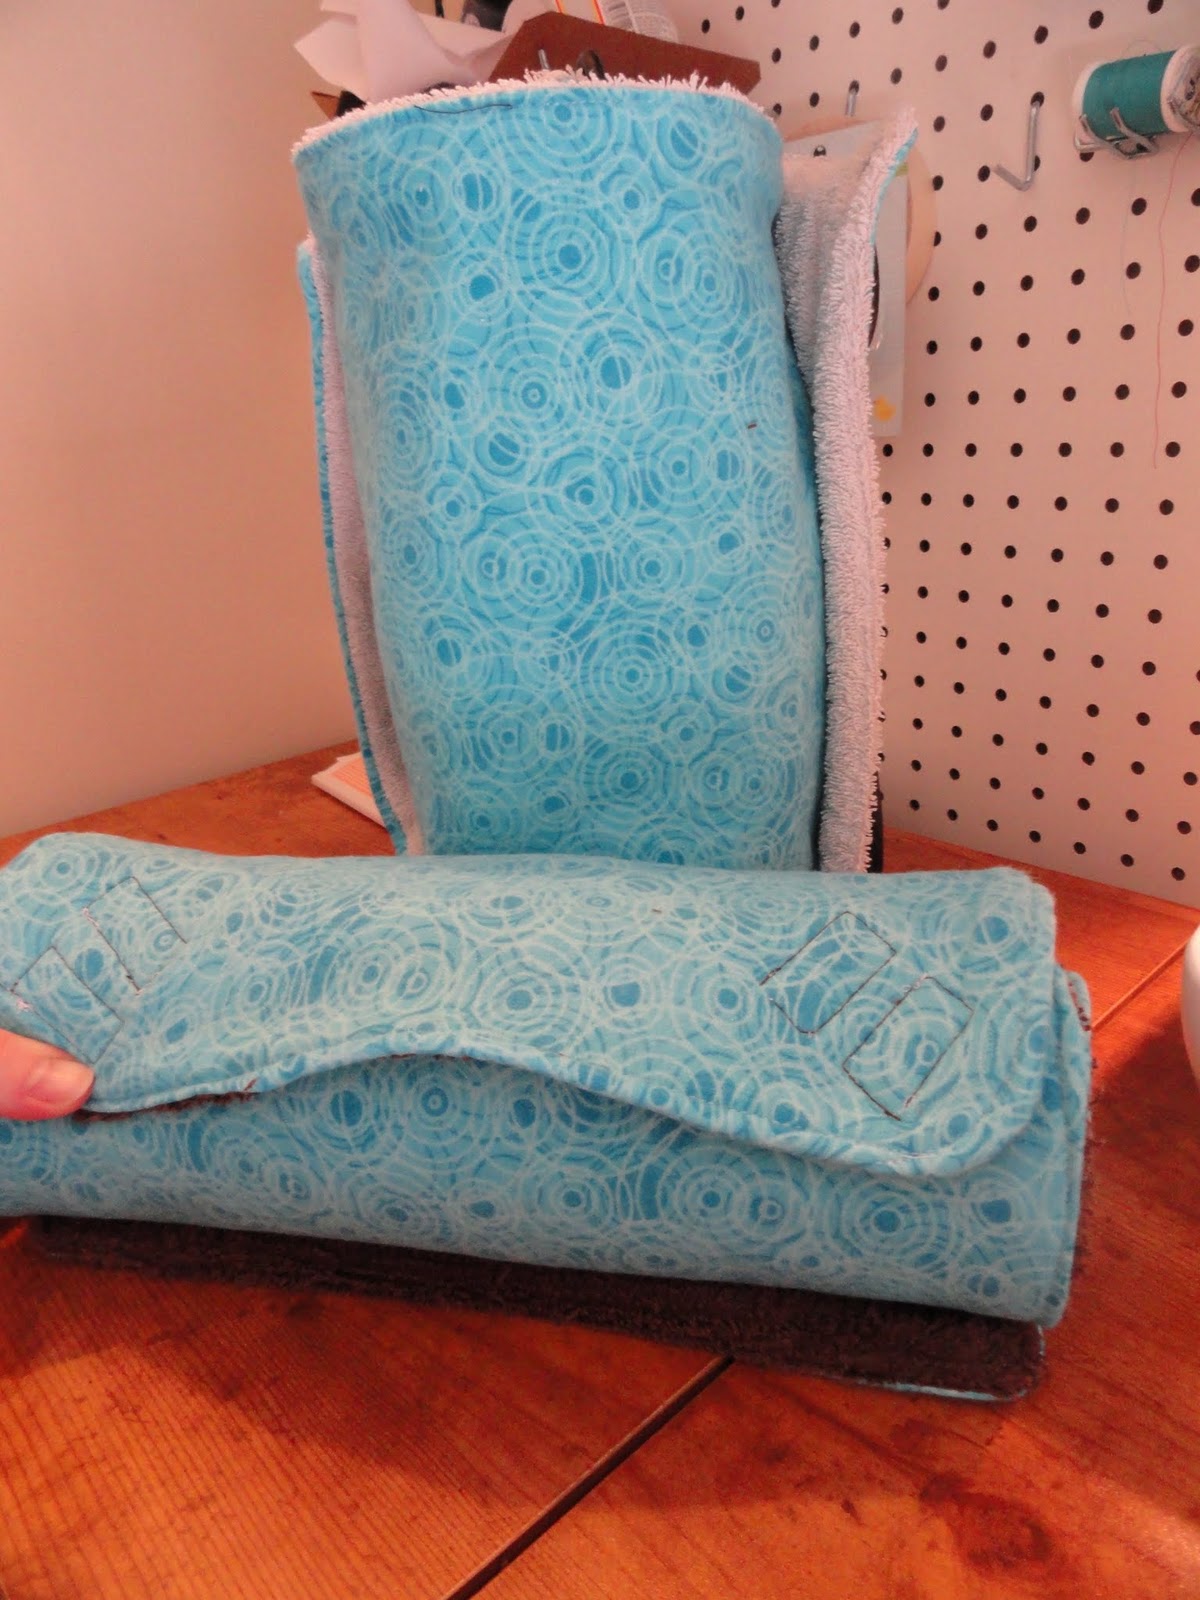 |
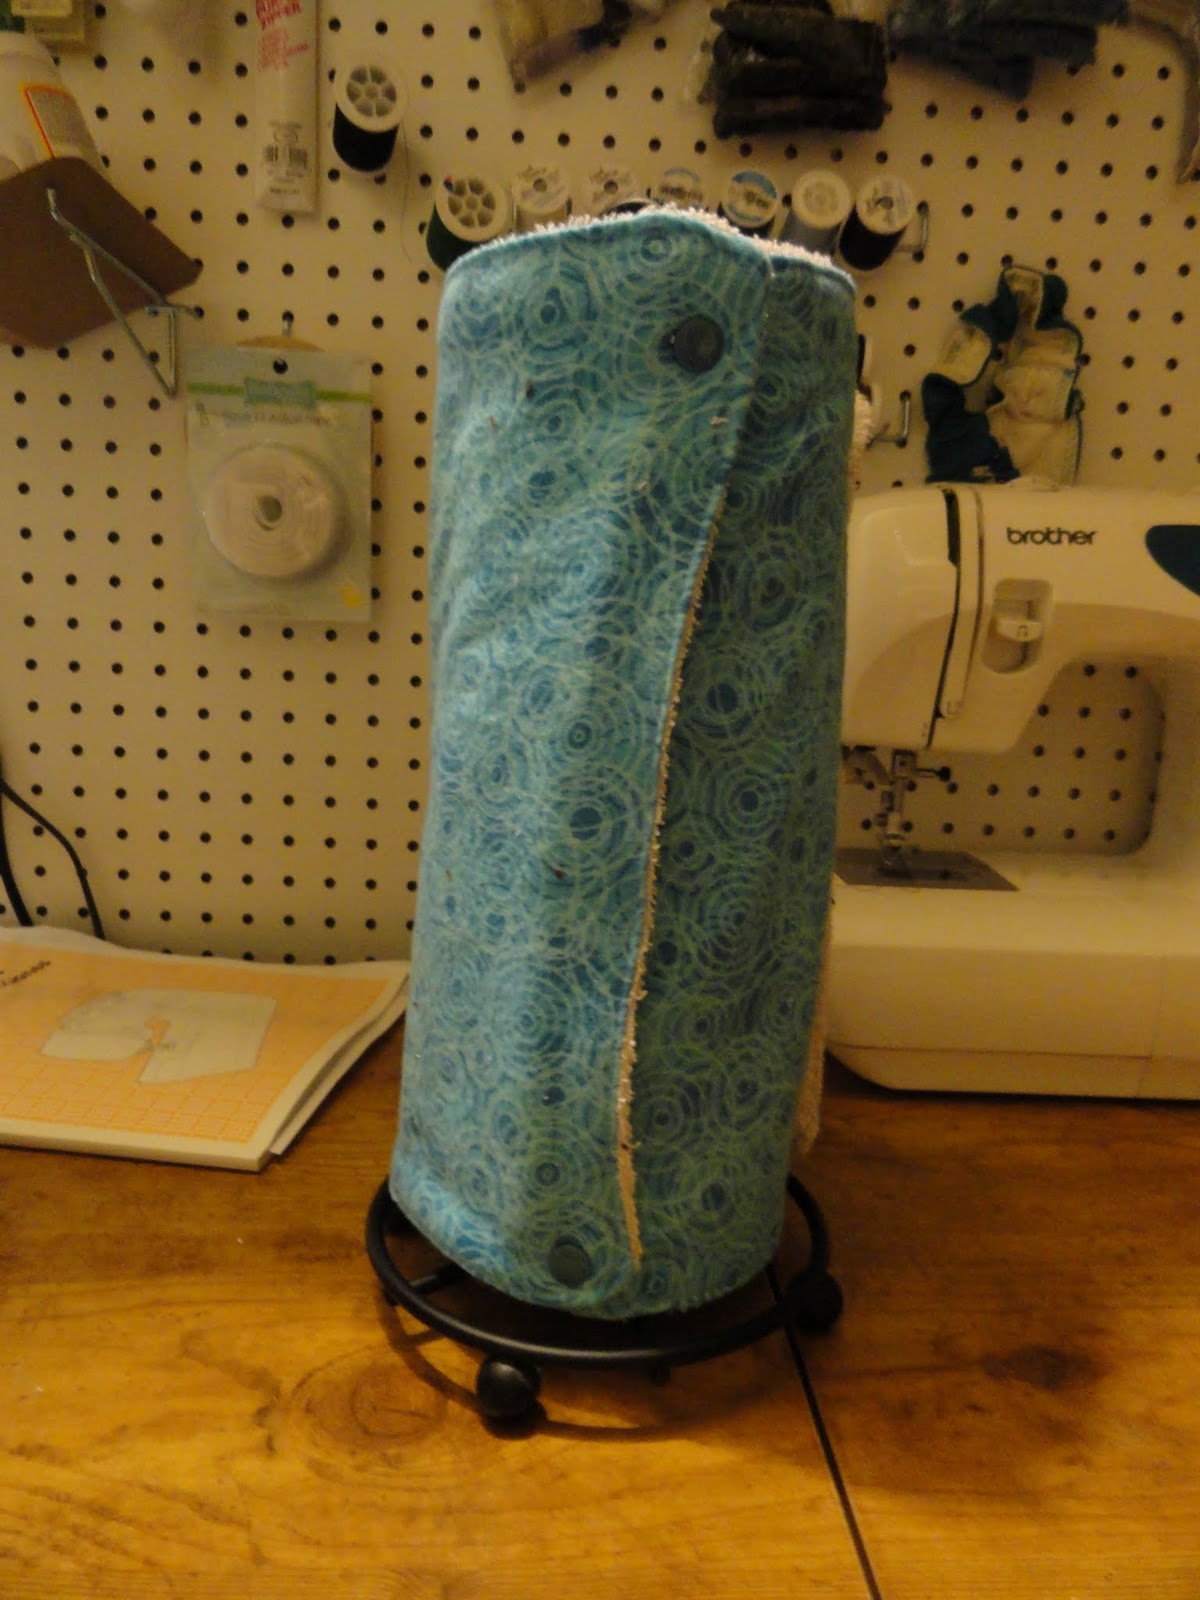
| Unpaper Towels with snaps (upright) and a roll with hook & loop |
~~~~~~~~~~~~~~~~~~~~~~~~~~~~~~~~~~~~~~~~~~~~~~~~~~~~~~~~~~~~~~~~~~~~~~~~
If you’re too lazy to do either or don’t have hook & loop or snaps: Just make squares and don’t worry about hooking them together. You can store them flat on your counter or in a drawer. You could even make a special case for them if you wanted to be creative. I think an empty long tissue box might work to store them (it won’t hold many though), and you could always modge podge flannel on the outside to match.
~~~~~~~~~~~~~~~~~~~~~~~~~~~~~~~~~~~~~~~~~~~~~~
Un-Paper Towel Wetbag
You’re going to want something to hold all of those used un-paper towels in until you’re ready to wash them. A wet bag, similar to the ones used for cloth diapers, is a perfect solution. I don’t think you need to go through the effort of putting on a zipper for this wet bag though because there shouldn’t be any horrid stench coming from the un-paper towels.
Supplies:
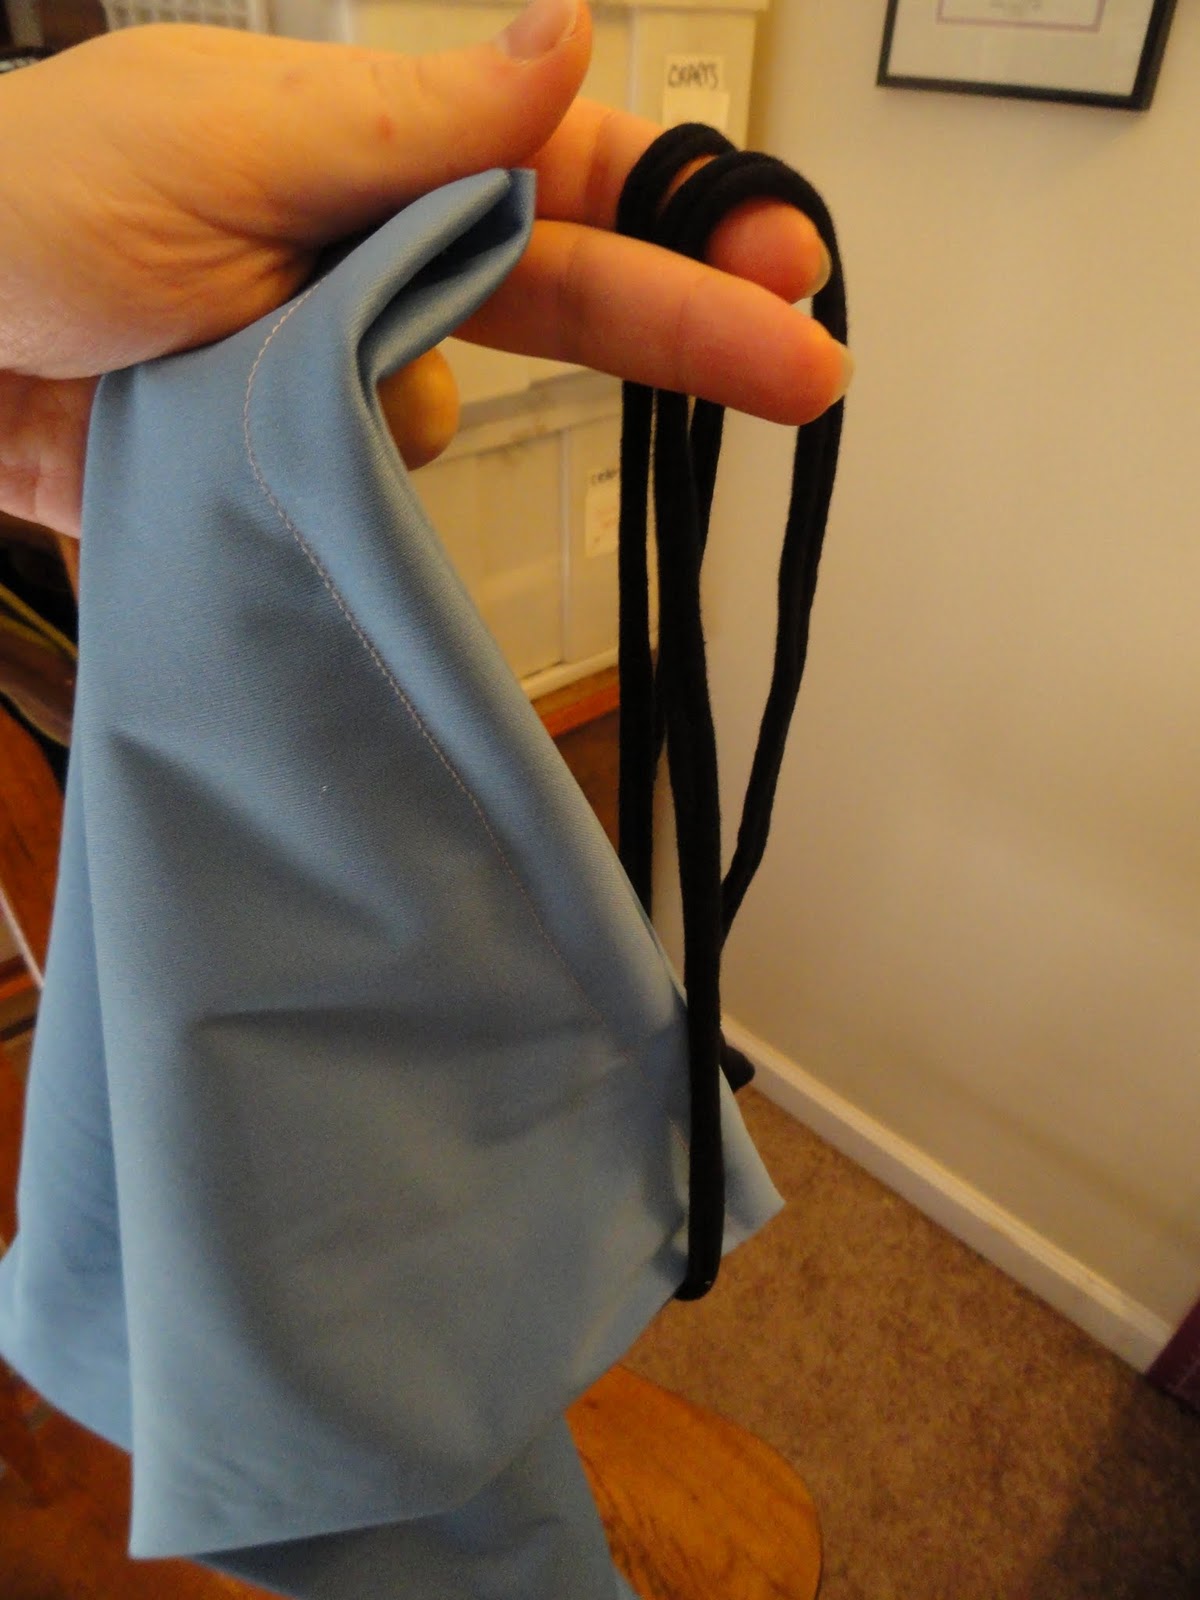
-Drawstring of some sort (I used tshirt yarn for this)
–Pul fabric or anti-pill/Blizzard fleece. Pul will be your best option for true waterproofing. Use two layers of the fleece if you don’t use the Pul.
-Optional: Exterior fabric for the bag, if you want something cute.
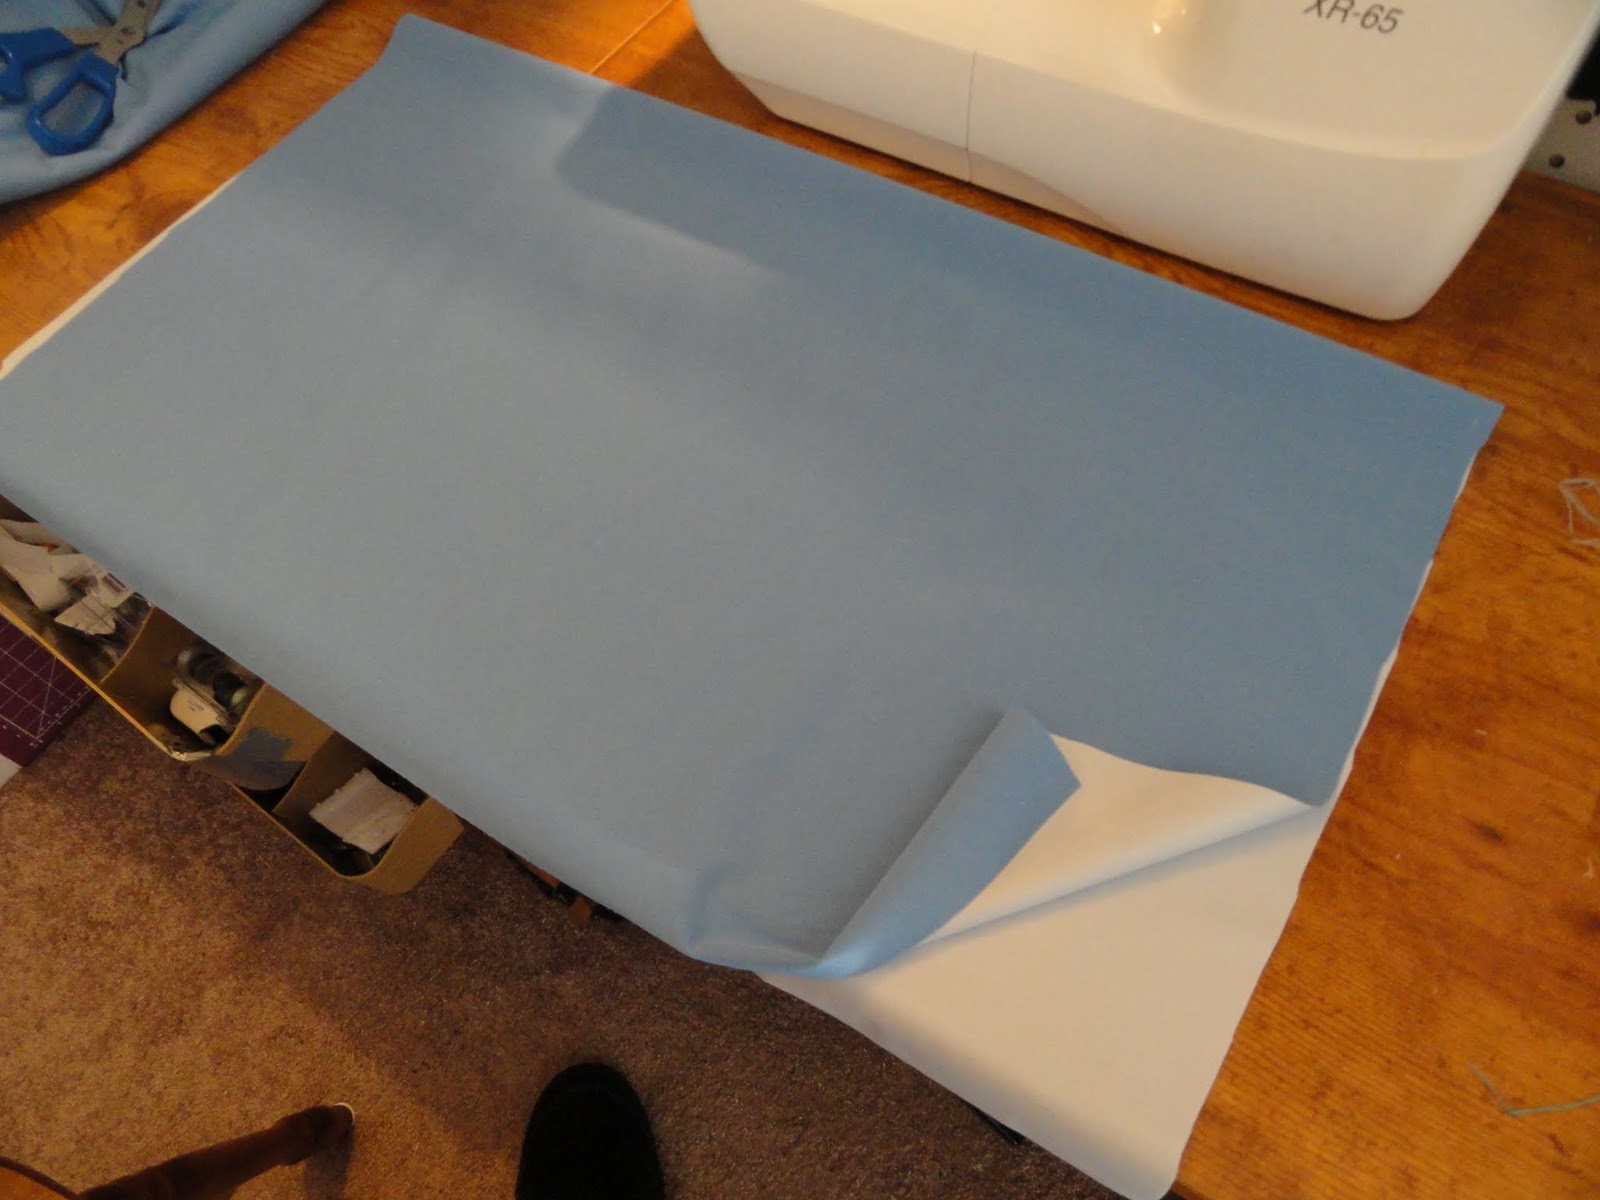 |
| For my wetbag, I just used the one layer of Pul. I started out by cutting a piece of Pul for about the size that I wanted my wetbag to be. |
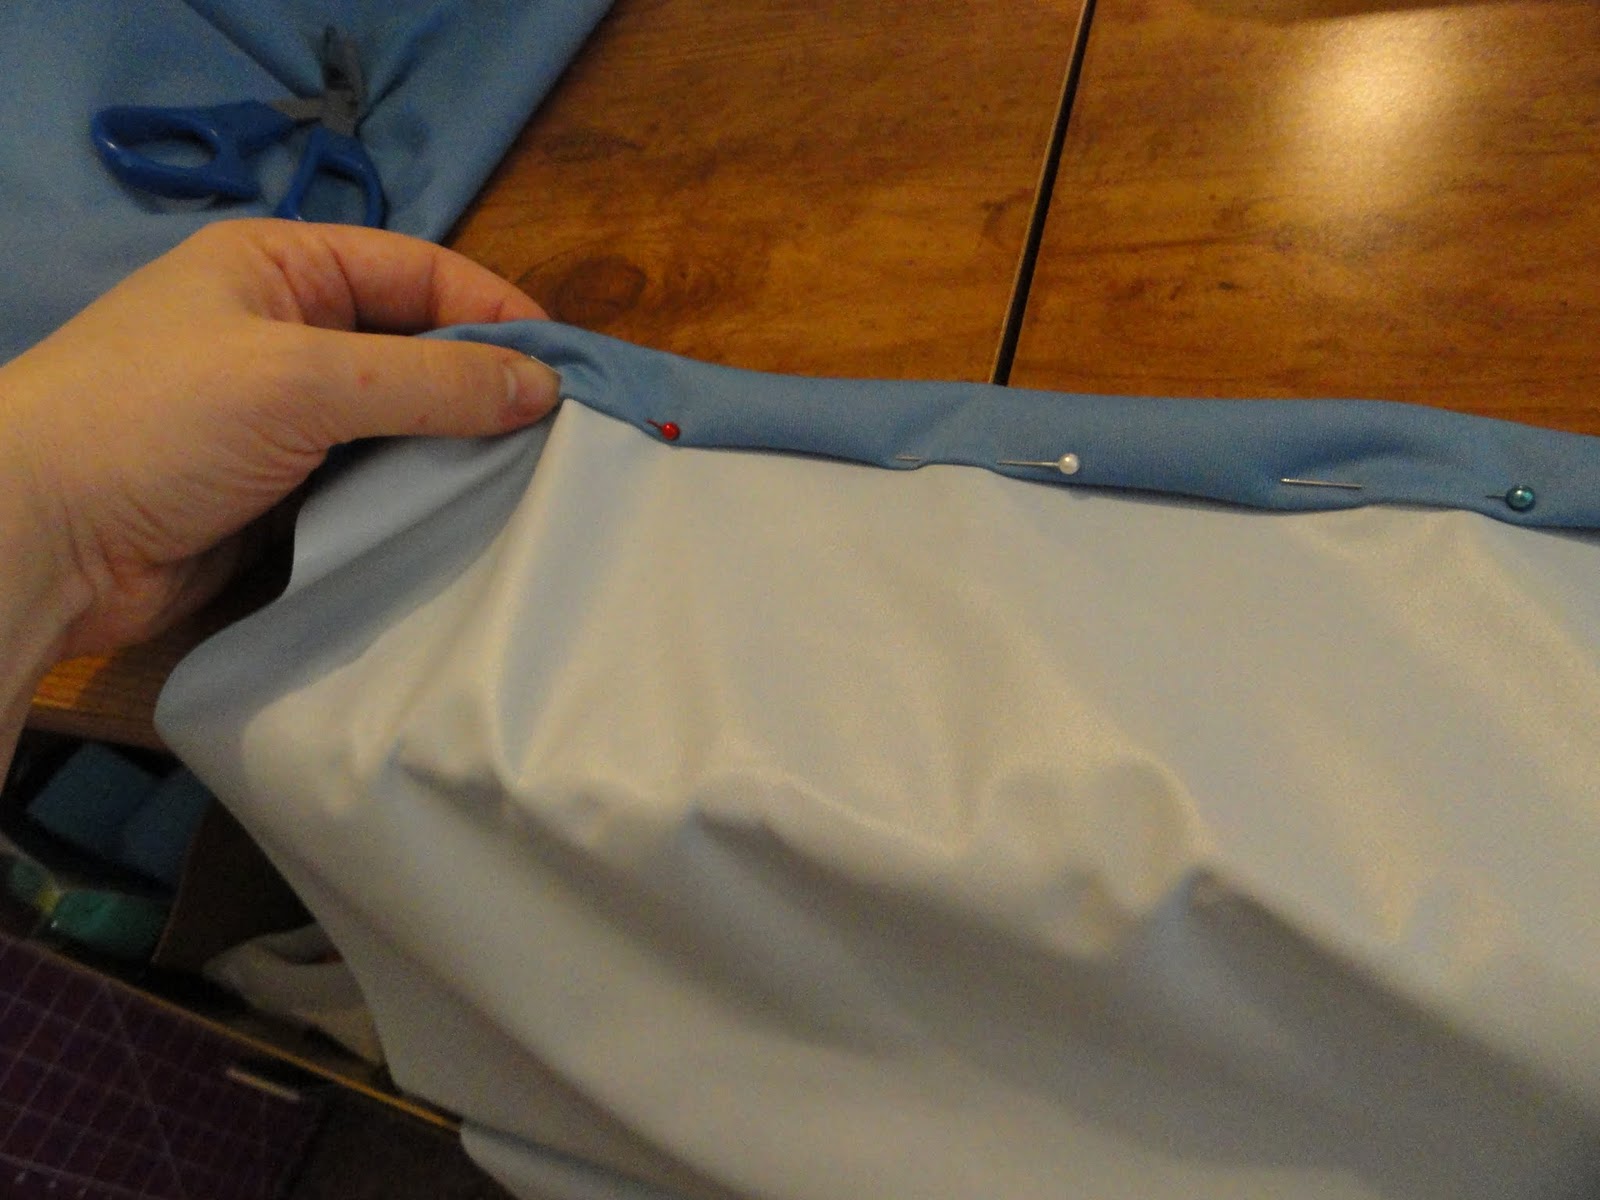 | |
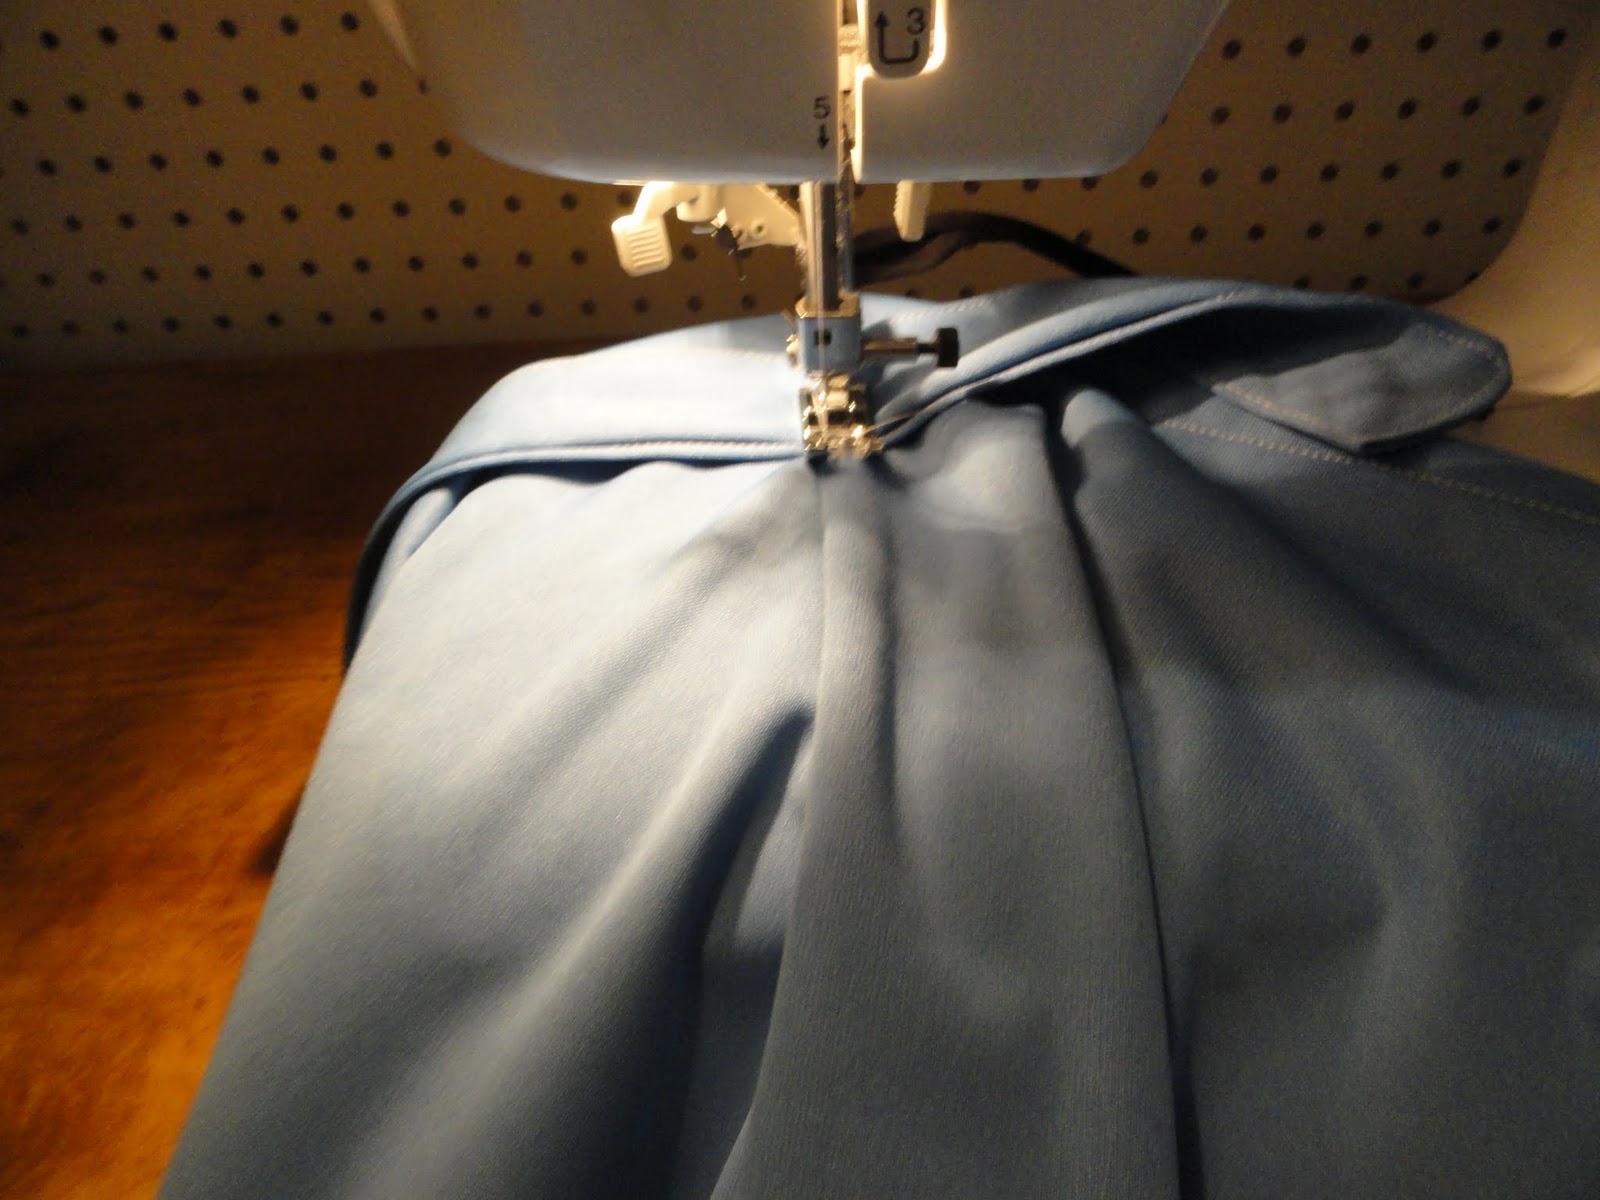
| I folded down what would be the top of the wetbag to make a casing that I could thread the drawstring through when I was done and stitched it closed. |
 |
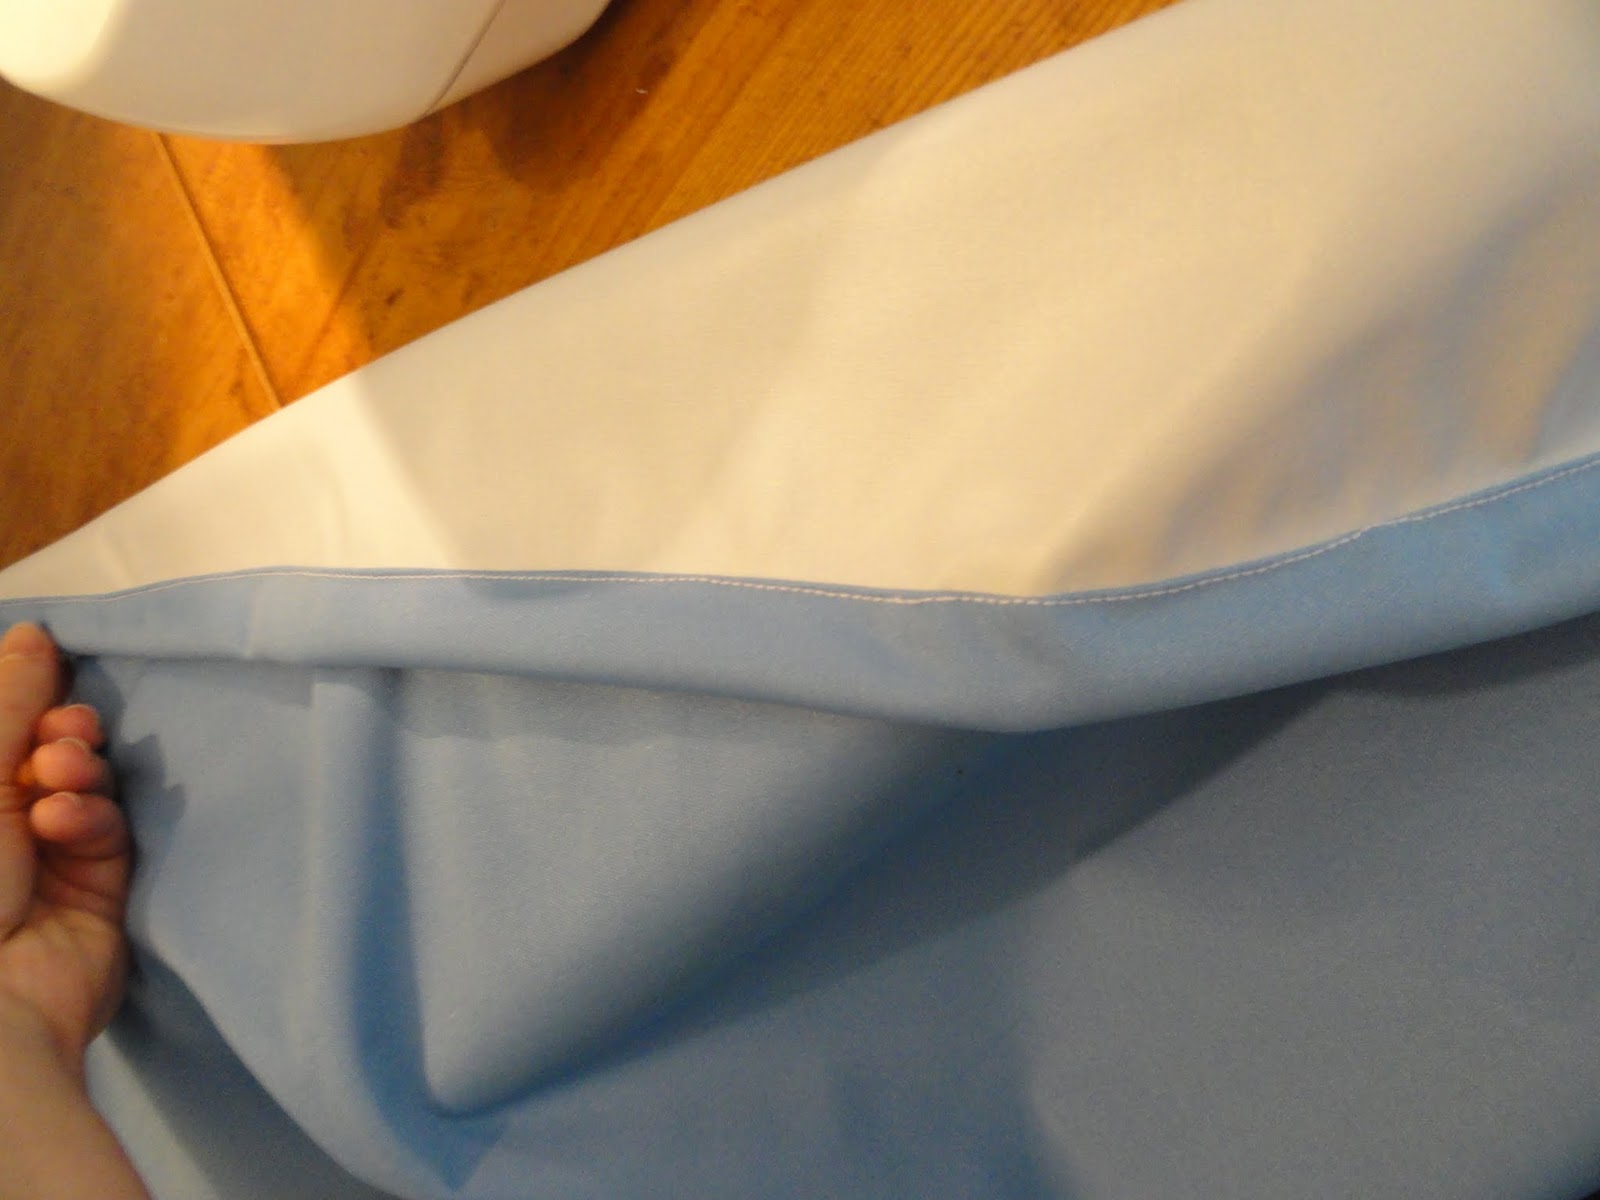
| Then I folded the Pul right sides together and sewed the bottom and side, leaving the top open (of course). Make sure you don’t sew over the drawstring casing. |
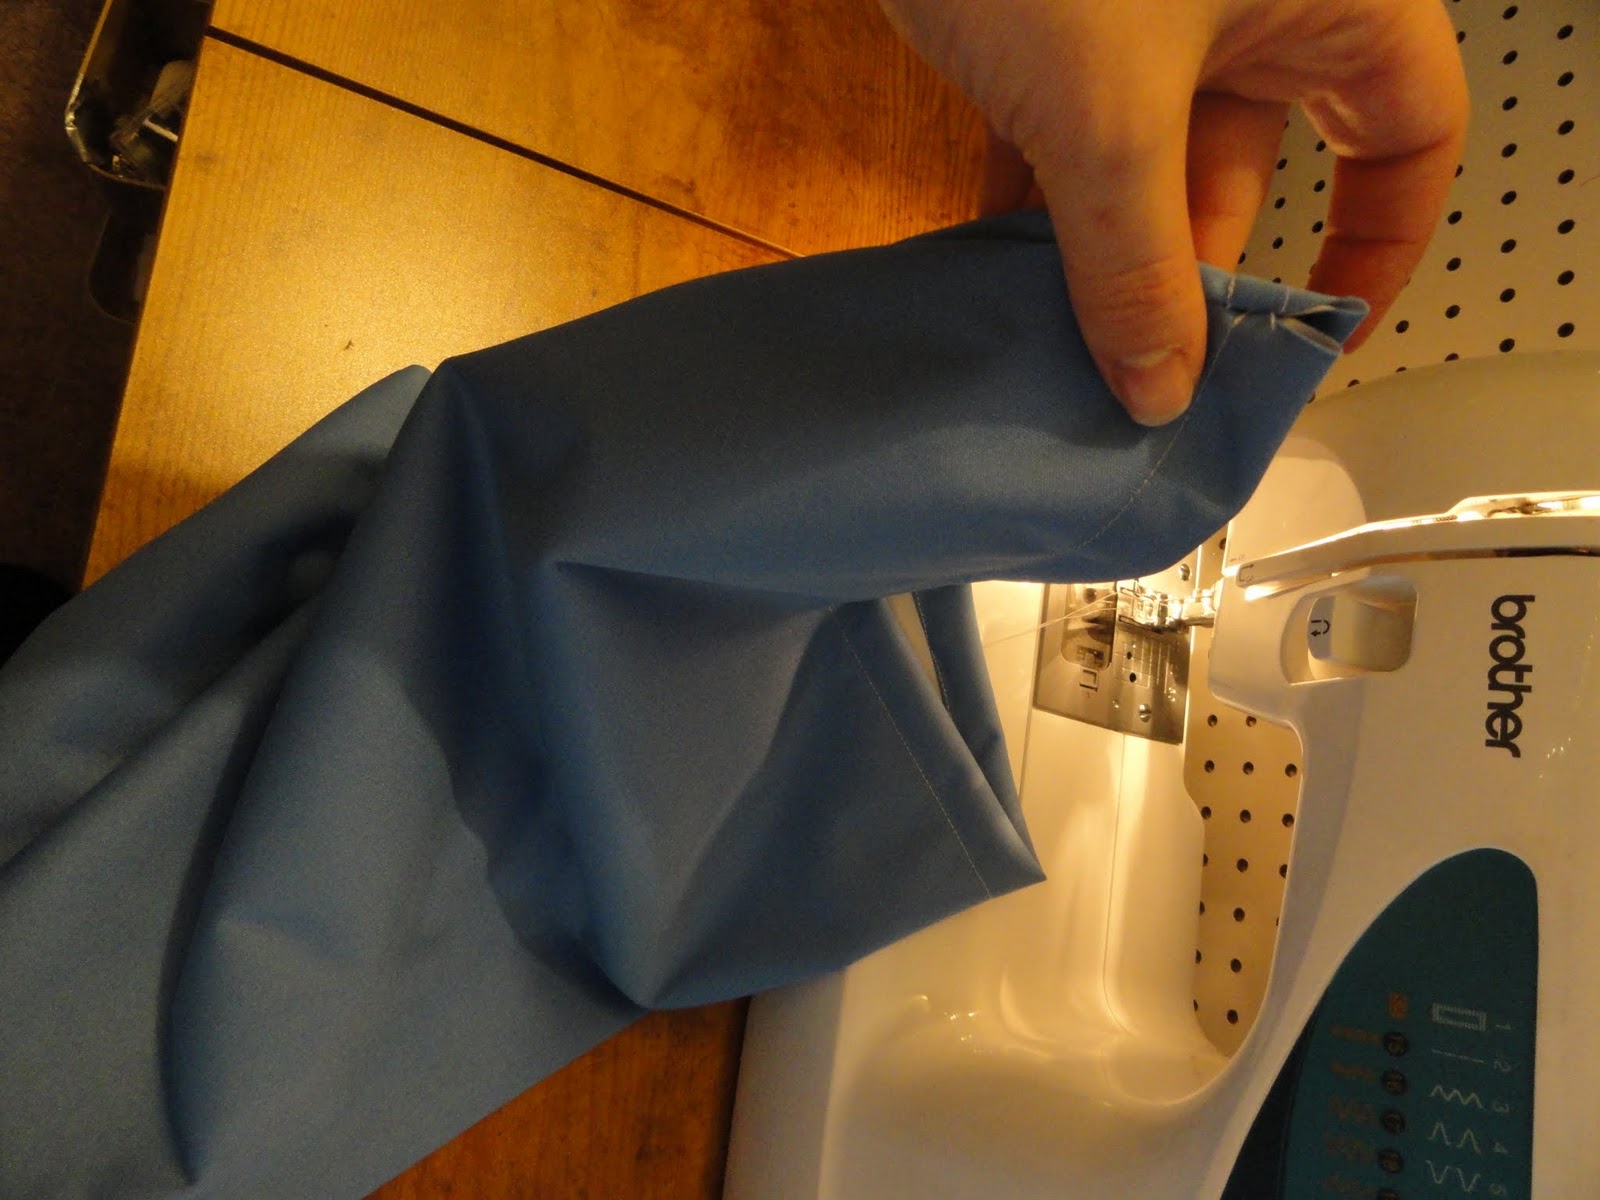
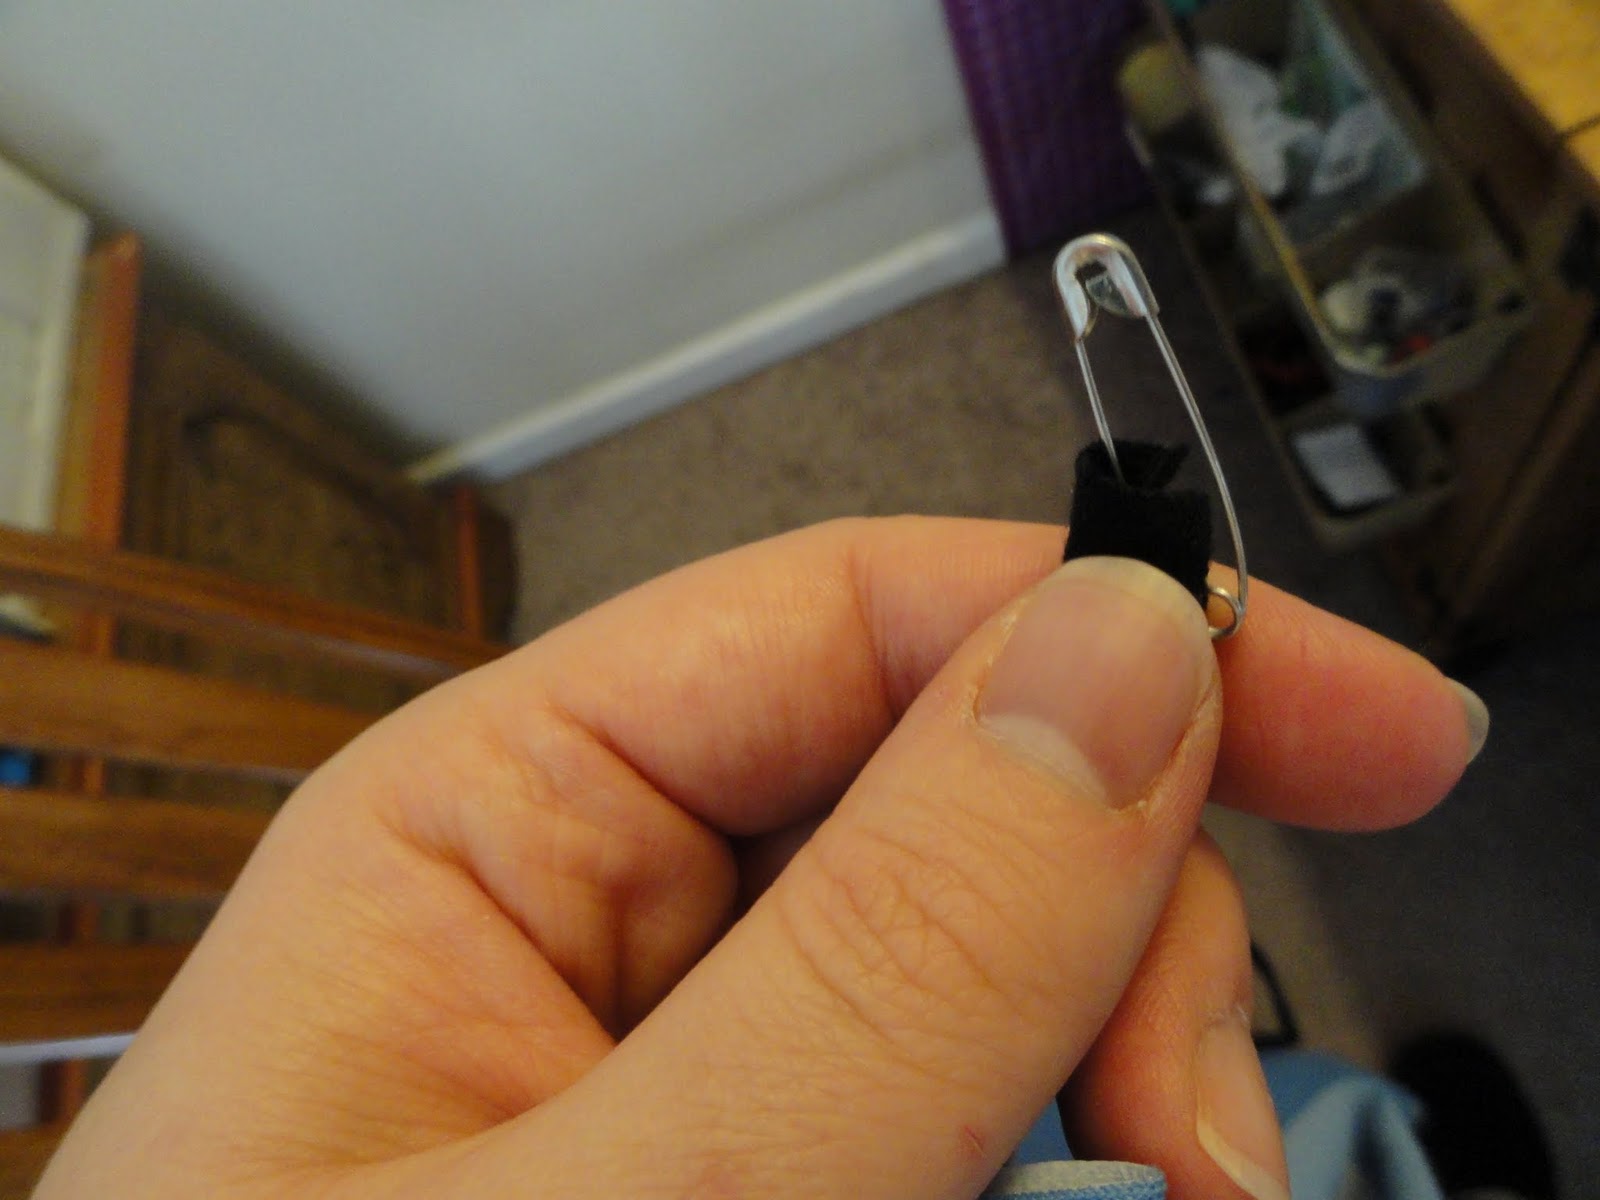
I flipped the wetbag right sides out, attached a safety pin to my drawstring, and threaded it through the casing. I finished it by tying off both ends of the drawstring with a knot, making sure to leave enough drawstring so that the wetbag could be open all the way without the string getting lost back inside the casing.
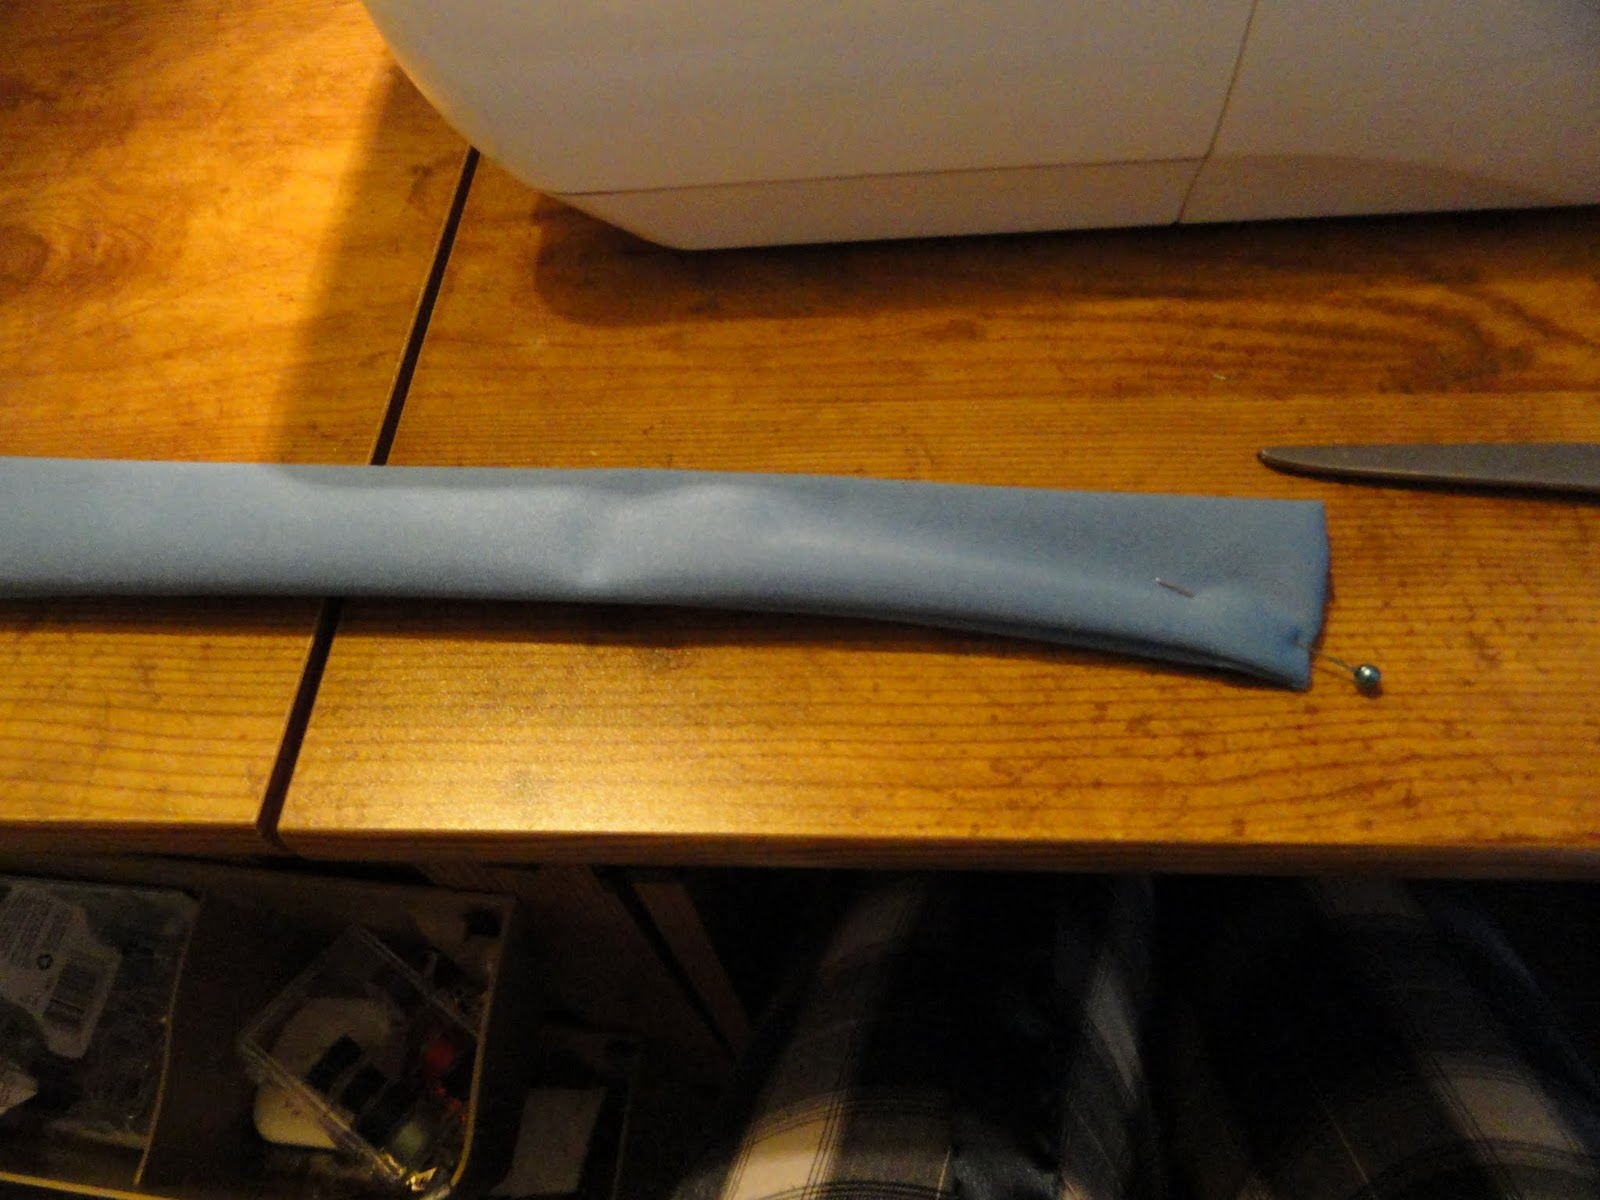
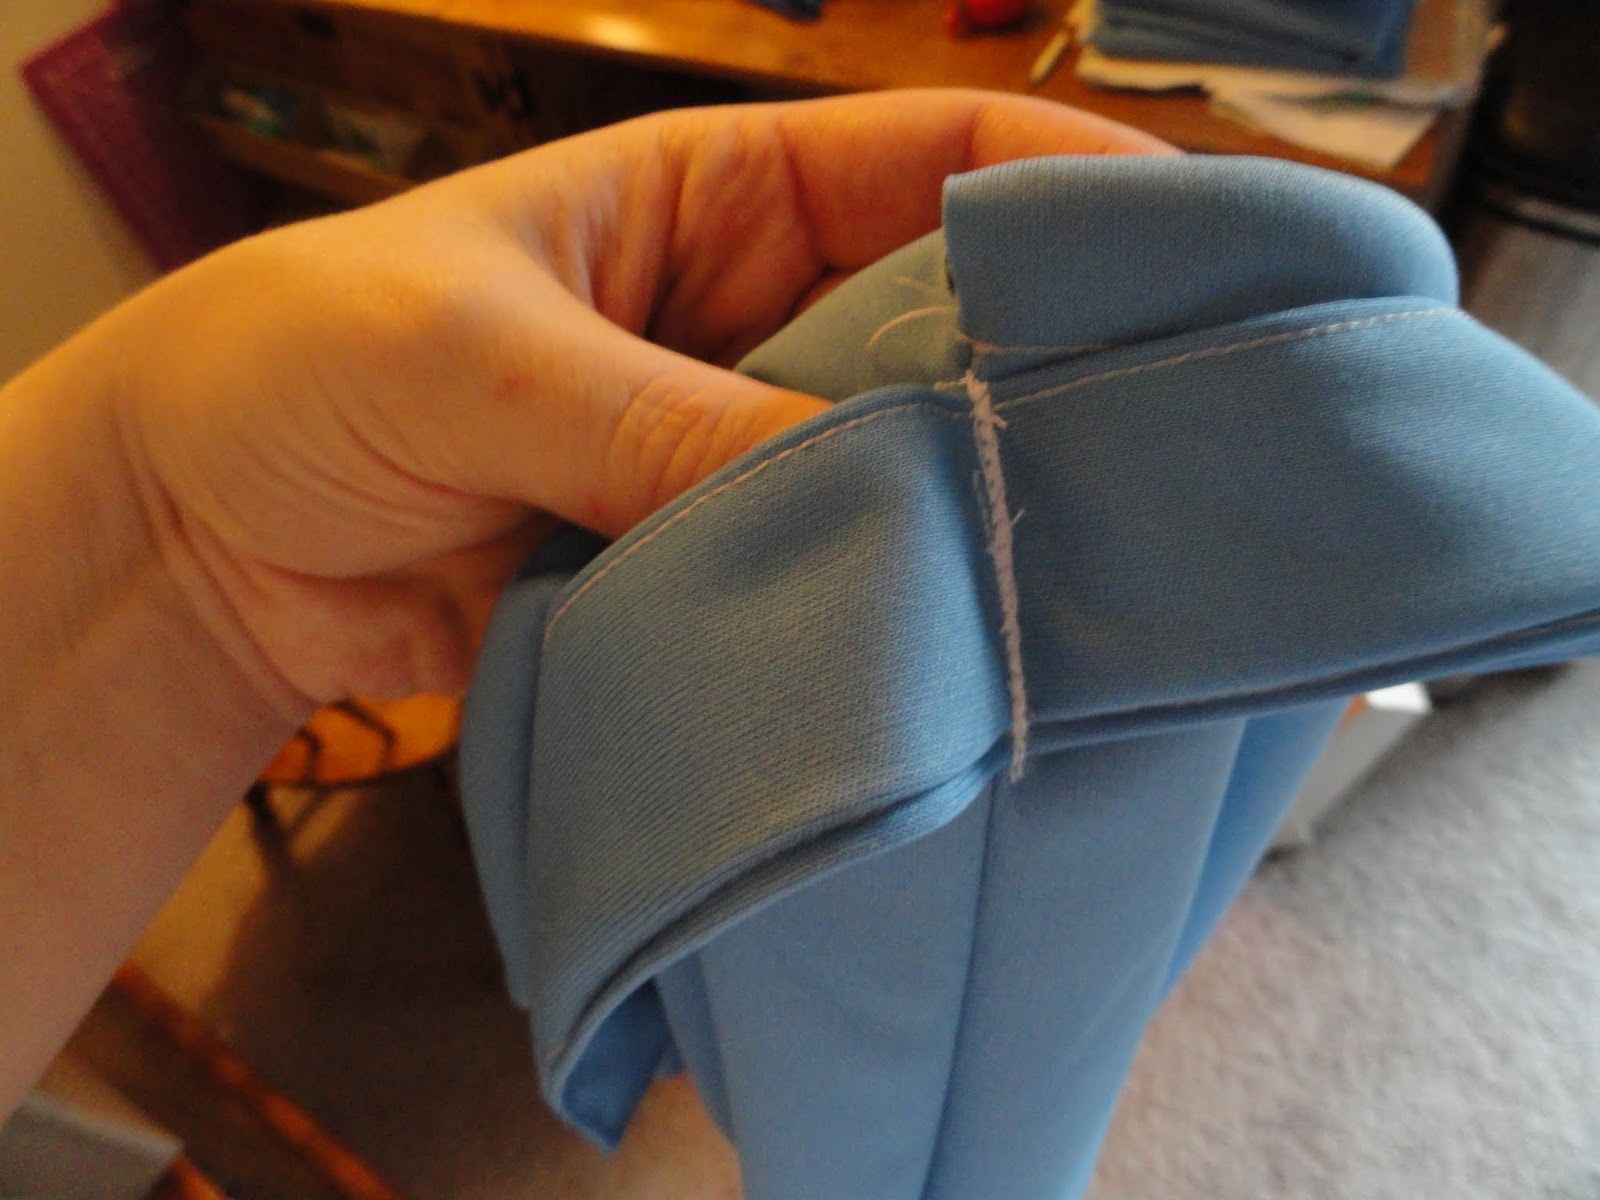
After I finished it, I realized I hadn’t added a strap to hang the wetbag from. I measured out a rectangle of the same Pul that was about the right length for my strap, pinned it right sides together, sewed three sides, flipped it back right side out, and then top stitched the entire strap, making sure to tuck the unfinished ends in to close up the strap.
Then I attached the middle of the strap to the side of the wetbag that I wanted it on and sewed back and forth over it many times so that hopefully it won’t break off when the wetbag is full.
 |
| I attached snaps so that I can snap the strap together, and finished! |
| |
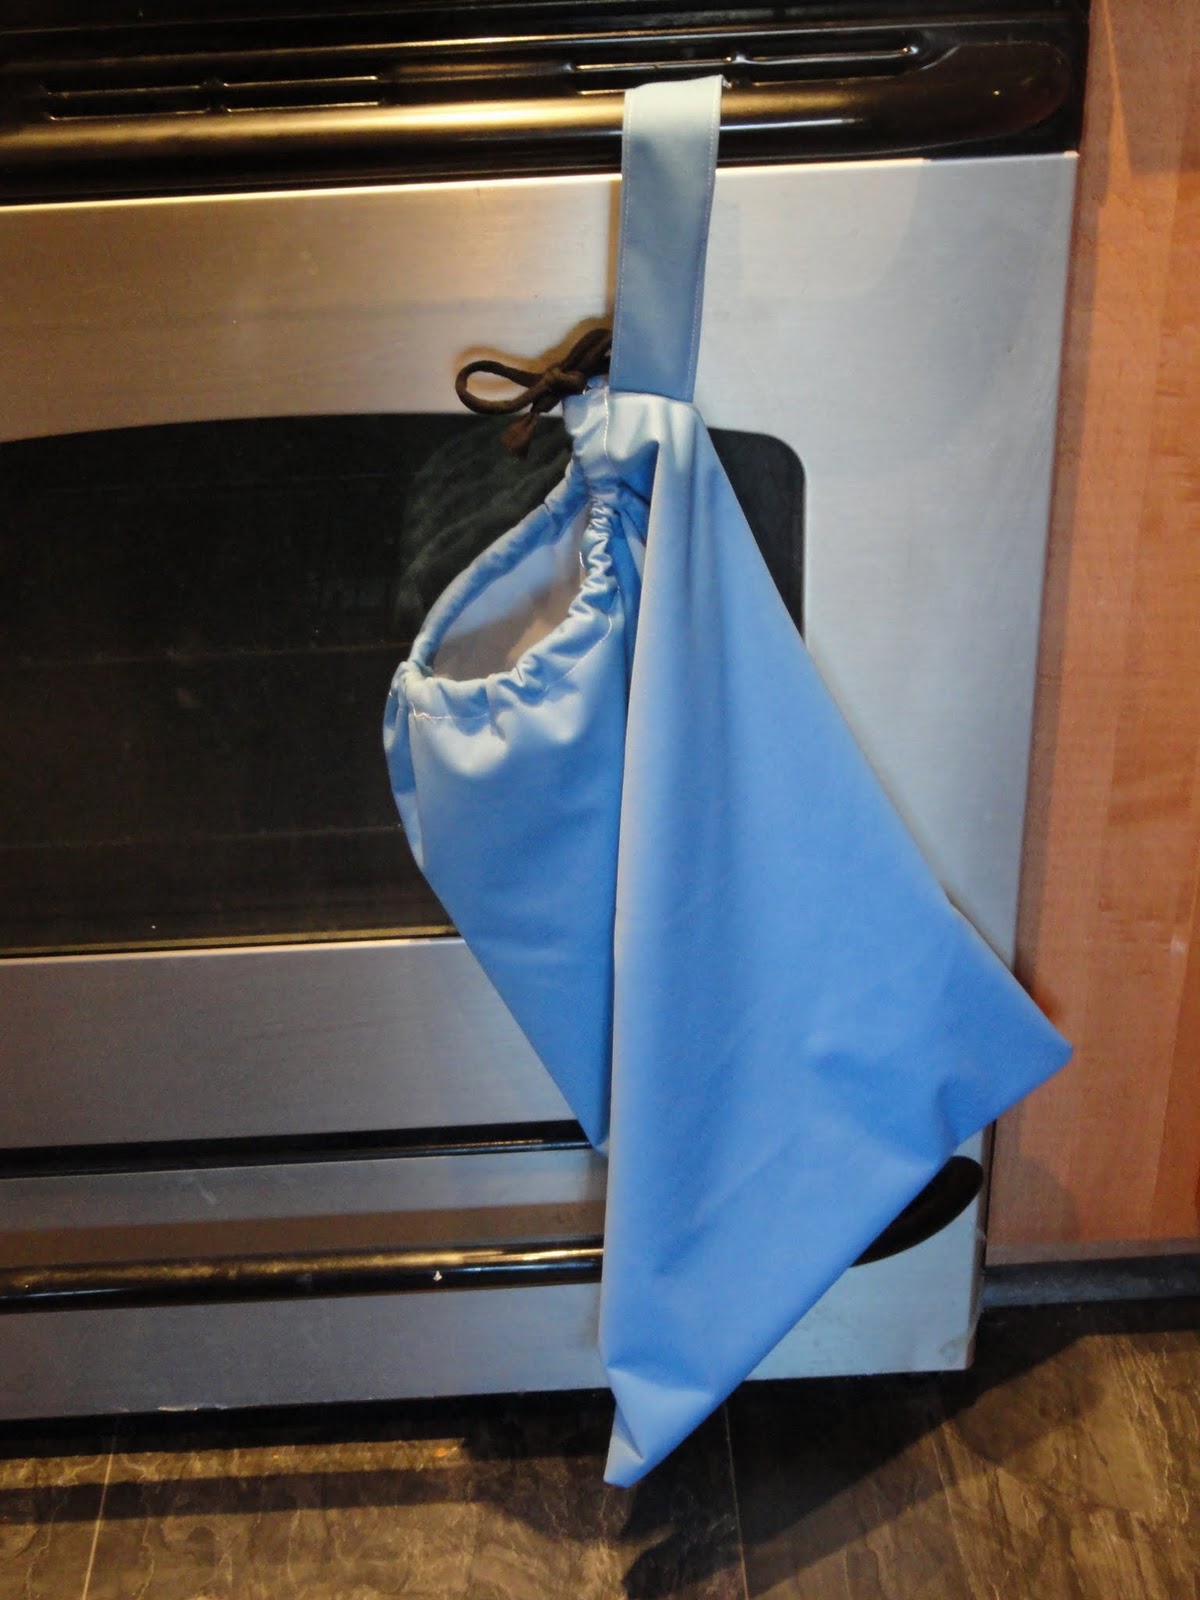
| Here’s my finished product, hanging up in my kitchen. |
The strap probably should have been shorter, but I’ll probably go back and fix it at a later time. Baby G wasn’t cooperating by taking more than a 15 minute nap at a time so I wasn’t as careful as I might have been otherwise while making this. You could put a zipper on the bag, like you would with a diaper wetbag, but I don’t find that necessary considering that un-paper towels won’t likely be used for anything too… fragrant. Plus, I like being able to keep the bag open to put things in easily when I’m carrying Baby G around or when my hands are otherwise full. Honestly, I don’t even zip up our diaper wet bag that we hang near the changing table- that may change when Baby G starts eating solids, but it’s a lot easier now not needing to worry about zipping it up all the time!
Update: This has been great for bibs too.Also, after Baby G eats his solids I like to wet an unpaper towel with hot water to wash off his face. He’ll usually grab it from me to suck on which helps my cause!